The BlocksPay is an innovative, decentralized, and user-friendly Web3 browser wallet. With BlocksPay, users can effortlessly manage their digital assets, interact with decentralized applications (DApps), and explore the vast opportunities offered by the XDC Network. The wallet ensures the highest level of security by empowering users with full control over their private keys and keeping custody of their assets. In this article, we will provide you with a step-by-step guide on how to connect BlocksPay to the XDC Network, enabling you to experience the full potential of this exciting blockchain ecosystem.
Installation Process
- To get started, you need to install the BlocksPay extension. Click on the BlocksPay Once you find the appropriate link, click on the “Add to chrome” button located in the top right corner of the page.
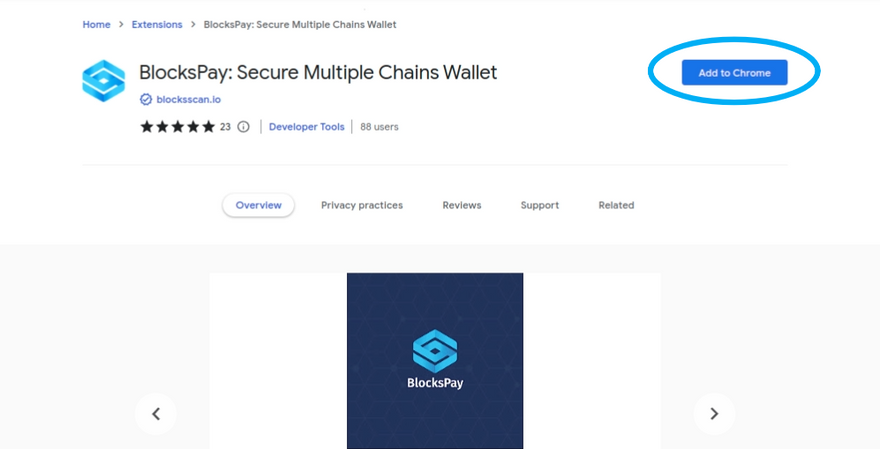
Proceed to add the BlocksPay extension to your browser by following the installation instructions specific to your browser. Once the installation is complete, you are ready to proceed.
Creating Your BlocksPay Wallet
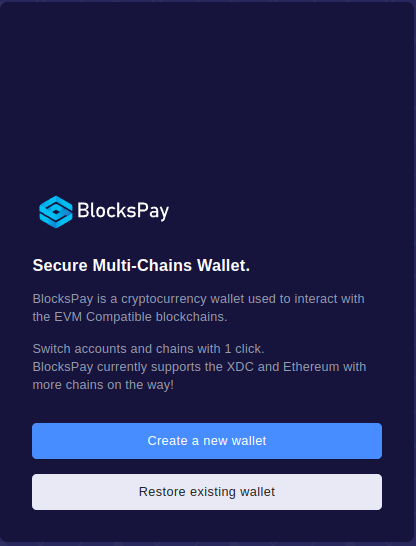
- Upon opening the BlocksPay extension for the first time, you will be greeted with a window that provides a brief overview of BlocksPay’s features. Here, you have the option to either create a new wallet or restore an existing one. Let’s start by creating a new wallet.

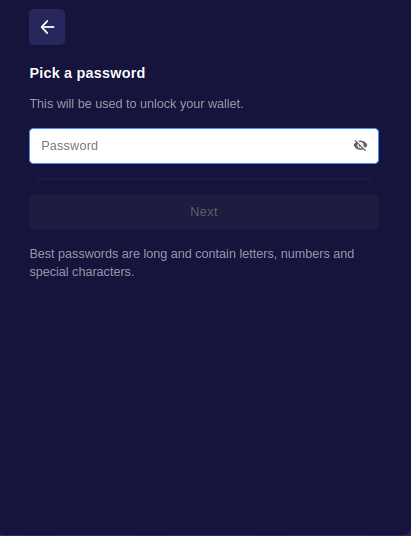
Click on the “Create a new wallet” button, and you will be prompted to set a password. Enter a strong password and click “Next.”
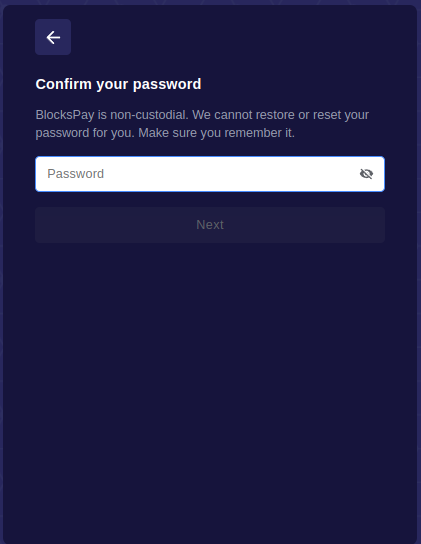
You will be asked to confirm your password by entering it again.
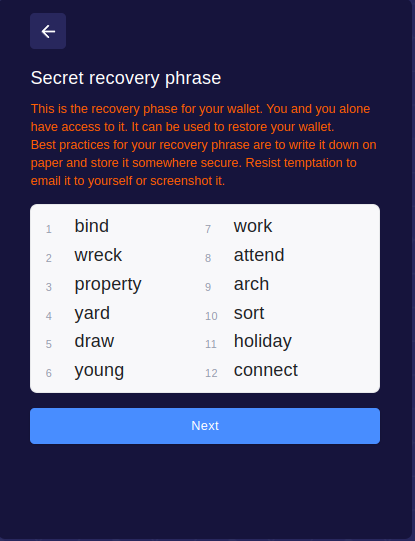
Once confirmed, it’s time to generate your secret recovery phrase.
A window will appear displaying your unique secret recovery phrase. Please note that the words shown below are for illustrative purposes only, and your recovery phrase will consist of a different set of completely random words. It is crucial to write down your secret recovery phrase and keep it in a safe place. Never share your recovery phrase with anyone, as it grants full access to your wallet and crypto assets. Once you have securely noted your recovery phrase, click “Next.”
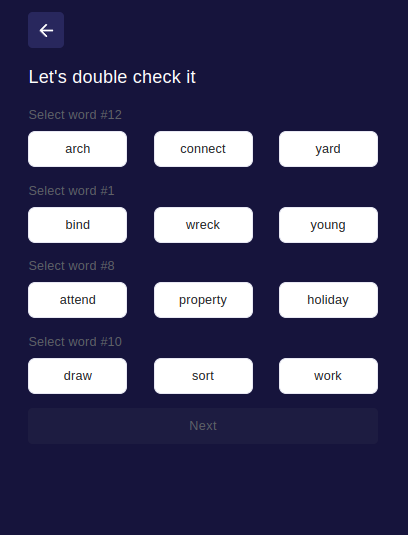
To verify that you have correctly recorded your secret recovery phrase, a pop-up will appear, asking you to select the correct words from your unique recovery phrase. Carefully select the words and click “Next” to proceed.
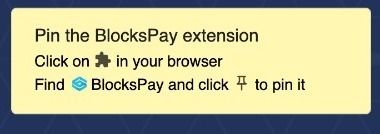
After setting up your secret recovery phrase, your BlocksPay wallet is ready for use. It is important to emphasize that BlocksPay is a non-custodial wallet, meaning that only you have control over your wallet’s keys. Remember the golden rule: “Not your keys, not your crypto!” BlocksPay does not hold custody of your assets and does not collect or sell personal user data. As a final step, we recommend pinning the BlocksPay extension in your browser for easy access.
Restoring BlocksPay Wallet
- If you already have a wallet on another compatible platform, such as XdcPay or Metamask, you can import it into BlocksPay. Follow the steps below to restore your existing wallet.
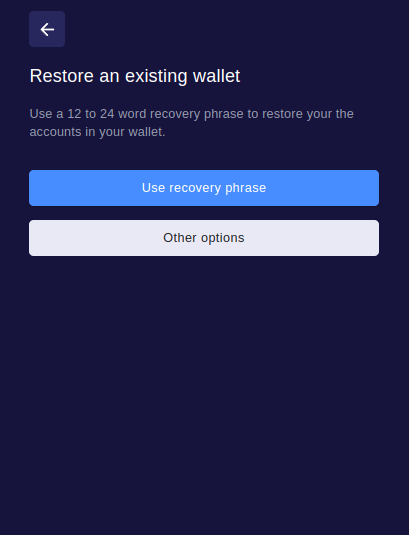
Click on the “Restore existing wallet” button within the BlocksPay extension.
Next, select the option to “Use recovery phrase.”
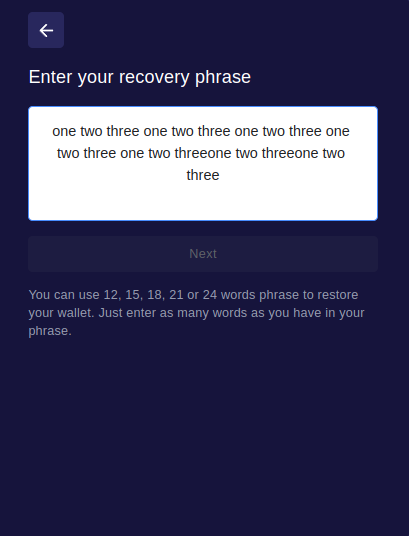
Enter your 12–24 word recovery phrase and click “Next.”
Once you have entered your recovery phrase, your wallet will be successfully restored.
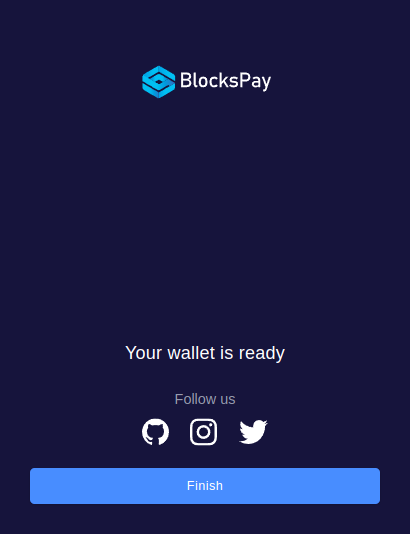
We recommend pinning the BlocksPay extension to your browser’s extension bar for convenient access.

Connecting BlocksPay to the XDC Network
- Once you have installed BlocksPay and created or restored your wallet, it’s time to establish a connection with the XDC Network. Simply click on the dropdown arrow positioned at the top center of the BlocksPay wallet.

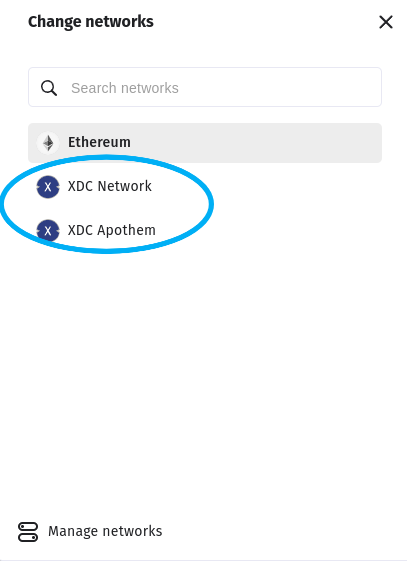
Once you have clicked on the dropdown, you will be able to see the Network screen. Here you can select the XDC Mainnet or Apothem Network. Now, you can simply close the window or click the “X” in the top right corner to continue.
Upon closing the pop-up window, you will see the XDC Network added to your network list within BlocksPay. You can now start interacting with the XDC ecosystem.
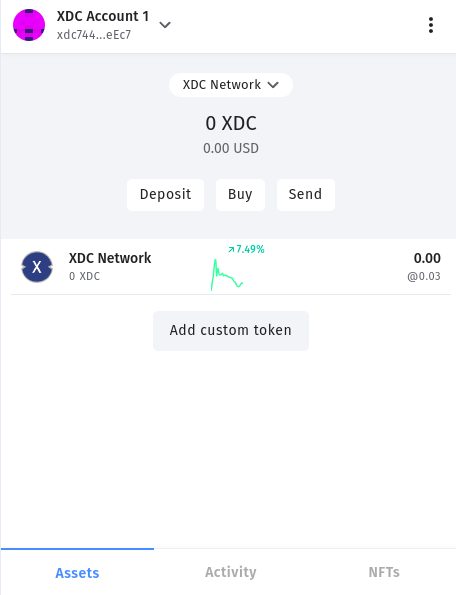
Basic Functions
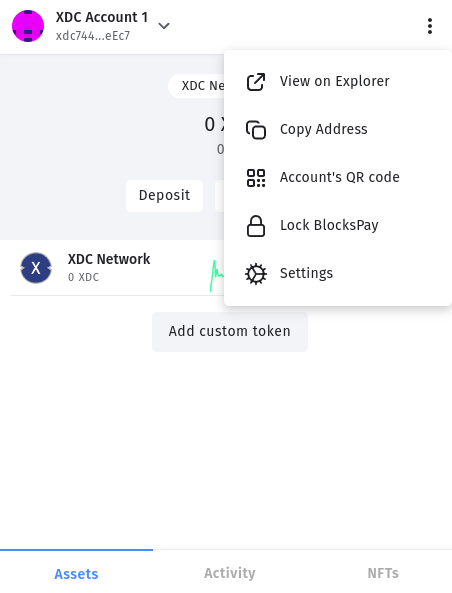
- Below, we provide screenshots to guide you on how to receive, send, and purchase crypto using BlocksPay. By clicking the drop-down menu located in the top center of the BlocksPay app, you can access your different accounts. BlocksPay generates multiple addresses compatible with both EVM from the same recovery phrase. You can use these addresses to receive crypto into your BlocksPay wallet. The app provides options to copy the address, open a QR code, or view it on a block explorer using the buttons located in the upper right corner.
By clicking on the Deposit button, you will be able to see the account address with QR code. Clicking on “Send” will open a new page within BlocksPay, allowing you to fill in the necessary details to send a transaction.
For detailed guides on using BlocksPay to send, add and import accounts, connect a hardware wallet, and interact with DApps(Coming soon…) on the XDC Network and Ethereum, please refer to this guide article
Some Important links to refer:
- How to Restore an Existing Wallet in BlocksPay and How to take a backup of your BlocksPay Wallet?
- Multichain Wallet — BlocksPay! How to Send XDC and XRC20 Tokens on BlocksPay?
- How can we Import an Account from Another wallet on BlocksPay?
- How to Add Custom Tokens in BlocksPay?
BlocksScan Social Channels:


Discussion (0)