Masternodes are full nodes that create, verify, and validate new blocks in XinFin XDC Network and play a vital role at the time of the validation of the transaction.
To set up a Masternode on XDC Network, ensure your XDC protocol running node is publicly identified and through the compliance process. Every Node Holder needs to upload a KYC document, and this detail will be visible to the public network. To find more information visit the guide to set up a masternode on XinFin XDC Network.
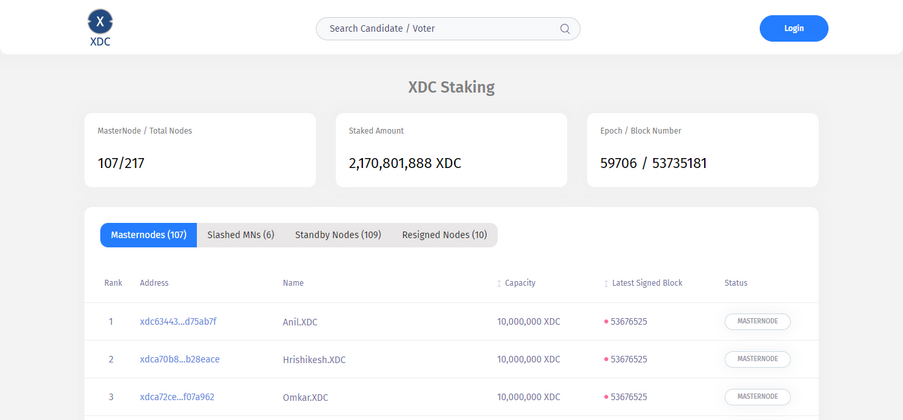
The Masternode App is a handy tool to view the details of masternodes running on the Network. Here, we have two apps for mainnet and testnet, XinFin XDC Network App and Apothem Network App.
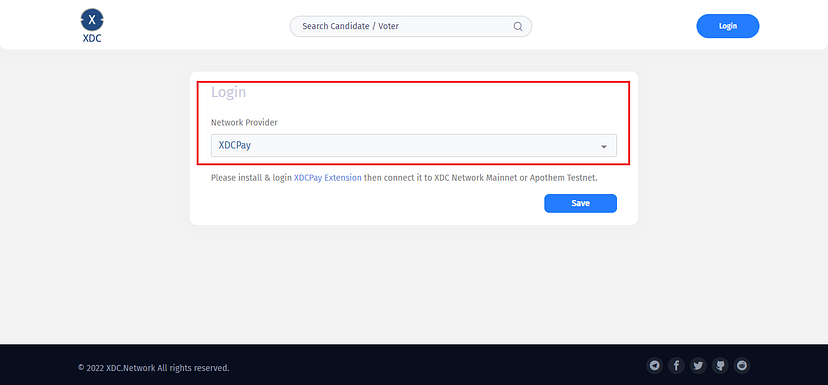
Let’s connect the Masternode application through XDCPay.
The XDCPay extension can be used for accessing the application in your browser. The XDCPay extension also lets the user create and manage their own identities via private keys, and local client wallets through which the application can perform a transaction and write to the blockchain.
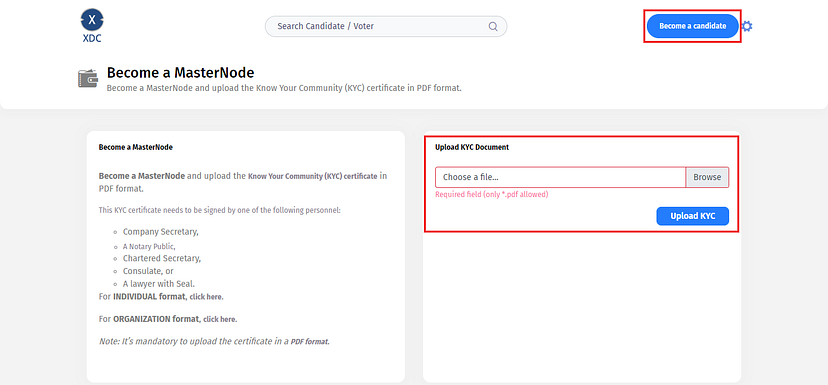
Once you log in successfully; For KYC, you need to click on the “Become a candidate” button to submit your KYC.
Refer to the below image for a better understanding:
Connect the Masternode application through BlocksScan Explorer.
Anyone who wants to access their Masternode through BlocksScan Explorer can simply visit the Validator Contract of XDC Masternode and interact with it.
Refer to this article to learn more about, Interacting with Smart Contracts on XDC BlocksScan
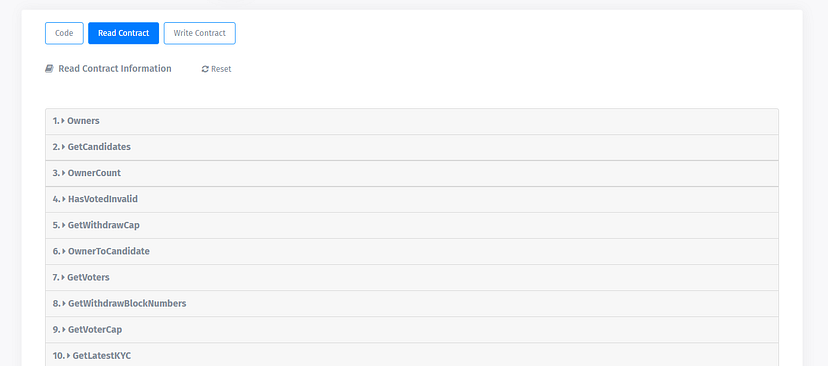
- To read the Contract, visit the “Read Contract” tab. Users can get the information by fulfilling the requirements like address and all. A total of 25 getter functions are available.
Example of calling the “GetCandidates” function:
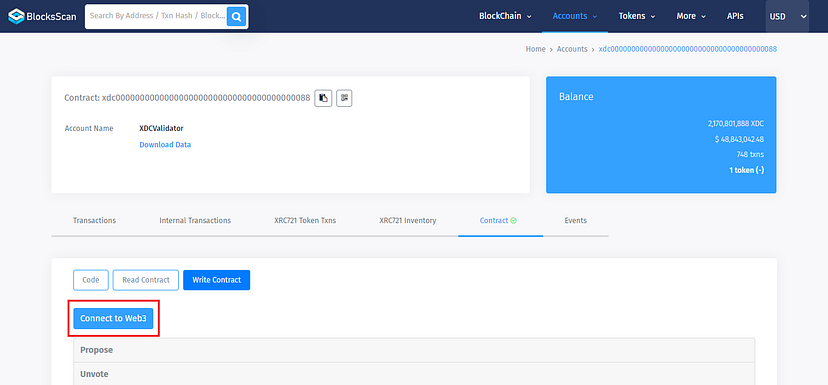
- To Interact with the XDCValidator Contract, visit the “Write Contract” tab.
Here User first needs to connect XDCPay with the contract by clicking the "Connect to Web3" button.
Note: Make sure you connect to your Masternode wallet only to call the “Write” Functions.
Steps to Host Masternode:
Step 1: Users need to Connect their Wallet by clicking on the “Connect to Web3” button.
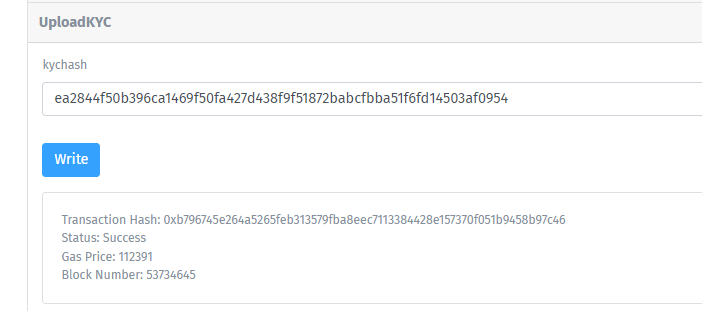
Step 2: Now they need to Upload their KYC by calling the “UploadKYC” function, here user needs to enter the “KYC Hash.”
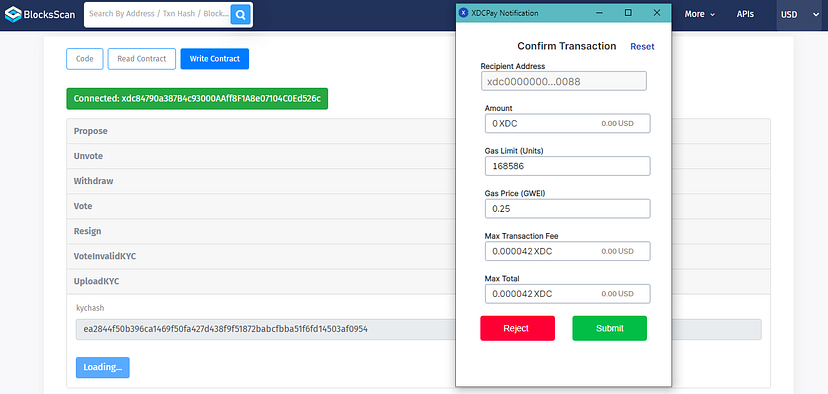
Once uploaded successfully, it will give you information like Tx Hash, Status, Gas Price, and Block Number.
Step 3: Once KYC is uploaded successfully, they need to propose an XDC Masternode by calling Propose” function.
Interact with XDCValidator contract using XinFin Remix + Metamask/XDCPay and Hardware wallet.
Steps to Interact with Masternode using XinFin Remix:
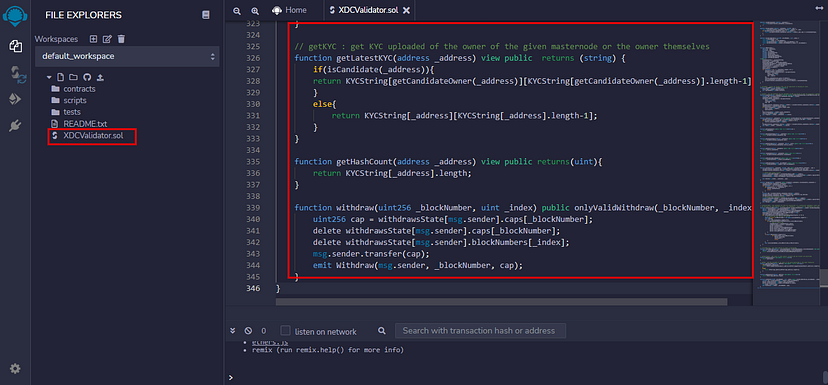
Step1: First copy the XDCValidator contract code.
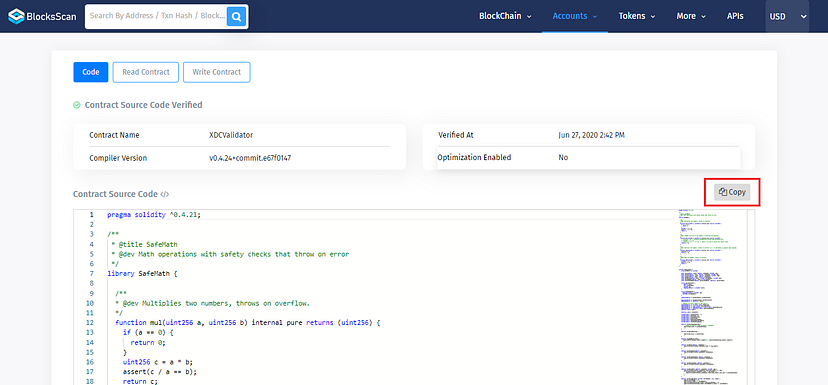
Step 2: Paste the copied code in XinFin Remix by creating one file name as “XDCValidator”.
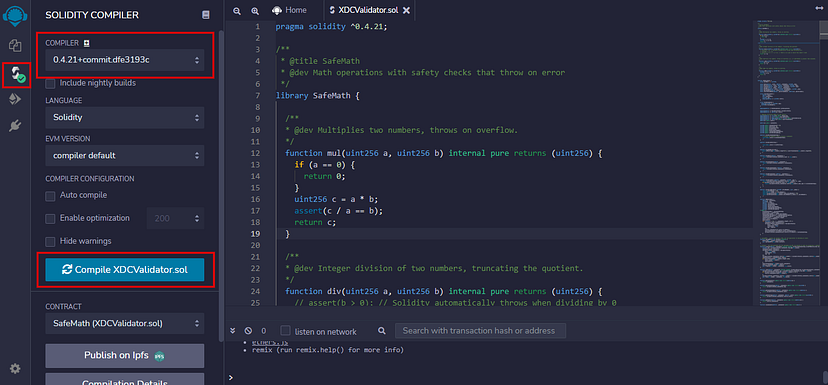
Step 3: Visit Compiler tab, Select the compiler version and click on “Compile XDCValidator.sol”
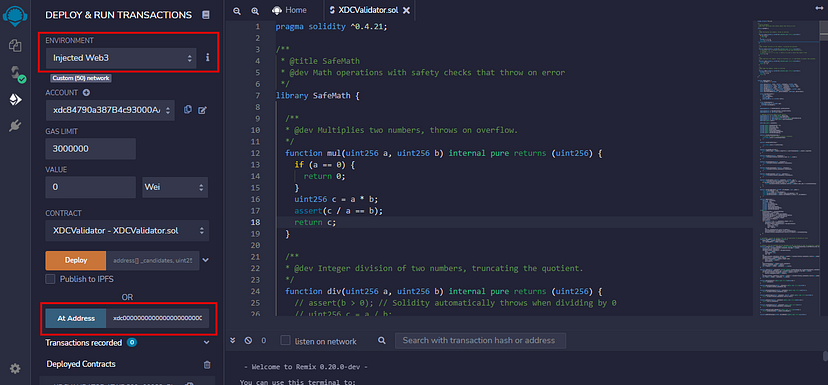
Step 4: Once Compile visit, “DEPLOY & RUN TRANSACTIONS” tab to Interact with the contract.
Note:
- Select environment as “Injected Web3”
- Enter the XDCValidator Contract address(xdc0000000000000000000000000000000000000088) in front of “At Address” field and click on “At Address” button to access the Function of the XDCValidator Contract.
Apart from XDCPay, BlocksScan Explorer and Using XinFin Remix + XDCPay/Metamask, Users can access their XDC Masternode through Hardware Wallets also like Trezor and Ledger.
Useful links:
Testnet / Apothem explorer:
XinFinScan Explorer
XDC BlocksScan Explorer
For any queries, follow BlocksScan — Social channels:


Discussion (0)