
Installation
This section explains how to install Kopia. For more installation instructions, see the Kopia documentation here.
Installation in Kali Linux(Ubuntu)
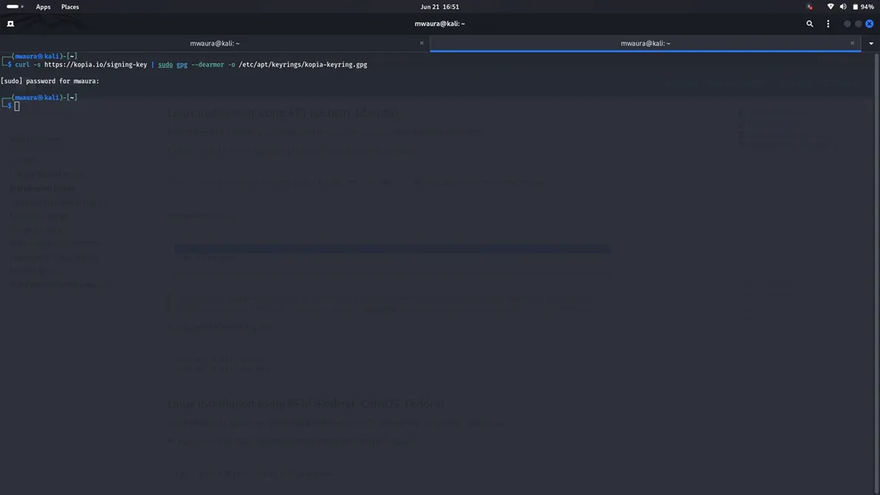
Kopia offers an APT repository compatible with Debian, Ubuntu, and similar distributions. To begin, install the GPG signing key to verify the authenticity of the releases.
curl -s https://kopia.io/signing-key | sudo gpg — dearmor -o /etc/apt/keyrings/kopia-keyring.gpg
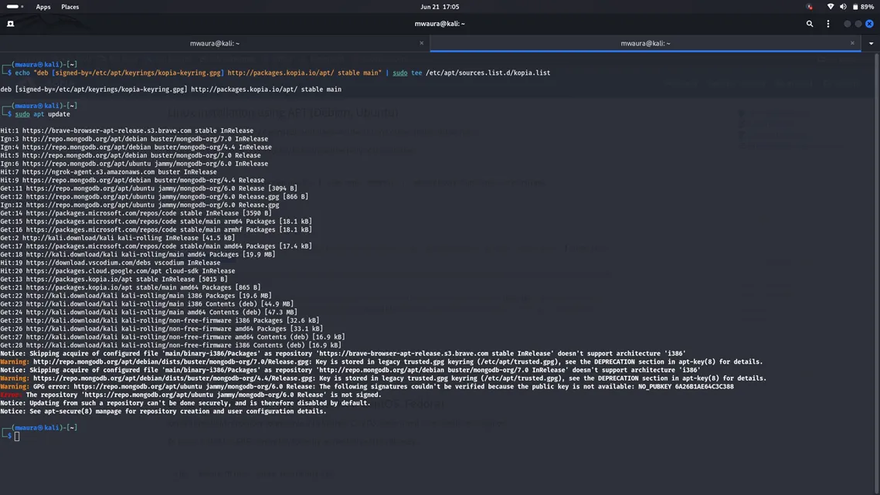
Register APT source:
echo “deb [signed-by=/etc/apt/keyrings/kopia-keyring.gpg] http://packages.kopia.io/apt/ stable main” | sudo tee /etc/apt/sources.list.d/kopia.list
sudo apt update
By default, the stable channel provides official stable releases. If you prefer, you can select the testing channel (which also provides release candidates and is generally stable) or unstable, which includes all the latest changes but may not be stable.
Finally, install Kopia or KopiaUI:
sudo apt install kopia
sudo apt install kopia-ui
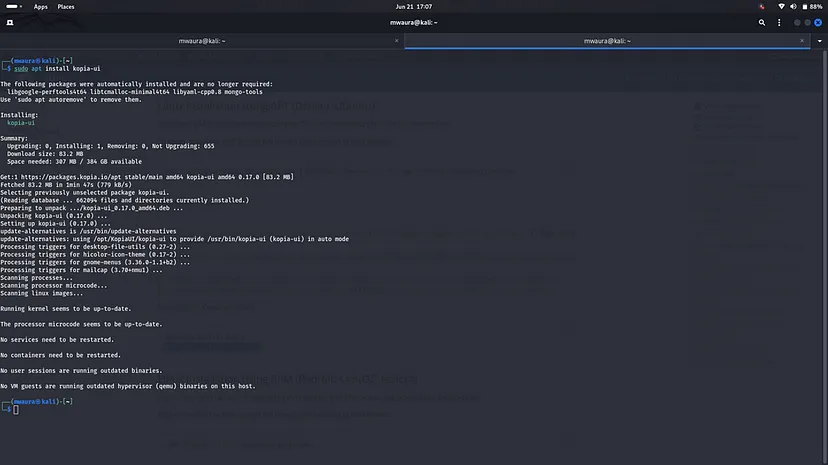
Kopia is installed!
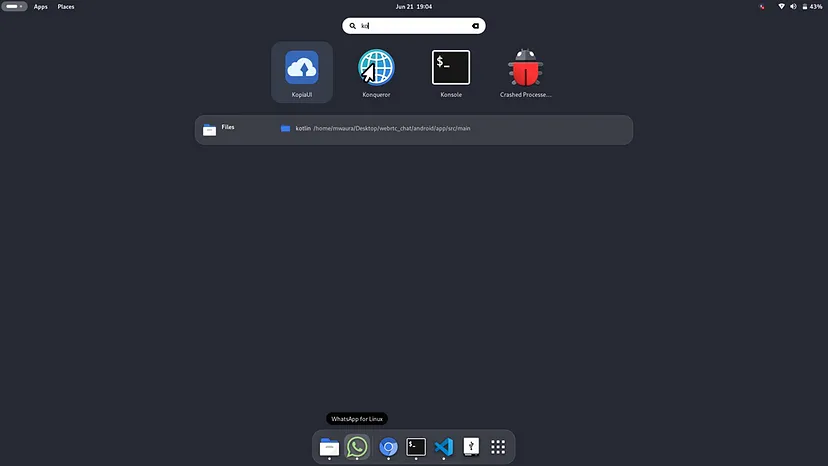
*Now open the Kopia in your Desktop.
Installation in Windows
⦁ Go to the releases page, select the latest tag/version, and download the latest Kopia installer version of Kopia. During the writing of this documentation, the latest version is 0.17.0; therefore, the download will be KopiaUI-Setup-0.17.0.exe
⦁ Go to your downloads folder and run the downloaded file
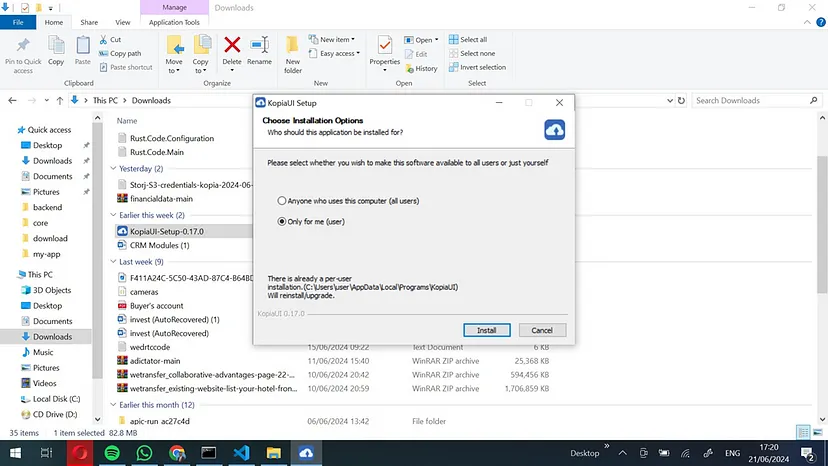
The installer will guide you through the installation steps.
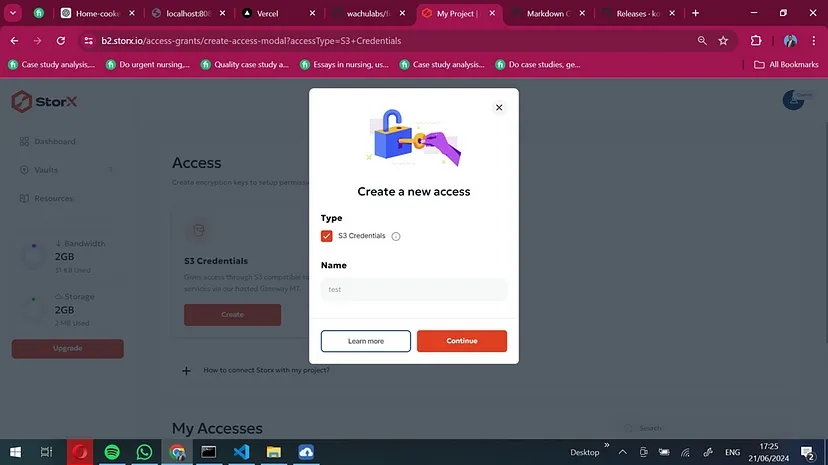
Get the API key and secret key
- Click the account button from the storx dashboard's top-left corner, and a drop-down menu will appear.
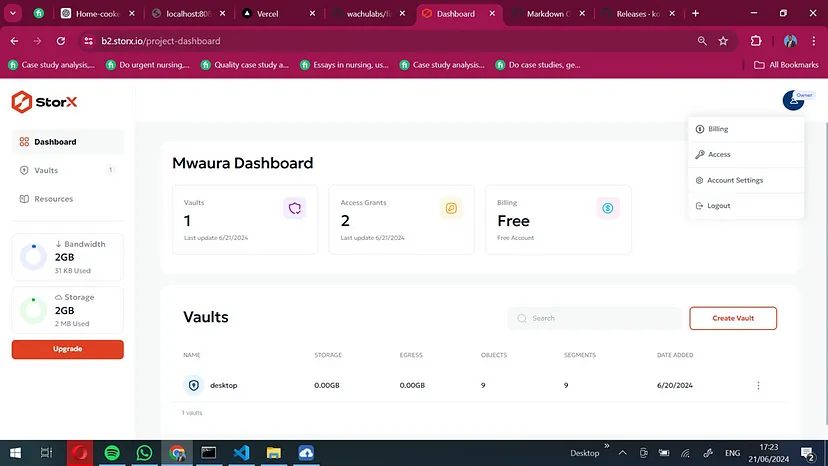
- Click Access
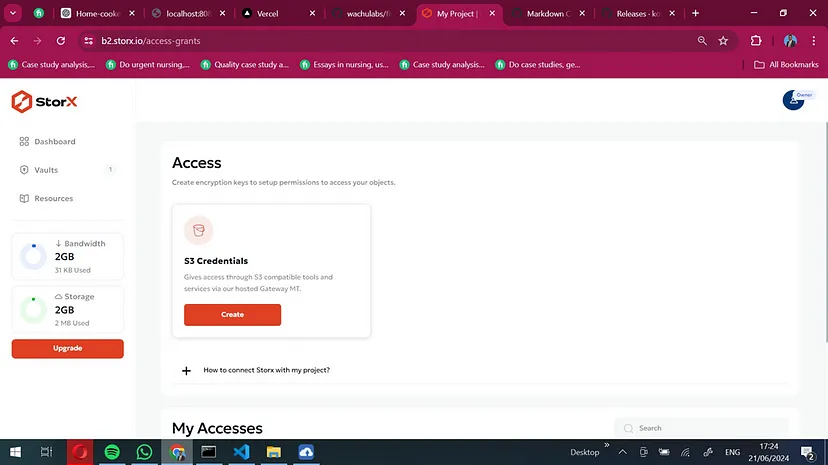
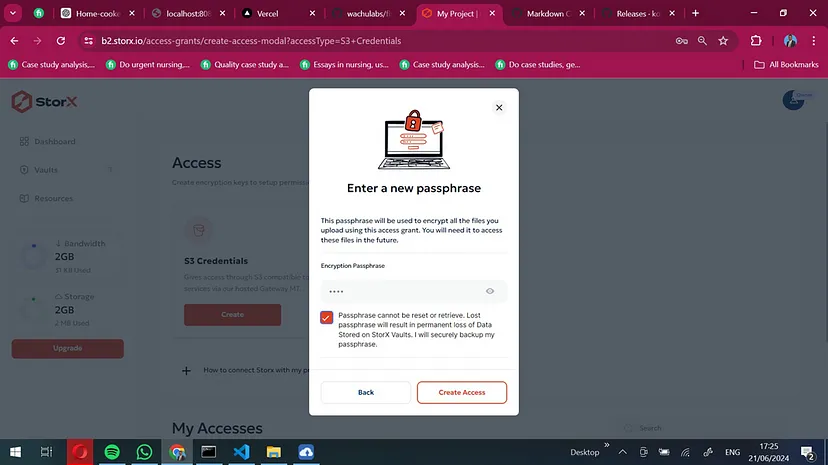
- Create s3 credentials.
- After successful creation, click download all then finish
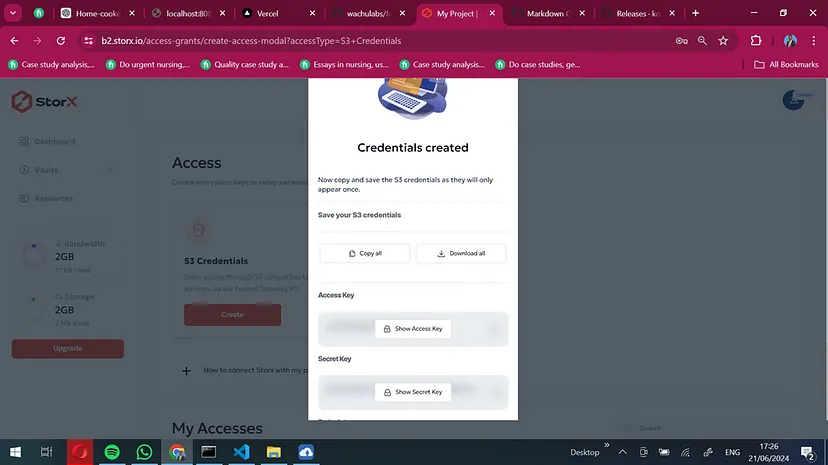
The downloaded file will have all the details you need to backup your files to the StorX from your desktop
JSON
Access Key:jucp2o2qXXXXXXXXXXXXXXXXXXXX
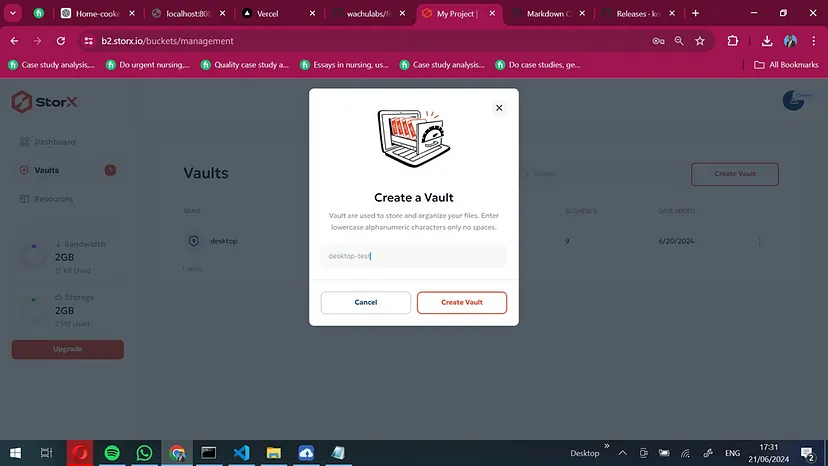
Secret Key: j3lolq5453ktsnnjfXXXXXXXXXXXXXXXXXXXXXXXXXXXXXXXXXXXX Endpoint: gateway.storx.ioCreate a vault that will be used
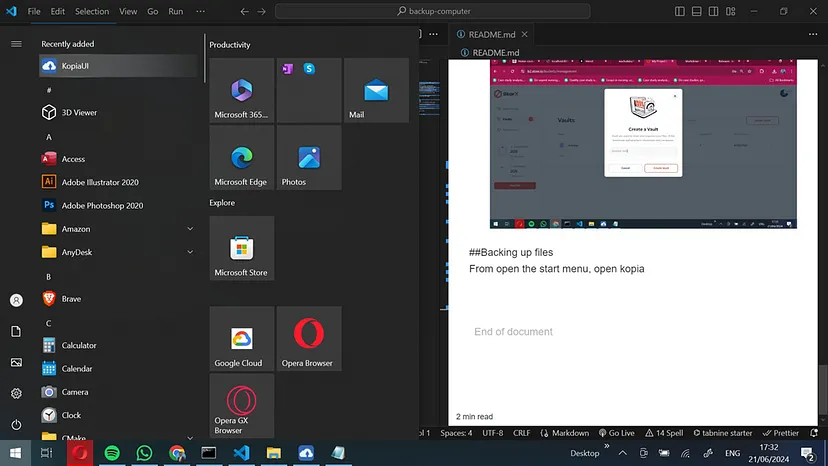
Backing up files
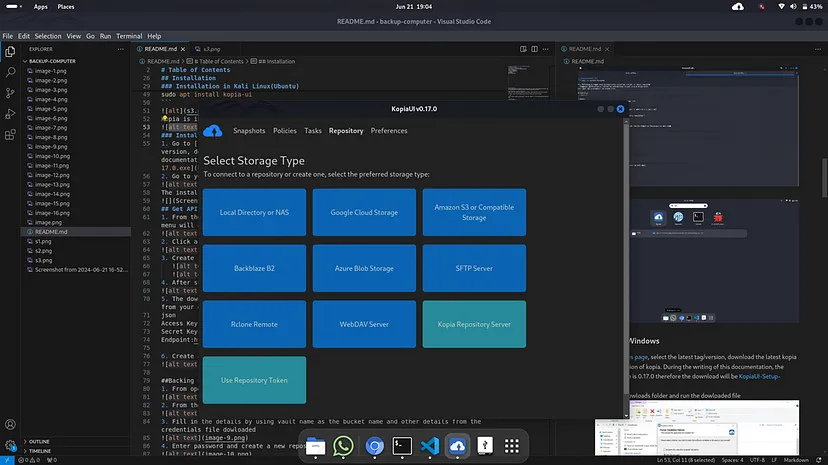
- From open the start menu, open Kopia.
- From the options given, click s3 or compatible storage

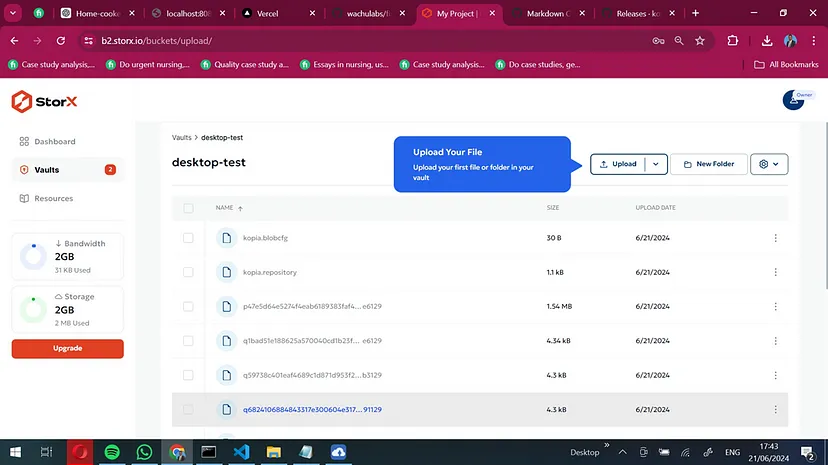
- Fill in the details by using the vault name as the bucket name and other details from the credentials file downloaded.

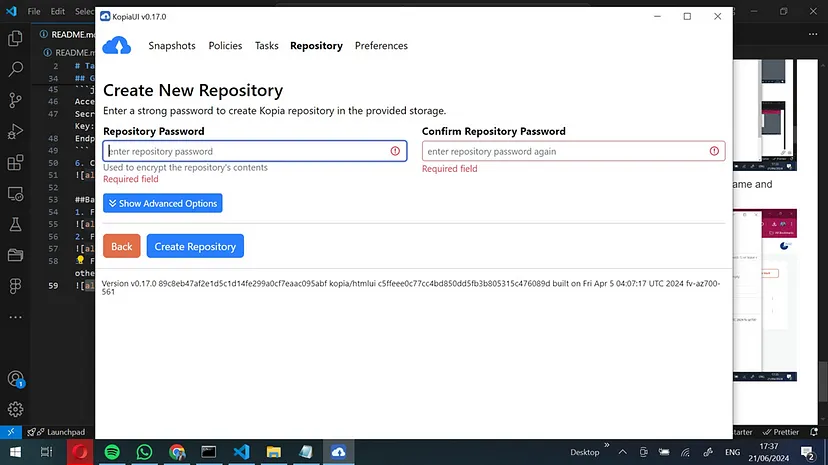
- Create your New repository: — ⦁ Provide the repository password. ⦁ Confirm the same repository password. ⦁ Click on the show advanced option to learn more about the encryption, hash algorithm, splitter, repository format, error correction overhead, error correction algorithm, username, and hostname. ⦁ Click on Create Repository.
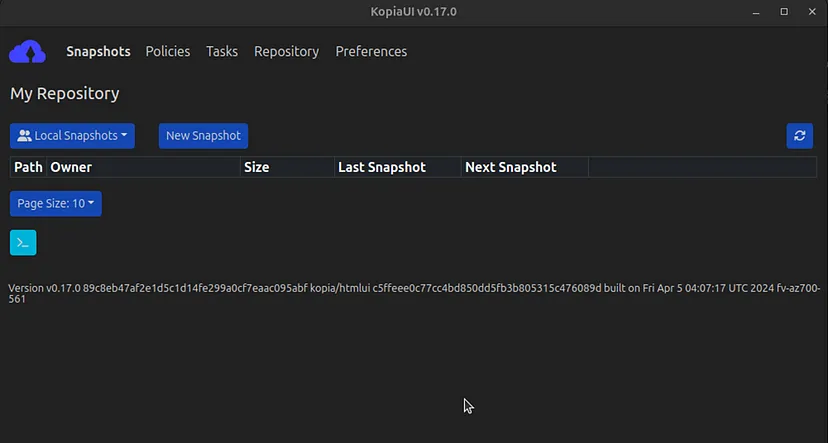
- This is the view of the repository.
- Create a new snapshot and select a folder to backup. See the documentation for more information about the settings. In this step, you can set the retention and sync periods.
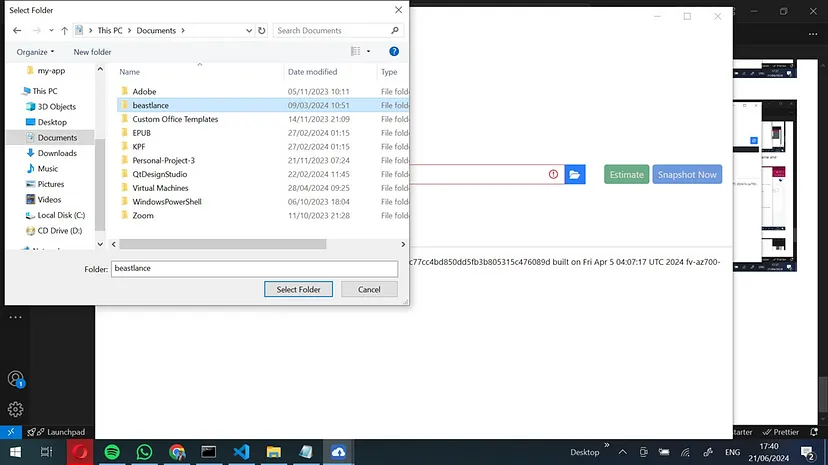
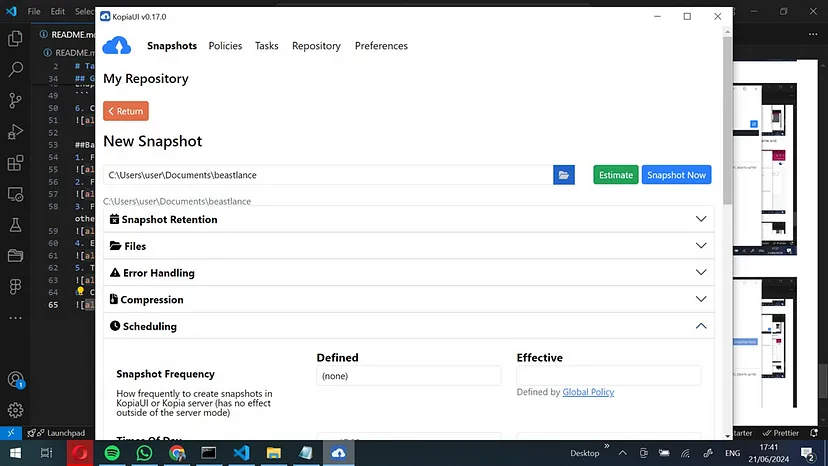
- Click snapshot now, and the file will be backed up.
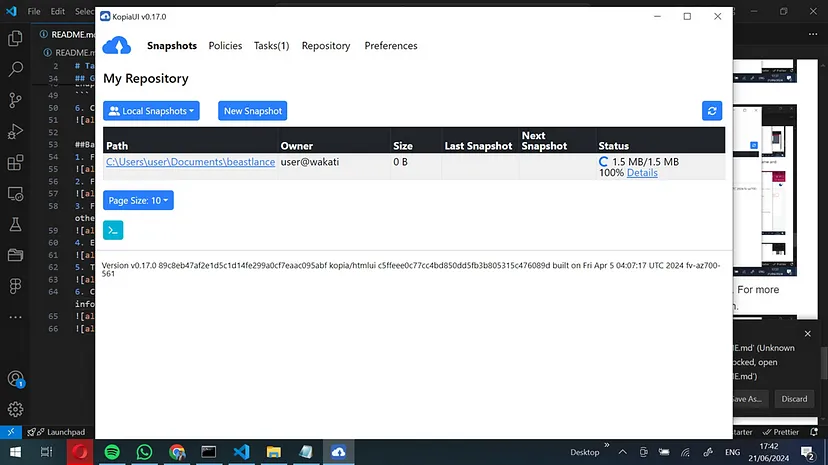
- The files will be automatically backed up.


Discussion (0)