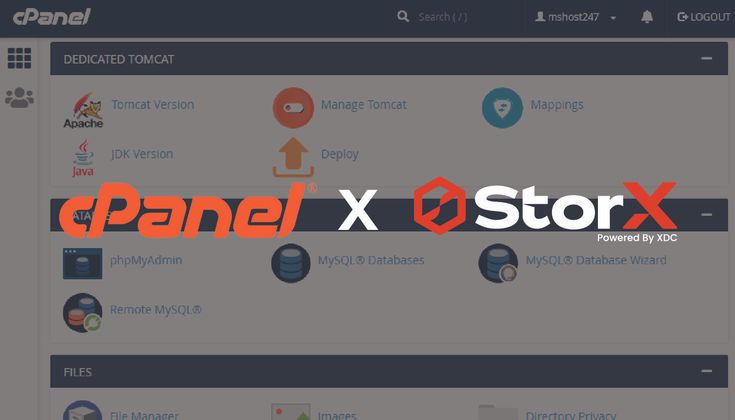
What is cPanel (Control Panel for Website Management)?
cPanel is a web-based control panel that allows users to manage their websites, domains, emails, databases, and files easily.
It is mainly used by website owners and hosting clients.
Provides a graphical interface for managing web hosting without needing to use command-line tools.
What are the use cases of integrating the cpanel with StorX?
- Website & Database Backups
Automatically backup website files, databases, and emails from cPanel to StorX.
Ensure disaster recovery in case of server failures, hacking, or accidental deletions.
Use cron jobs to automate periodic backups (daily, weekly, or monthly).
- Migration & Disaster Recovery
Quickly restore websites, databases, and configurations from StorX in case of system crashes.
Migrate cPanel accounts easily by restoring data from StorX to a new server.
- Offsite Backup for Hosting Providers
Hosting providers can offer remote backups to clients as an add-on service.
Protect customer data from local hardware failures and data loss risks.
- Log & Configuration File Archiving
Store server logs, configurations, SSL certificates, and other important files securely.
Retain logs for compliance, security auditing, and troubleshooting.
- Version Control & File History
Keep multiple versions of backups for easy rollbacks.
Restore a specific version of a file if an update breaks a website or database.
- Email Backup & Archiving
Backup all cPanel email accounts to StorX to ensure no email loss.
Useful for businesses needing long-term email storage & compliance.
- Reducing Local Storage Costs
Free up cPanel server storage by moving older backups to StorX.
Avoid disk space overages on web hosting plans.
- Secure & Encrypted Data Storage
Use StorX’s decentralized, encrypted storage to prevent data breaches & cyberattacks.
Ensure compliance with GDPR, HIPAA, and other data protection regulations.
- Backup Automation with Scripts & Tools
Use s3cmd, rclone, or cron jobs to automate backups from cPanel to StorX.
Integrate with cPanel backup tools (JetBackup, WHM backup, etc.) to store backups directly in StorX.
Prerequisite
Account in the cPanel and the Data in the Cpanel.
Account in StorX to get the Access credentials.
s3cmd tool
Operating system (Alma Linux, rocky Linux, etc..)
How to get the access key, secret key, and endpoints from the StorX?
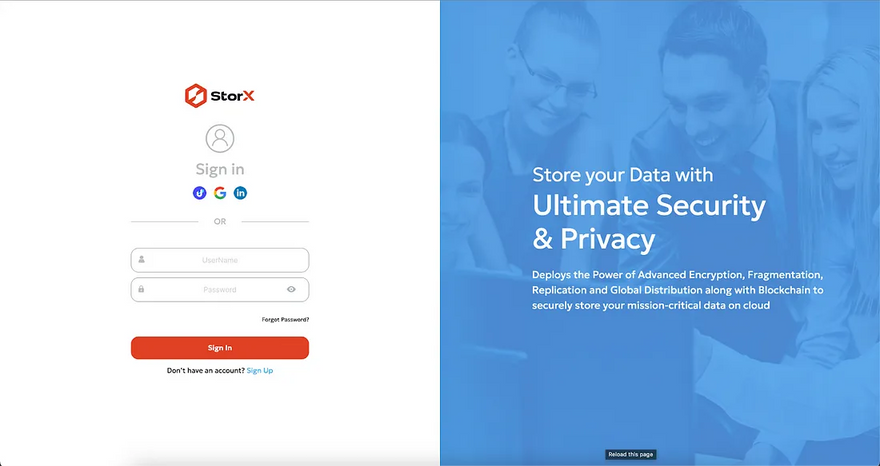
Login to your StorX account using your username password or any of the given social signup option
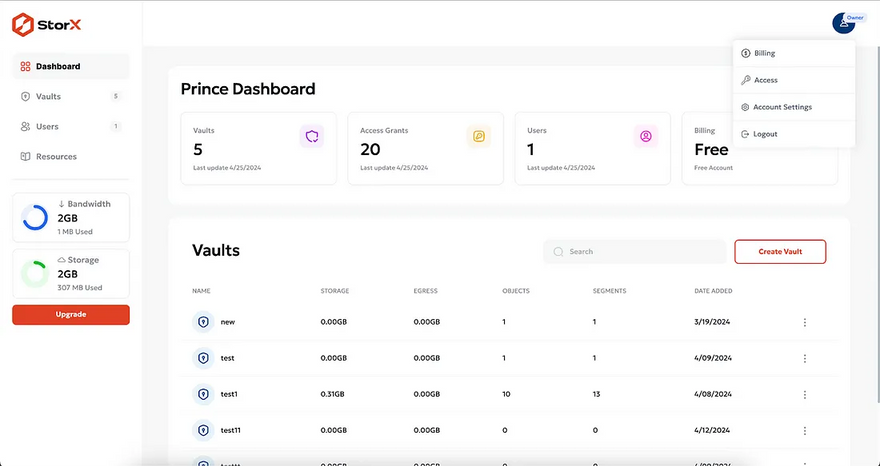
Once you login, you will reach the dashboard. In this dashboard, click on user icon at the top.
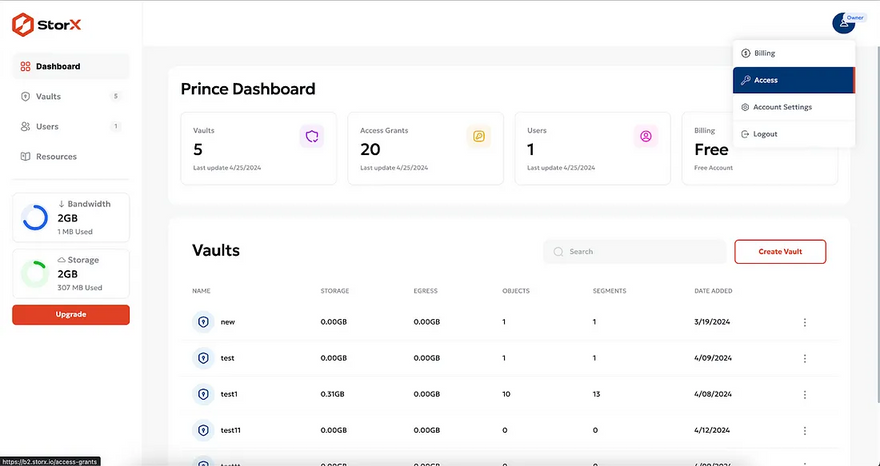
When you click on user icon, it will open dropdown list. From that list click on access.
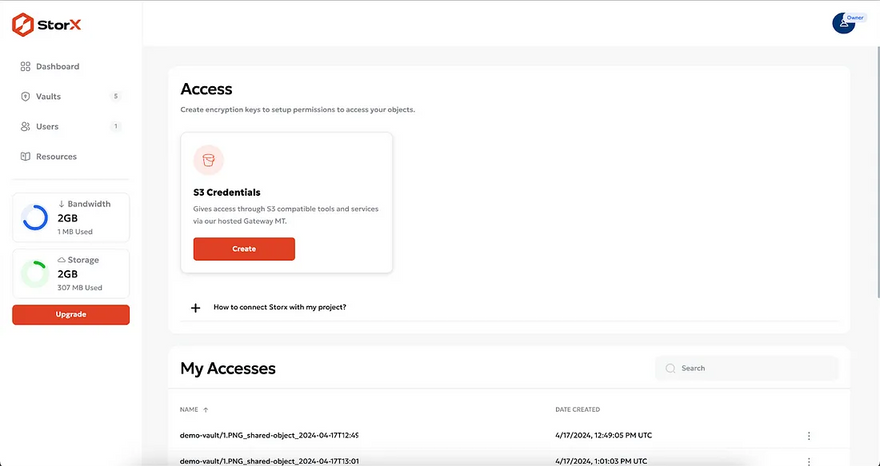
When you click on the access list, it will open this screen from where you can create an access token.
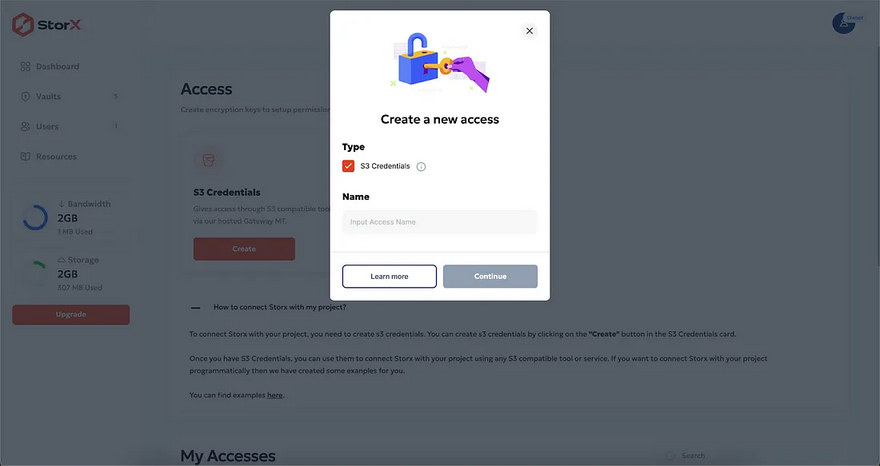
When you click on Create button it will open this popup
Provide a name to your access key and click on “Continue” button
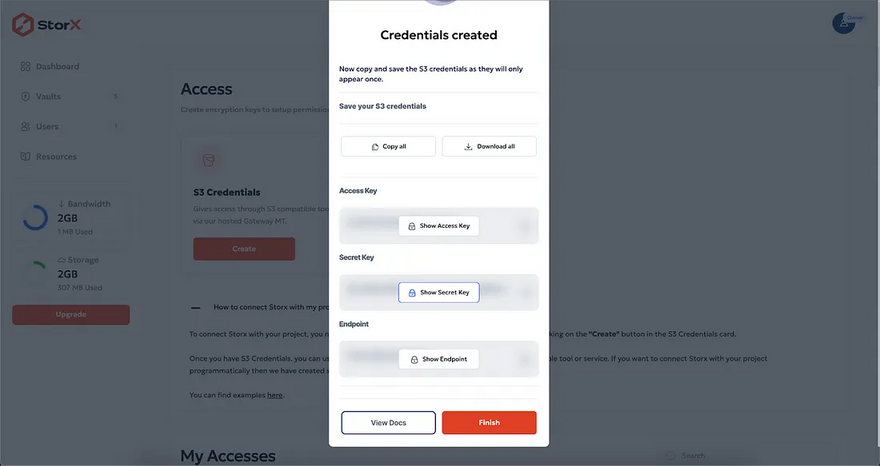
Once you confirm all the details and click on confirm it will open this popup with all required tokens
To copy All keys you can click on “copy” button
To download All keys you can click on “Download” button
If you click on Show Key it will show key for that block

These are the example values for how access key, secret key and Endpoint will have values.
Let’s look at how we can integrate the Cpanel with storX and automate the backup.
Step 1. Configure cPanel Backups
a. Enable Native cPanel Backup:
In WHM, navigate to Backup Configuration.
Enable backups and choose your preferred backup type (full or incremental).
Set the backup schedule (daily, weekly, etc.) and specify a local backup destination (e.g., a dedicated folder such as /home/backup/).
b. Verify Backup Output:
Ensure that the backups include customer accounts, databases, and configuration files that you need to protect.
Test a manual backup from cPanel to confirm that files are generated in the designated directory.
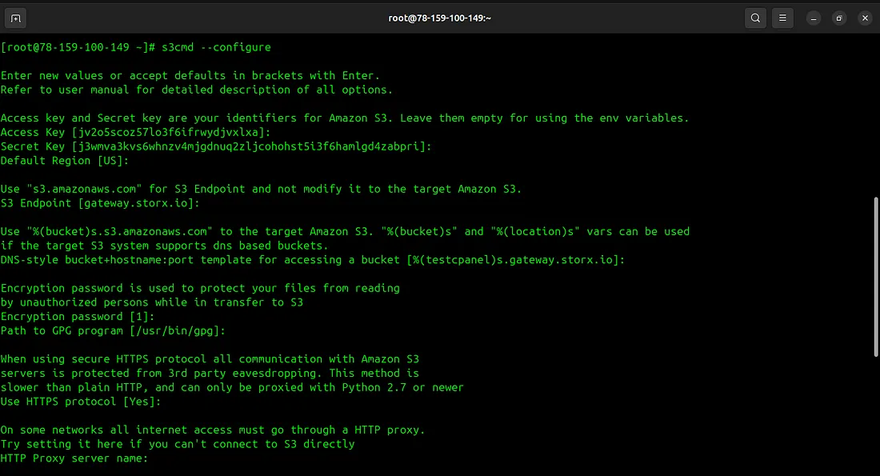
C. Let’s configure s3cmd with the storx using the access credentials:
Install s3cmd using the command below.
dnf install -y s3cmd

Once the installation is done you can check the version of the s3cmd using the command below for the confirmation.
s3cmd — version

So now you can see the s3cmd is successfully installed and is an updated version. Now we will start the configuration of the s3cmd using the command below.
s3cmd — configure
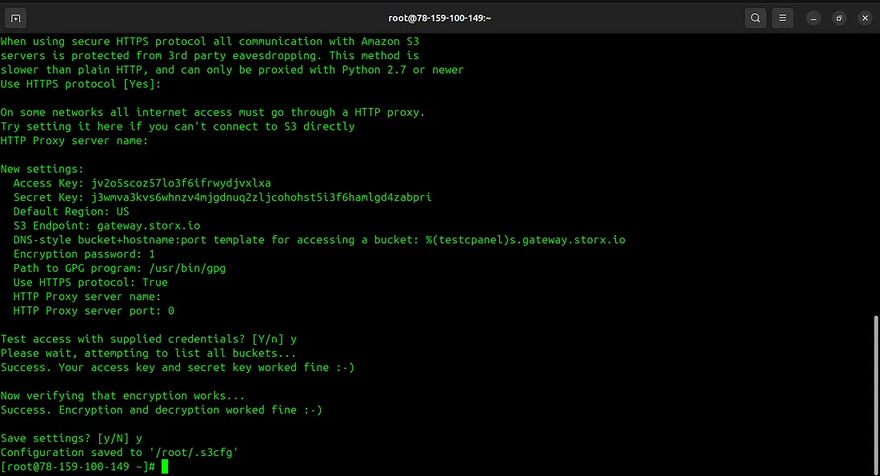
Once the configuration is made successfully using the access credentials of storX now lets see how we can transfer the file to the storX and automate the process.
Manually you can use the below command
s3cmd put /backup/your_backup_file_location s3://your_bucket_name/

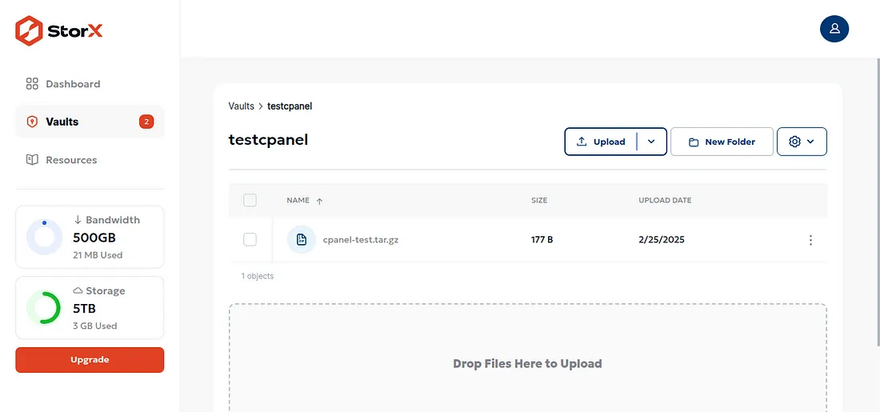
Login to storX to confirm as below.
Let’s Automate the process using the below Commands
Edit the crontab using the command below.
crontab -e
Add this line to back up daily at 2 AM
0 2 * * * tar -czvf /backup/cpanel-test.tar.gz -C /backup cpanel-test && s3cmd put /backup/your_file_location s3://your_bucket_name/

To confirm you can visit to storX and view the upload happening based on the time set.


Discussion (0)