Smart contracts are a fundamental aspect of blockchain development. In this article, we will walk you through the process of creating a simple (Pepe) smart contract and deploying it on the Apothem network using Truffle, a powerful development tool and testing framework. By following these steps, you’ll gain hands-on experience with Truffle and learn how to compile, deploy, and interact with your smart contract on the XDC Apothem.
Prerequisites:
- Node.js installed on your machine
- An XDC wallet for testing purposes. You can use the Metamask or Blockspay wallet by adding XDC Apothem Network.
To add network manually in Metamask refer below details:
XDC Apothem Network
RPC: https://rpc.apothem.network
Chain Id: 51
URL: https://apothem.blocksscan.io
Now, Let’s start the actual setup:
Step 1: Set Up a New Truffle Project
Create a new directory for your project using the command line. Execute the following commands:
mkdir truffleProject
For changing the directory, enter below command:
cd truffleProject
Step 2: Installing Truffle
Truffle simplifies smart contract development and provides a testing framework for blockchain networks. Install Truffle globally using the Node.js package manager by executing the following command in your terminal:
npm install -g truffle
Step 3: Funding your XDC Account
To proceed with deploying your smart contract on the Apothem network, you’ll need testnet XDC(tXDC) in your XDC account. Use the BlocksScan Faucet to load testnet XDC onto your account specifically for the Apothem network. If you plan to use a different network, ensure that you update your environment file with the appropriate network name.
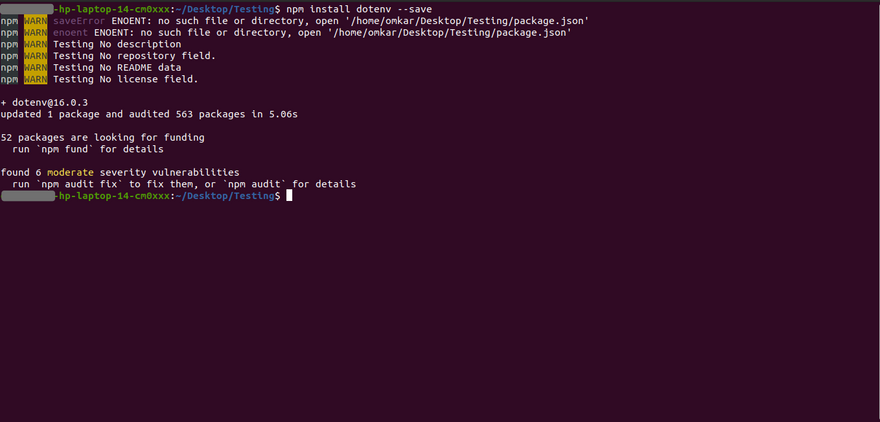
Step 4: Installing Dotenv
Dotenv allows you to store private environment variables in a .env file on your local machine. This is useful for securely managing your wallet’s mnemonic. Install the dotenv package by running the following command:
npm install dotenv –-save
Step 5: Creating a Truffle Project
Truffle provides a project initialization command that generates the necessary directory structure for testing and deploying contracts. Execute the following command to create a bare Truffle project:
truffle init
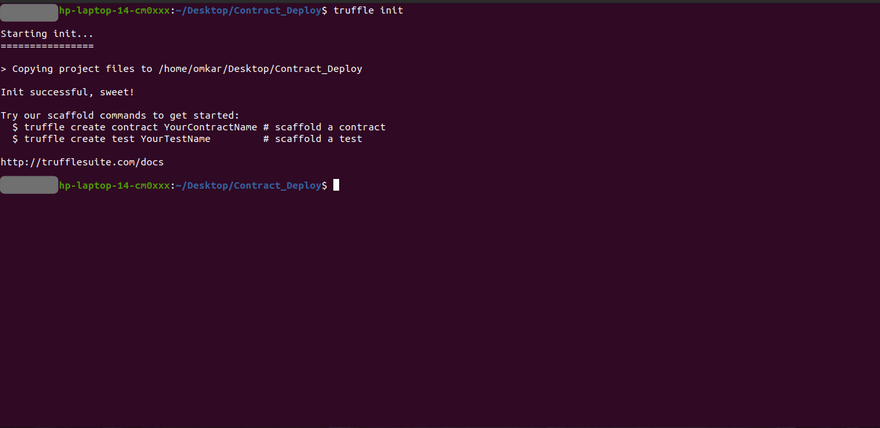
Truffle will create the following directory structure for your project:
- contracts/: Directory for your Solidity contracts
- migrations/: Directory for scriptable deployment files
- test/: Directory for files that test your application and contracts
- truffle-config.js: Truffle configuration file
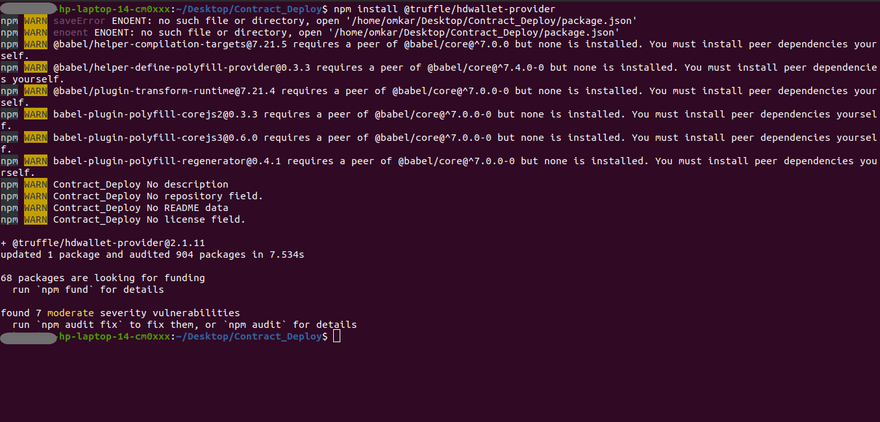
Step 6: Installing hdwallet-provider
“hdwallet-provider” is a package that enables transaction signing for addresses derived from a 12 or 24-word mnemonic. By default, the hdwallet-provider uses the first address generated from the mnemonic, but this behavior can be customized. Run the following command to install hdwallet-provider:
npm install @truffle/hdwallet-provider
Step 7: Creating the .env File
Create a .env file in your project directory to store your project and XDC apothem/mainnet account details securely. The .env file should include your Metamask/Blockspay and XDCpay secret recovery. Refer the below points:
- How to reveal a secret recovery phrase of Metamask
- How to reveal a secret recovery phrase of XDCPay
- BlocksPay
Here is an example of the .env file contents:
MNEMONIC = Your-Secret-Recovery-Phrase
Make sure to replace with the mnemonic of your wallet. Remember, never disclose your secret recovery phrase as it can be used to steal your assets.
Step 8: Creating a Smart Contract
Using your preferred code editor, create a new file called PepeToken.sol within the contracts/ directory. This file will contain a basic smart contract called PepeToken. Here’s an example of the contract code:
Refer this link to copy the PepeToken contract code.
Step 9: Configuring Truffle Settings
Modify the truffle-config.js file located in the root directory of your project. This file contains the configuration settings for Truffle, including the integration of the HDWalletProvider and network-specific deployment configurations. Make sure to require the dotenv package and access the required environment variables. Refer to the Truffle documentation for detailed information on configuring Truffle settings.
require('dotenv').config();
    const { MNEMONIC } = process.env;
    const HDWalletProvider = require('@truffle/hdwallet-provider');

    module.exports = {

      networks: {

        xinfin: {
          provider: () => new HDWalletProvider(
            MNEMONIC,
            'https://erpc.apothem.network/'),
          network_id: 50,
          gasLimit: 6721975,
          confirmation: 2,
        },

        apothem: {
          provider: () => new HDWalletProvider(
            MNEMONIC,
            'https://erpc.apothem.network'),
          network_id: 51,
          gasLimit: 6721975,
          confirmation: 2,
        }
      },

      mocha: {
      },

      compilers: {
        solc: {
          version: "0.8.16",
        }
      },
    };
Step 10: Compiling the Smart Contract
To compile the smart contract, navigate to the root directory of your project in the terminal and run the following command:
truffle compile
If the compilation is successful, you’ll see output similar to the following:
Compiling your contracts...
===========================
> Compiling ./contracts/PepeToken.sol
> Artifacts written to /home/omkar/Desktop/New_truffle/build/contracts
> Compiled successfully using:
   - solc: 0.8.16+commit.07a7930e.Emscripten.clang
The compiled artifacts will be placed in the build/contracts/ directory relative to your project root.
Step 11: Creating the Deployment Script
Truffle uses migration scripts to deploy smart contracts. These scripts are located in the migrations/ directory and are numbered to determine the execution order. Create a new file called 1_deploy_contract.js in the migrations/ directory and add the following code:
const Demo_Contract = artifacts.require("PepeToken");

let TotalValue = 100000000000;

module.exports = function(deployer) {
  deployer.deploy(Demo_Contract,TotalValue);
};
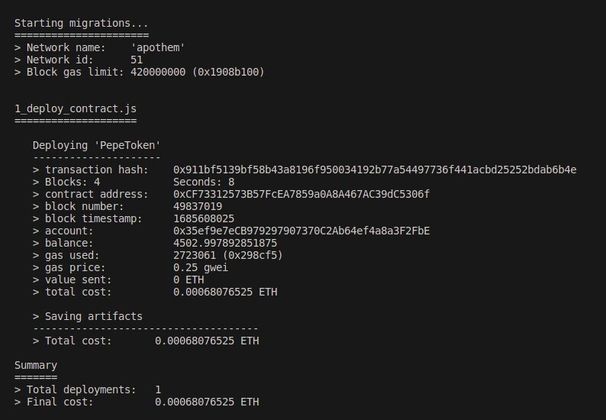
Step 12: Deploying the Smart Contract
To deploy the smart contract on the XDC Apothem network, execute the following command in the terminal:
truffle migrate --network Apothem
If the deployment is successful, you’ll see a response similar to the following:
Compiling your contracts...
===========================
> Everything is up to date, there is nothing to compile.
Starting migrations...
======================
> Network name:    'apothem'
> Network id:      51
> Block gas limit: 420000000 (0x1908b100)
1_deploy_contract.js
====================
   Deploying 'PepeToken'
   ---------------------
   > transaction hash:    0x4caecd574ccd8553e163d2e5aa74ab229cd62198484ed9036435382868405f47
   > Blocks: 2            Seconds: 4
   > contract address:    0x7A95f2579eF1700048455271272f178e79b965E6
   > block number:        49838985
   > block timestamp:     1685611976
   > account:             0x35ef9e7eCB979297907370C2Ab64ef4a8a3F2FbE
   > balance:             4502.997212086625
   > gas used:            2723061 (0x298cf5)
   > gas price:           0.25 gwei
   > value sent:          0 ETH
   > total cost:          0.00068076525 ETH
   > Saving artifacts
   -------------------------------------
   > Total cost:       0.00068076525 ETH
Summary
=======
> Total deployments:   1
> Final cost:          0.00068076525 ETH
Use a block explorer like BlocksScan to view the transaction details, that includes transaction hash, contract address, block number, and gas usage.
Congratulations! You have successfully created a simple smart contract and deployed it on the Apothem network using Truffle. This article has provided you with a solid foundation for working with Truffle and deploying contracts on the XDC network (apothem/mainnet). Explore the documentation and resources to expand your knowledge and continue building decentralized applications.For any doubts or questions comment below or post on social media tagging BlocksScan.
Follow us to know more updates:


Discussion (0)