
We are excited to announce the Beta launch of BlocksPay, a new and innovative cryptocurrency wallet that allows users to securely store, manage, and transact with their digital assets. With the growing popularity of cryptocurrencies, we saw a need for a wallet that is not only secure and user-friendly but also offers a range of advanced features that make managing digital assets easier than ever before.
BlocksPay is a wallet that gives you easy access to all things in crypto and web3. Switch accounts and chains with 1 click. BlocksPay currently supports the XDC and Ethereum with more chains on the way!
What is BlocksPay?
BlocksPay is a cryptocurrency wallet used to interact with the EVM Compatible blockchains such as XDC Network, Ethereum, and many more in near future. It allows users to access their EVM compatible wallet through a browser extension that can be used to interact with decentralised applications. BlocksPay is developed by BlocksScan Technologies Pvt. Ltd., a blockchain software company focusing on EVM Compatible Blockchain-based tools and infrastructure.
BlocksPay allows users to store and manage account keys, broadcast transactions, send and receive EVM Compatible cryptocurrencies and tokens, and securely connect to decentralized applications through a compatible web browser.
Decentralized applications can establish a connection with a user’s BlocksPay wallet, verify their identity, and/or integrate other smart contract functionality. This enables decentralised applications to send action requests, signature requests, and transaction requests to the user using BlocksPay.
In short, BlocksPay is a wallet that gives you easy access to all things crypto and web3. Switch accounts and chains with 1 click. BlocksPay currently supports the XDC and Ethereum with more chains on the way!
Create an Account on BlocksPay!
BlocksPay is very easy to use with a user-friendly interface. Before using it you need to create an account on BlocksPay.
Step 1: Click on the “Create a new wallet” button to Create your BlocksPay Account.
If you have the Seed phrase of the existing wallet then click on the “Restore existing wallet”.

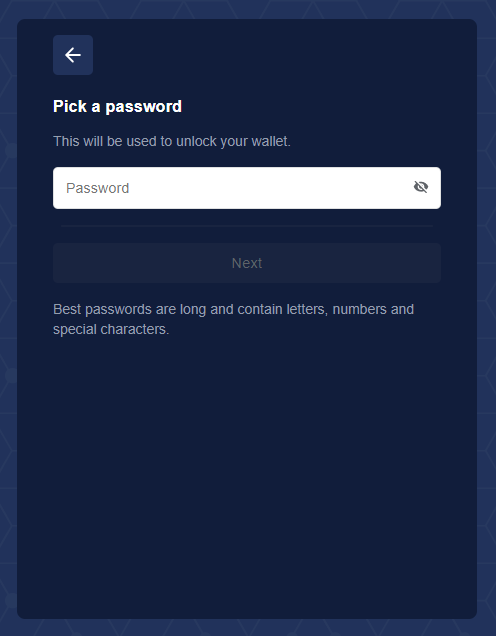
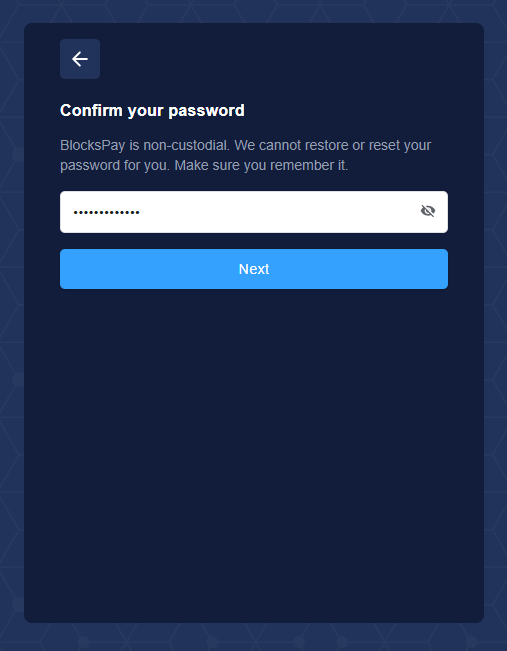
Step 2: Pick a strong password for the BlocksPay, Confirm the password and click on the “Next” button. This will be used to unlock the BlocksPay wallet.
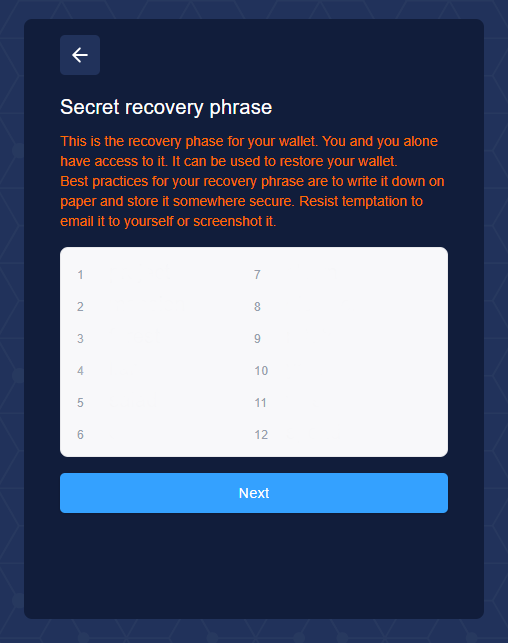
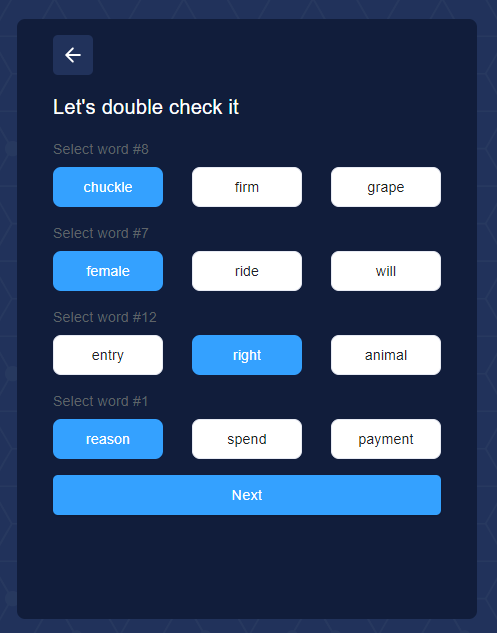
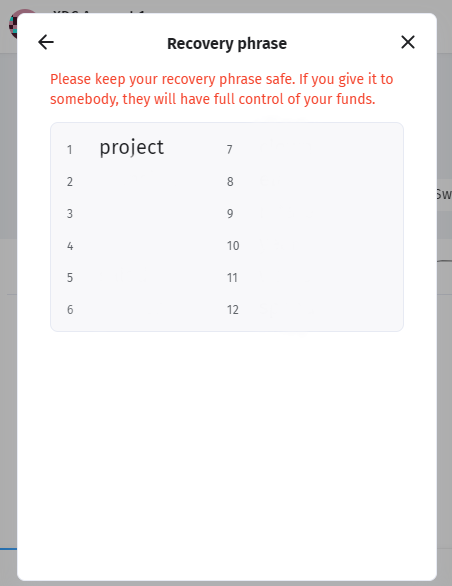
Step 3: After clicking on the Next button, the user will be able to see the 12 Seed Words.
This is the recovery phase for your wallet. You and you alone have access to it. It can be used to restore your wallet. Best practices for your recovery phrase are to write it down on paper and store it somewhere secure. Resist the temptation to email it to yourself or screenshot it.
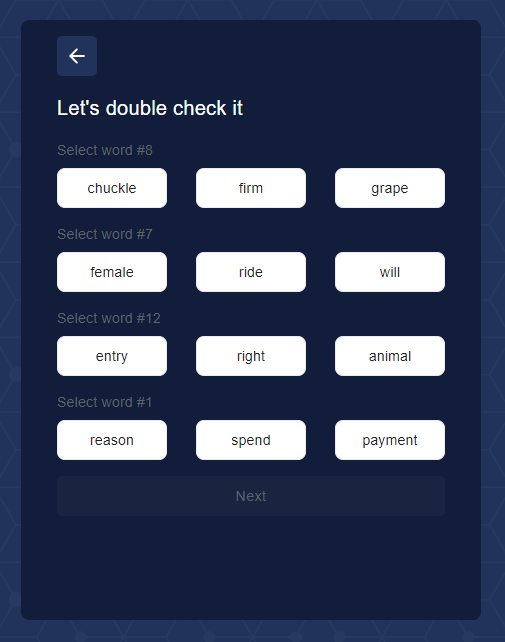
Now select the words and click on the “Next” button.
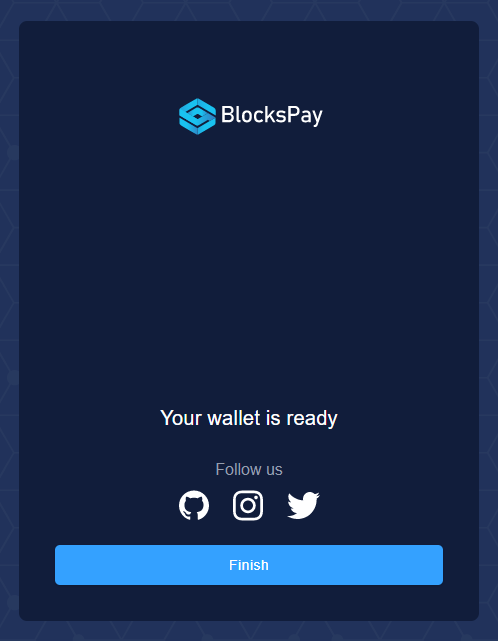
Step 4: Click on the Finish button. To Pin the BlocksPay extension, Click on the puzzle icon on the Browser, Find BlocksPay icon and click on the Pin icon to pin it.
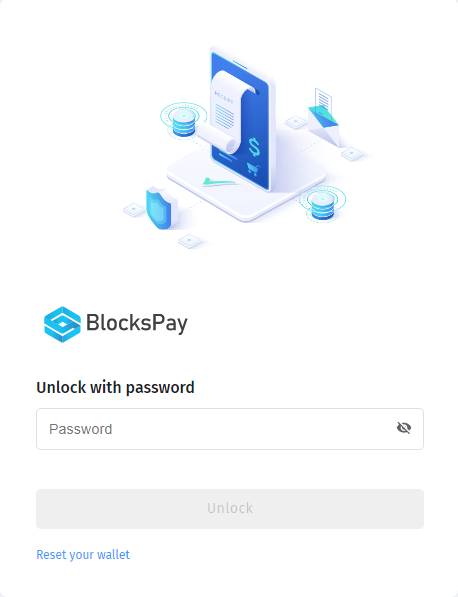
Now access the wallet by Unlocking it with the Password.
On the Dashboard screen, users will be able to check the Balance and other options.
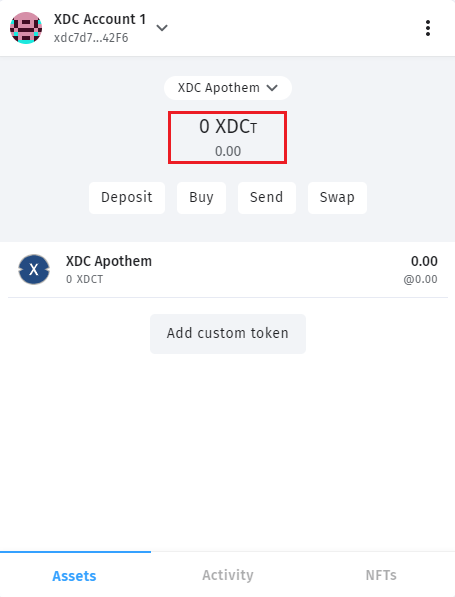
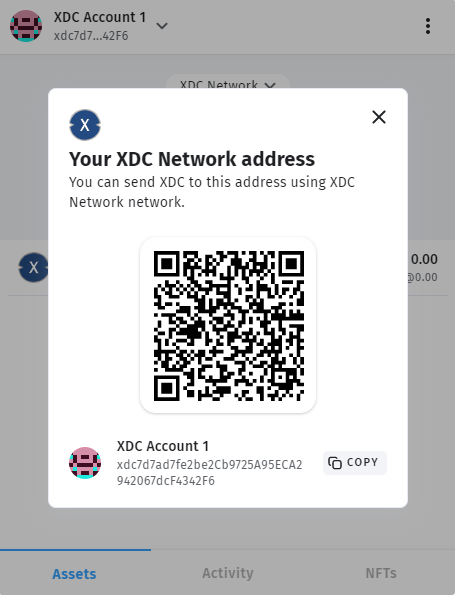
To check the details about the Account address, click on the “Deposit” button. Here, users can see their complete address along with QR code..
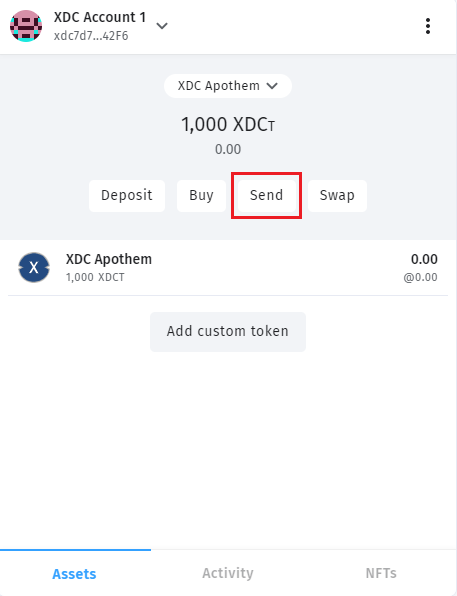
How to do Transactions on the BlocksPay.
- Click on the send button to send the XDC, XDCT(Testnet/Apothem XDC) or XRC20 tokens.
- Here, users need to enter the Receiver’s XDC address, select XDC, XDCT(Testnet XDC) or XRC20 tokens and enter the Amount that needs to be sent.
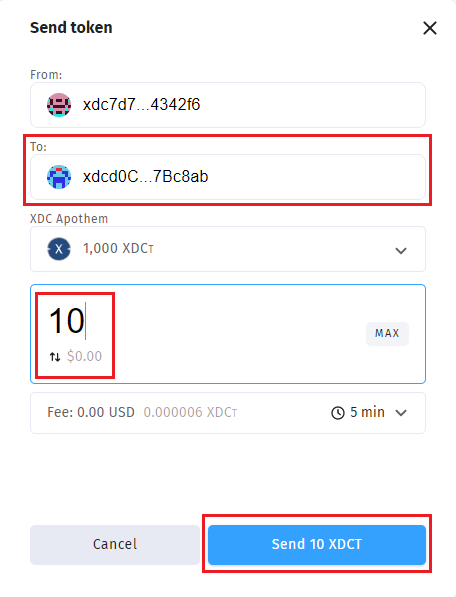
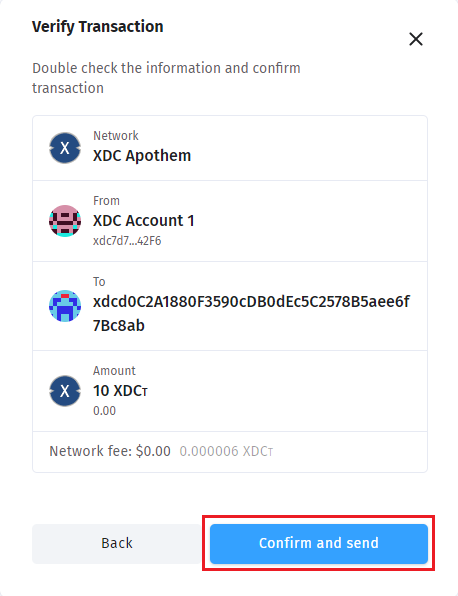
- After confirming all the things, complete the transaction, by clicking on the “Confirm and send” button.
Add Multiple Account on BlocksPay
Users can add multiple accounts on BlocksPay either by Creating a new account or they can Import their existing account with a Private Key or with a Keystore file.
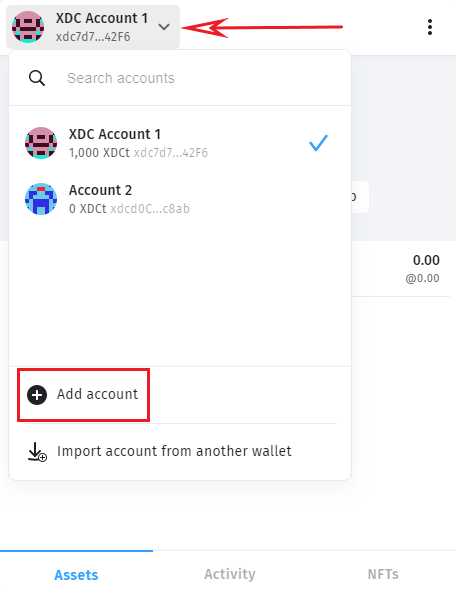
- To add multiple addresses, click on the “Accounts” tab then “Add account” button.
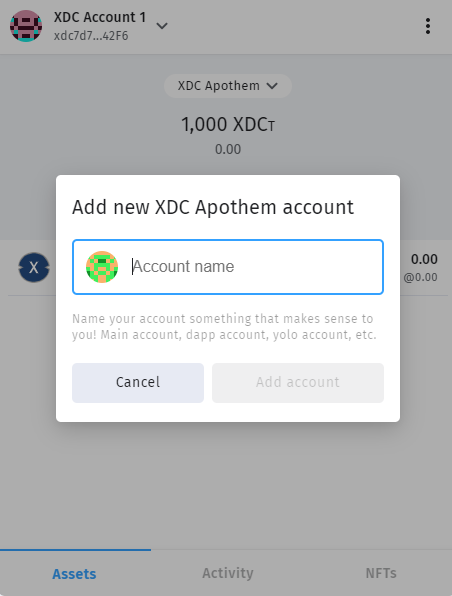
- Now, Enter the name of the account and click on the Add account button.
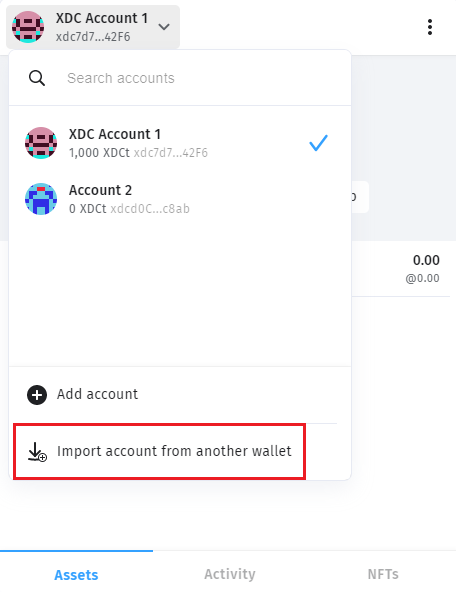
- For importing your existing account to BlocksPay click on the “Import account from another wallet”.
Here, Users will have TWO options to Import the Account to the BlocksPay.
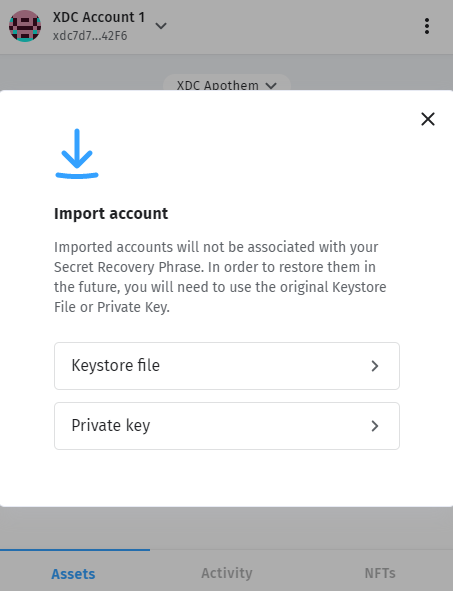
Note: Imported accounts will not be associated with your Secret Recovery Phrase. In order to restore them in the future, you will need to use the original Keystore File or Private Key.
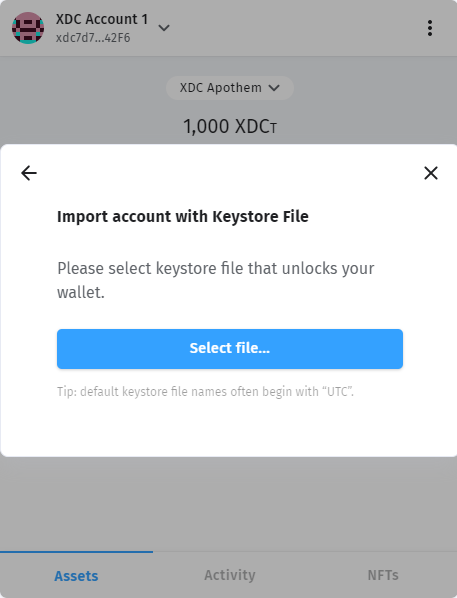
Import account with KeyStore file:
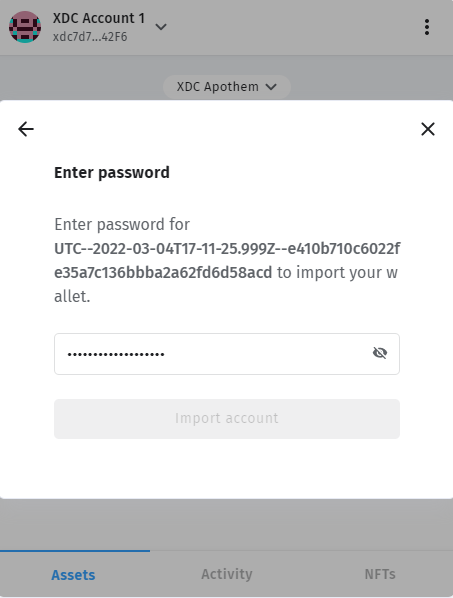
To import with Keystore file, Users need to upload/import a keystore file and need to enter a keystore password to unlock the BlocksPay, Once done click on the “Import account” button.
Tip: Default keystore file names often begin with “UTC”.
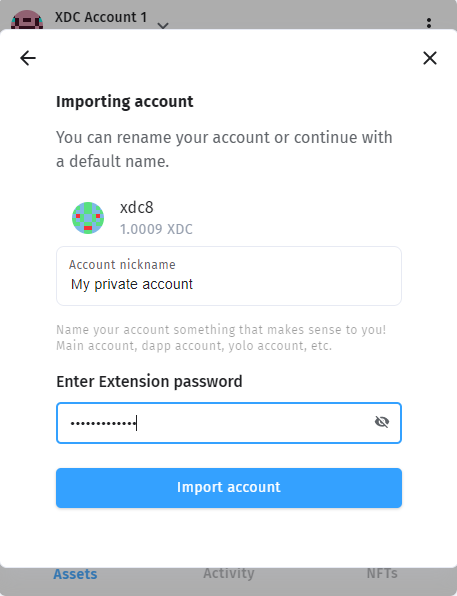
- Now, User need to enter the BlocksPay extension password.
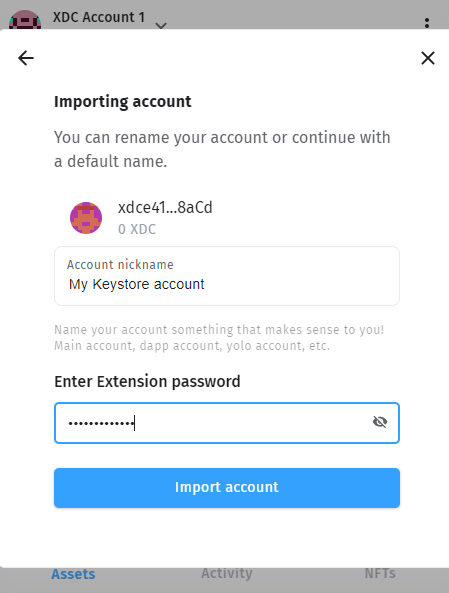
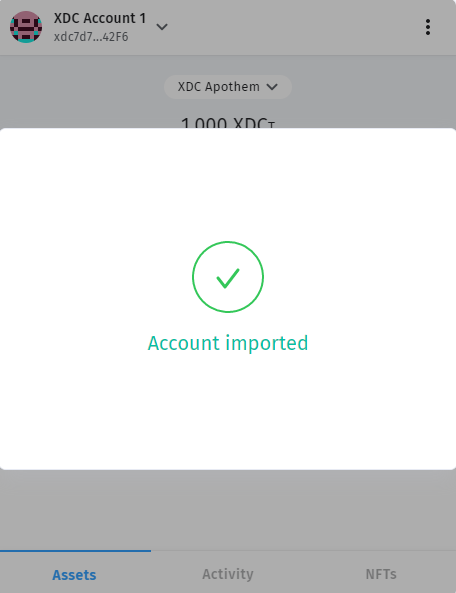
- Account Imported with a Keystore file!

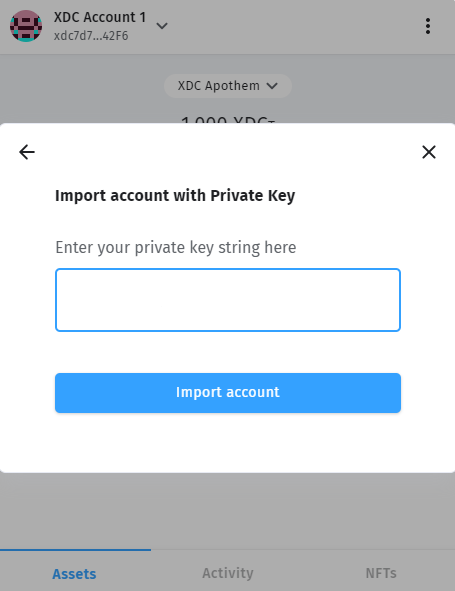
Import account with a Private Key:
To import with Private key, Click on the Import Private Key option. Enter your private key string and click on the “Import account” button.
- Now, User need to enter the BlocksPay extension password.
- Account Imported with Private key!
Switching Accounts(Address)
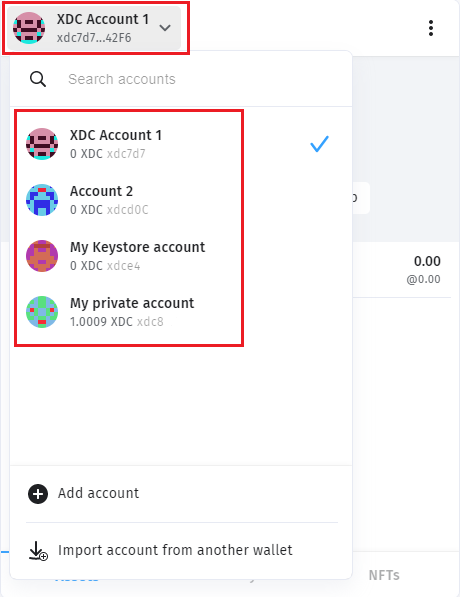
It is very easy to switch the accounts on BlocksPay. Click here on the Account tab and the user can see the multiple addresses added in the BlocksPay.
Users can switch on any address by just clicking on it. Also they can add multiple addresses by clicking on “Add account”.
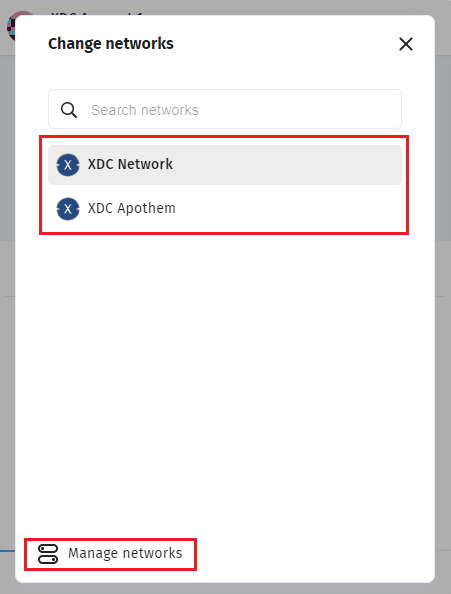
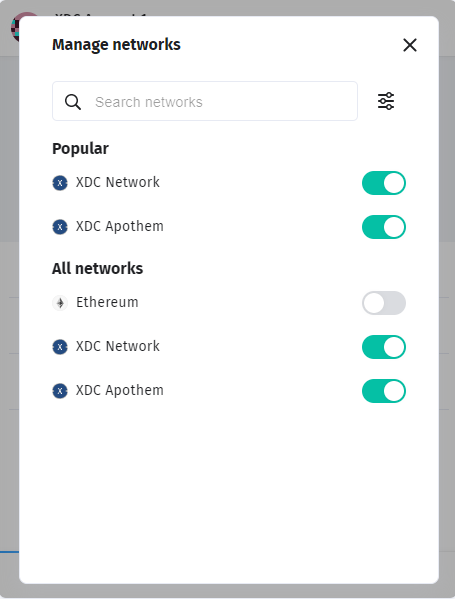
Switch to Multiple Network
Click on the “XDC Network” and Users will see the below screen, User can select the Network from here.
To manage the Networks, Click on the Manage Network icon and Unable the networks which you want.

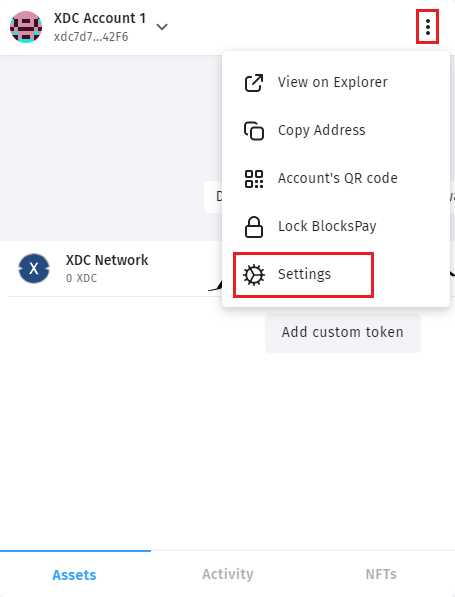
The most important functionality, user must know: How to Export/View the Recovery phrase
- Click on the THREE dots and then visit “Settings” tab
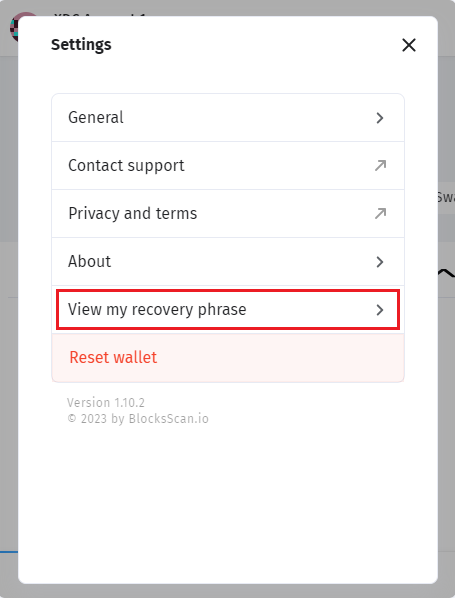
- Now, click on the “View my recovery phrase” button.
- Enter the Password to view a recovery phrase(seed phrase).
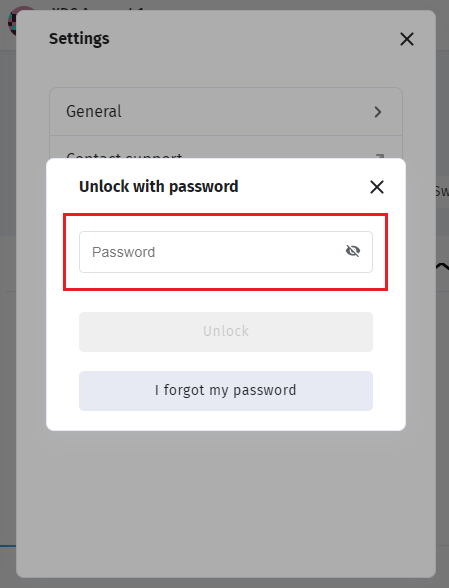
- This is how, users can see the their Recovery phrase.
For any queries email us at support@blocksscan.io
Don’t forget to follow us on


Discussion (2)