This guide walks you through the end-to-end steps to host an XDC Network Masternode — whether you’re using:
- Private Key / Mnemonic phrase
- Fireblocks/Other Wallet via WalletConnect v2
- XDCPay / Keystore or browser wallets
From server setup, wallet login, KYC submission, staking, to node activation.
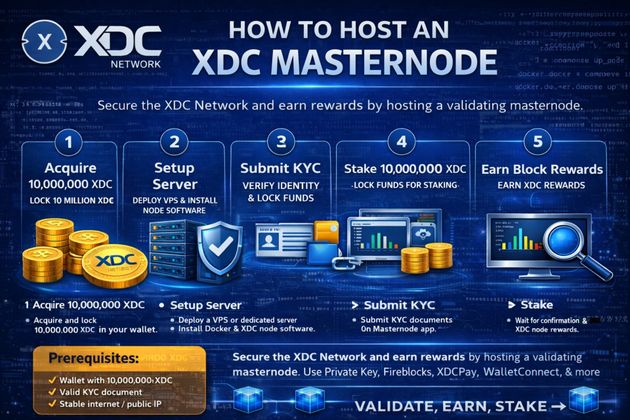
What Is an XDC Masternode?
An XDC Masternode is a validating node that:
- Helps secure and validate the XDC blockchain
- Participates in consensus and block production
- Earns rewards for active participation
- Requires a minimum 10,000,000 XDC stake locked for staking
- Must submit KYC and be approved on the Masternode App to be active.
Prerequisites
Before you begin:
🗂 Node Server
Deploy your masternode on a remote server (recommended):
✔ Ubuntu 20.04 / 22.04 LTS
✔ Docker / Script-based setup
✔ Public IP and stable internet
Wallet & Funds
You also need:
✔ A wallet holding at least 10,000,000 XDC
✔ The wallet’s private key or mnemonic phrase (if using non-custodial login)
✔ KYC document in PDF format (signed and verifiable)
Coinbase address
This is your masternode identity on the chain.
Coinbase address: Your node’s validator address, generated when setting up your masternode server.
Example format:
xdc……………………………………b
⚠️ Important:
- This is NOT your wallet address
- It is your masternode server’s coinbase address
Step-by-Step Masternode Hosting
OPTION 1: Hosting Using Docker
This method is ideal for developers and advanced users who want more control.
Step 1: Clone repository
git clone https://github.com/XinFinOrg/XinFin-Node.git
Enter XinFin-Node directory
cd XinFin-Node
Step 2: Install Docker & Update .env file with details
sudo apt update
sudo ./setup/install_docker.sh
Create .env file by using the sample - .env.example
Enter either your company or product name in the INSTANCE_NAME field.
Enter your email address in CONTACT_DETAILS field.
cd mainnet # testnet
cp env.example .env
nano .env
Step 3: Start your Node
For Mainnet
Run:
docker compose -f docker-compose.yml up -d
Your coinbase address can be found in xdcchain/coinbase.txt file.
To stop the node or if you encounter any issues use:
docker compose -f docker-compose.yml down
OPTION 2: Hosting Using Bootstrap Script
This is the recommended and easiest method for most users.
Step 1: Run Bootstrap Script
sudo su -c "bash <(wget -qO- https://raw.githubusercontent.com/XinFinOrg/XinFin-Node/master/setup/bootstrap.sh)" root
- Choose mainnet when prompted
- Name your node
- This generates your node environment and Coinbase address
- Always back up private key/keystore
Visit the Masternode App
Go to the official Masternode app:
🔹 Mainnet: https://mn.xinfin.network
🔹 Testnet: https://mn.apothem.network
Click Login to begin.
Choose a Login Method
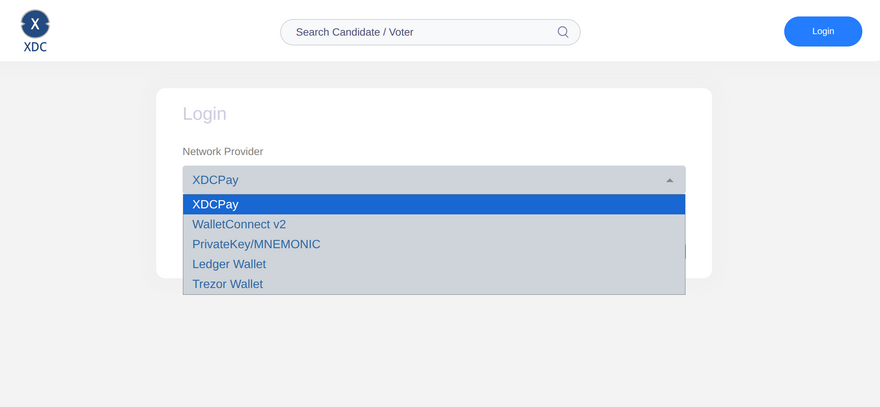
LOGIN OPTION 1 — Private Key | Mnemonic Phrase
- Select Private Key / Mnemonic from the network provider list
- Paste your wallet’s private key or mnemonic phrase securely
- Approve login to the Masternode App
⚠️ Keep this phrase secure — anyone with it controls your funds and stake.
LOGIN OPTION 2 — WalletConnect (Fireblocks / Other Wallets)
A. Fireblocks Flow
- Select WalletConnect v2 as Network Provider
- A QR code appears for Fireblocks Web3 Wallet
- Open your Fireblocks Web3 Wallet
- Scan the QR and Connect Vault to dApp
- Choose your vault account (with ≥10M XDC)
- Click Connect vault
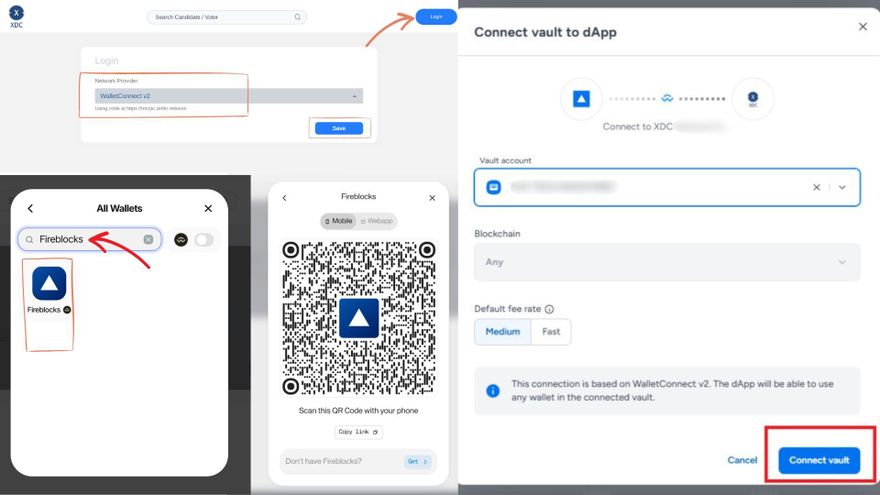
Fireblocks will manage your keys securely, and your Masternode app access is approved through WalletConnect.
This method lets you keep keys in institutional custody and apply governance rules via Fireblocks Policy Engine.
Additional Wallet Options
Other wallets like XDCPay or browser wallets can also be used — simply select them and connect.
Become a Candidate
Once connected/logged in:
- Click Become a Candidate
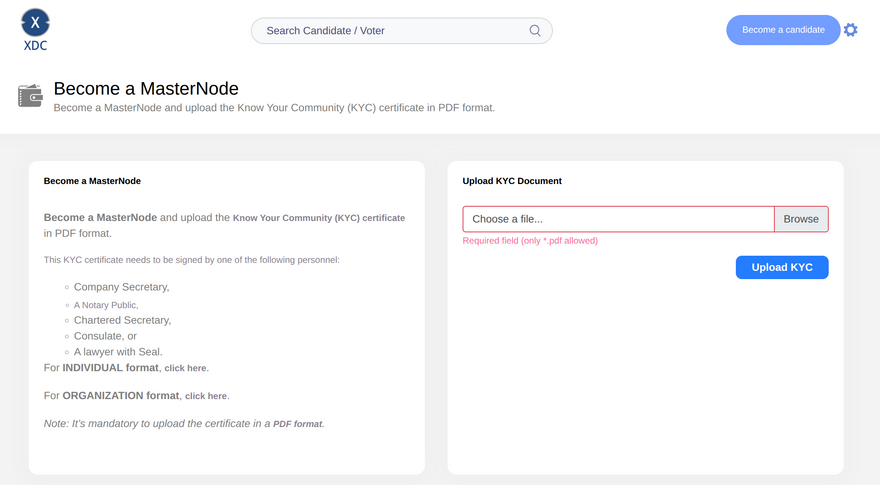
- Upload your KYC PDF
📌 Your KYC must be signed by a verifiable authority (e.g., notary, lawyer, company secretary).
Enter Coinbase Address & Apply
In the staking form:
- Enter the Coinbase address you generated on your masternode server
- This links your on-chain node identity to your staked wallet
- Click Apply
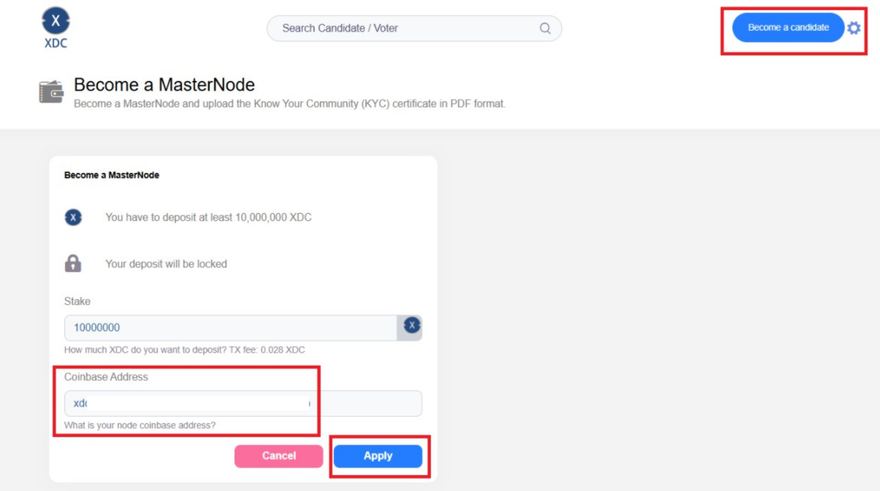
Your wallet (Fireblocks or private key login) will prompt you to approve the staking transaction.
Approve & Confirm Staking
The Masternode App will send a transaction to:
✔ Lock 10,000,000 XDC in the node contract
✔ Confirm your node proposal on chain
Depending on your wallet, approve it:
- If using Fireblocks: Fireblocks verifies with your Policy Engine rules
- If using private key/mnemonic: Sign the transaction locally securely
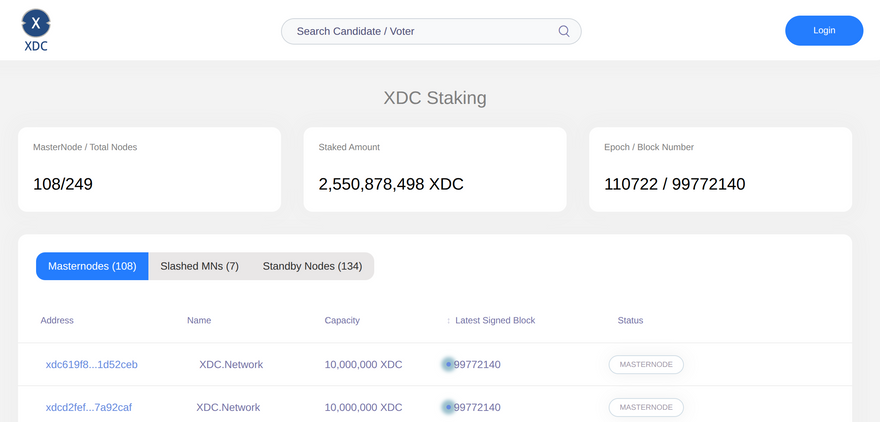
Verification & Active Status
Once the stake transaction confirms:
✔ Your masternode proposal has been submitted
✔ The node enters the round-robin selection pool
✔ After acceptance, your node becomes active and earns block rewards
Use a block explorer (e.g., xdcscan) to track the transaction & status.
Best Practices for Key + Wallet Security
Private Key / Mnemonic
- Keep keys offline in secure vaults
- Do not store keys in plain documents
- Use hardware wallets if possible
Fireblocks Custodial Login
- Keys are held in MPC hardware enclaves
- Fireblocks Policy Engine enforces transaction governance
- Requires admin approvals for sensitive transactions
This adds a strong enterprise-grade layer of protection.
Useful Links
Disclaimer
This content is for educational and informational purposes only and should not be considered financial or investment advice. Participation in the XDC Network ecosystem, including masternode hosting and staking, involves risk. Always conduct your own research before making any decisions.


Discussion (0)