Deploying and verifying smart contracts on the XDC Mainnet / Apothem Testnet / Devnet using Hardhat offers developers a reliable and efficient way to ensure the functionality and security of their decentralized applications (DApps). This comprehensive guide will walk you through the process, from setting up your environment to deploying and verifying smart contracts seamlessly.
Prerequisites:
Before diving into the deployment and verification process, ensure you have the following prerequisites in place:
- Git Installed: You need Git installed on your system to clone the repository containing necessary files.
- Node.js and npm: Ensure you have Node.js and npm (Node Package Manager) installed on your machine to execute commands and manage dependencies.
- Hardhat Installed: Install Hardhat globally on your system using npm to utilize its powerful features for smart contract development and deployment.
Now, let's proceed with the deployment and verification steps.
Step 1: Clone the Repository
Begin by cloning the repository containing the essential files for deploying and verifying smart contracts on the Apothem testnet or Devnet.
git clone https://github.com/BlocksScan/Hardhat_Contract_Verify
Step 2: Create .env File
After cloning the repository, create a .env file by copying the provided example file.
cp .example.env .env
Step 3: Configure Environment Variables
Edit the .env file and set the following environment variables:
PRIVATE_KEY=your_private_key
Apothem_RPC_URL = https://apothem.xdcrpc.com devnet_RPC_URL=https://devnetstats.apothem.network/devnet
xdc_RPC_URL= https://rpc.xdcrpc.com
Replace PRIVATE_KEY with your private key.
Step 4: Install dependencies
To install dependencies,
yarn install
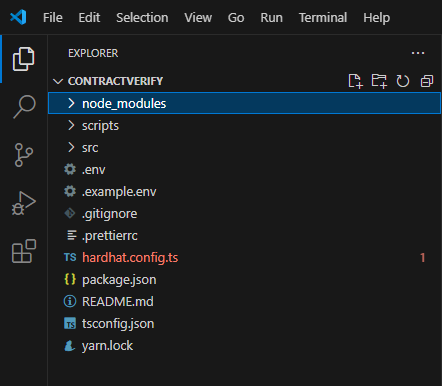
After installing you will be able to see the node_modules folder.
To deploy your smart contract code on XDC Network, add your contracts - “.sol” files under the “src” folder and deployment script under the “scripts” folder.
Step 5: Compile Smart Contracts
Compile the smart contracts and their types using Hardhat.
npx hardhat compile

Step 6: Deploy Smart Contracts
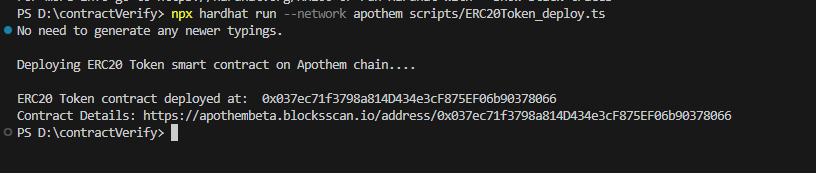
Deploying the smart contracts onto the Apothem testnet using the provided deployment scripts.
npx hardhat run --network apothem scripts/ERC20Token_deploy.ts
Step 7: Verify Deployed Smart Contracts
Finally, verifying the deployed smart contracts on the Apothem testnet.
npx hardhat verify --network apothem <DEPLOYED_SMART_CONTRACT_ADDRESS>
Replace with the address of the deployed smart contract you wish to verify.

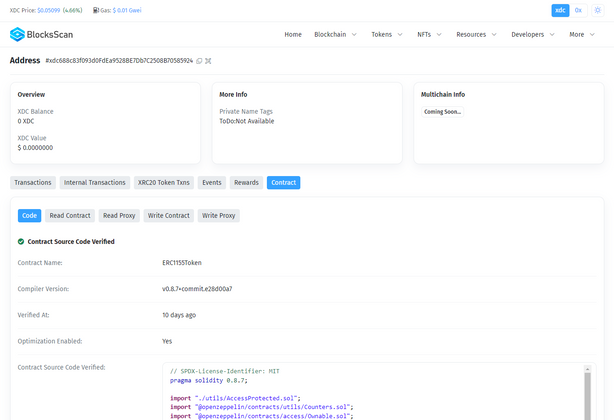
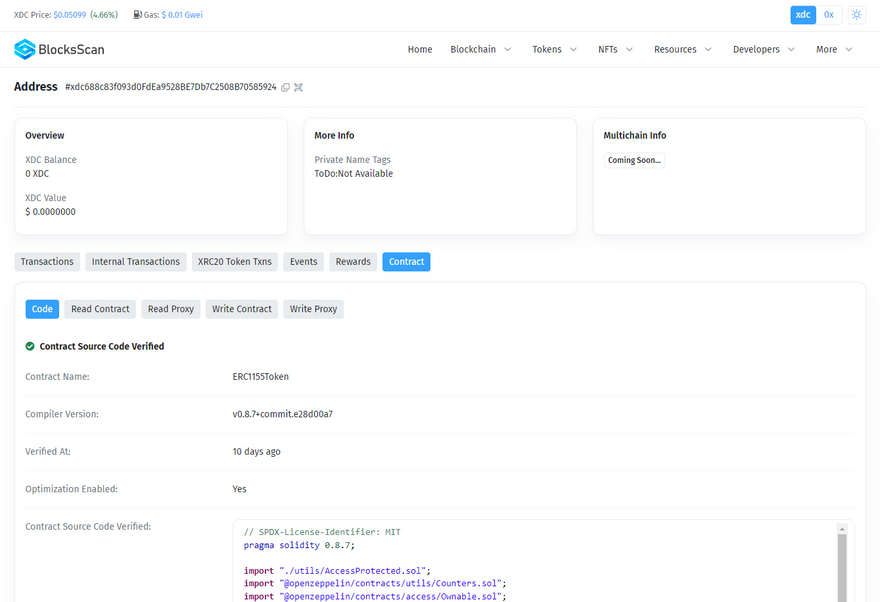
On the explorer you can view the verified contracts, under Verified Contracts page:
Conclusion:
Congratulations! You have successfully mastered the deployment and verification of smart contracts on the Apothem testnet using Hardhat. By following these steps, you can ensure the integrity and security of your decentralized applications, providing a seamless experience for your users.
Now, leverage your newfound knowledge to build innovative DApps and contribute to the thriving ecosystem of decentralized finance (DeFi) and blockchain technology.


Discussion (0)