BitGo, a leading digital asset custodian, now supports the XDC Network (XDC), offering secure storage and off-ramping solutions for institutional and enterprise clients. This integration enhances the utility of XDC by providing robust custody options and seamless fiat conversion pathways.
Storing XDC with BitGo
Supported Wallet Types
BitGo offers two primary wallet configurations for XDC: Digital Asset Custody Services
- MPC Hot Wallets: Ideal for active trading and frequent transactions.
- MPC Cold Wallets: Designed for long-term storage with enhanced security.
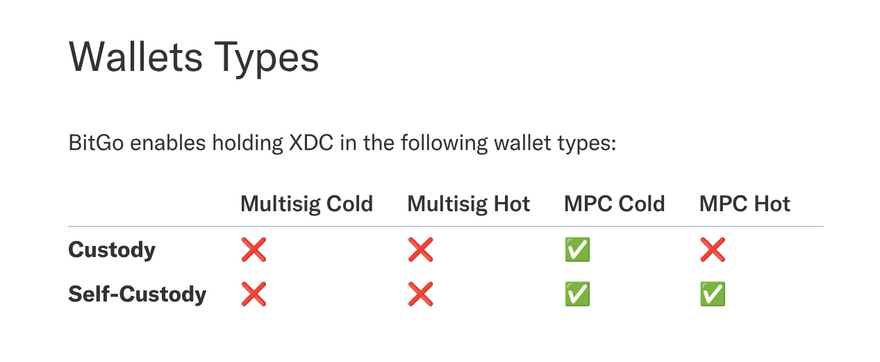
These wallets leverage Multi-Party Computation (MPC) technology, ensuring that private keys are never fully exposed, thereby enhancing security.
Custody Options
BitGo provides both self-custody and qualified custody solutions:
- Self-Custody: Clients maintain control over their private keys, suitable for entities requiring direct asset management.
- Qualified Custody: Assets are held under BitGo Trust, offering regulatory compliance and up to $250 million in insurance coverage.
These options cater to varying institutional needs, balancing control and regulatory requirements.
Getting Started with BitGo for XDC
To utilize BitGo's services for XDC:
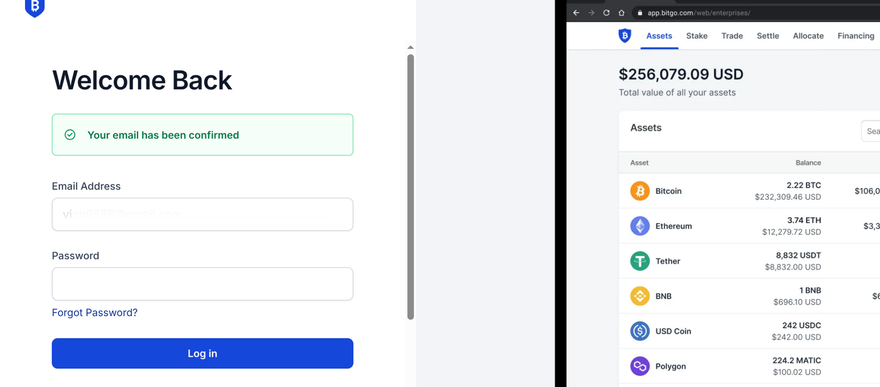
Step 1: Create a BitGo Account
Sign up on the BitGo website, Verify your email address and Login.

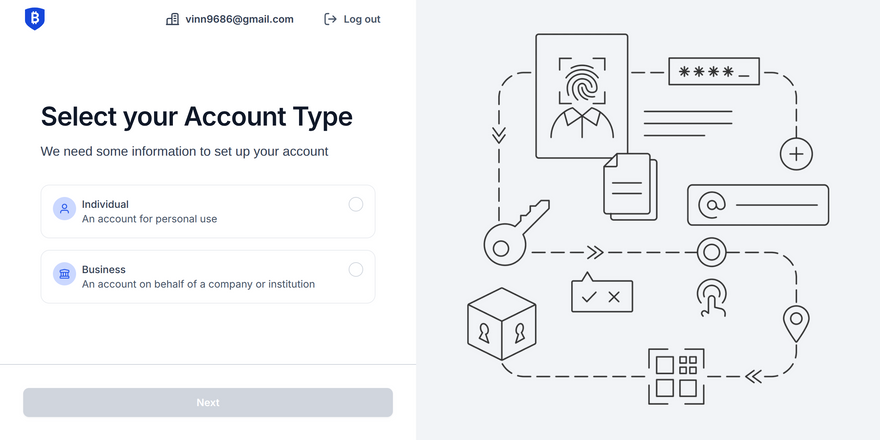
Step 2: Once you logged in you will be asked to choose Account Type: Individual Or Business.
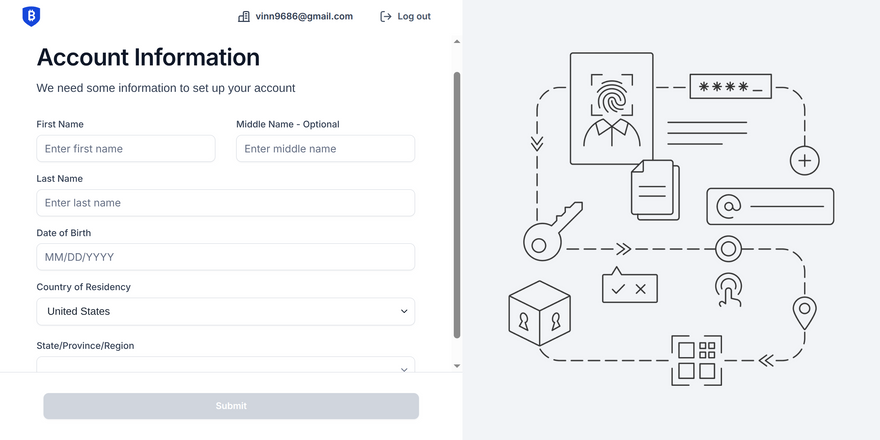
Step 3: Now submit Account Information to proceed.
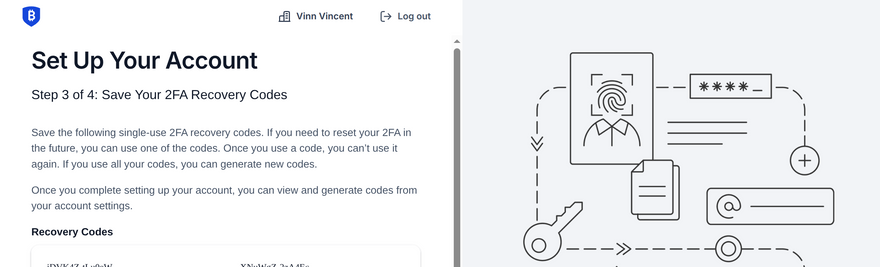
Step 4: Once submitted, Setup Your Account with 2FA or with Security Key…
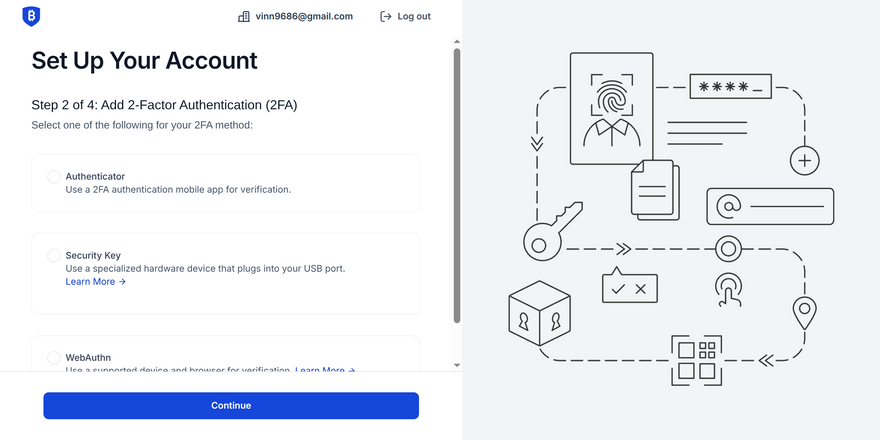
Here, we have proceeded with 2FA, Save your 2FA recovery codes safely.
Step 5: Now, Review Terms of Use and proceed by accepting it.
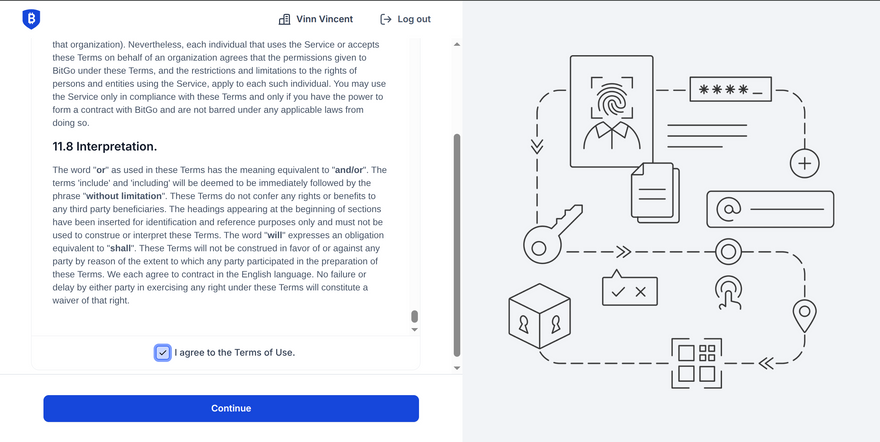
This is how you will be redirected to the Dashboard of the BitGo.
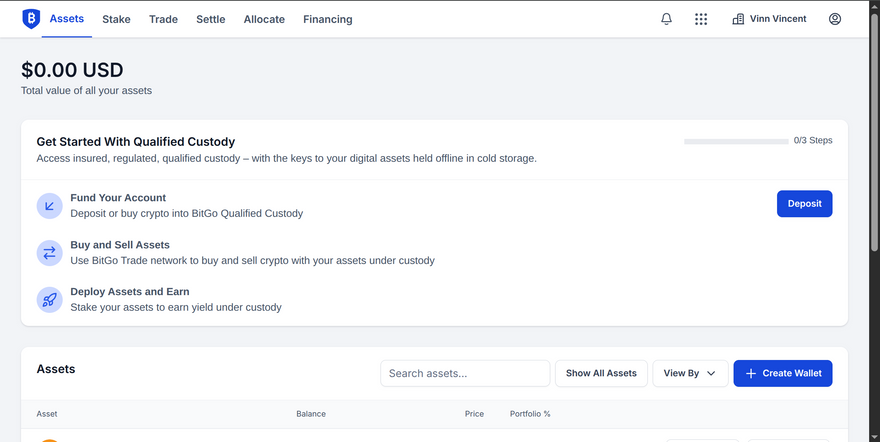
Step 6: Create Wallet
Name your wallet and select Asset as XDC and Choose wallet type “Self-Custody”
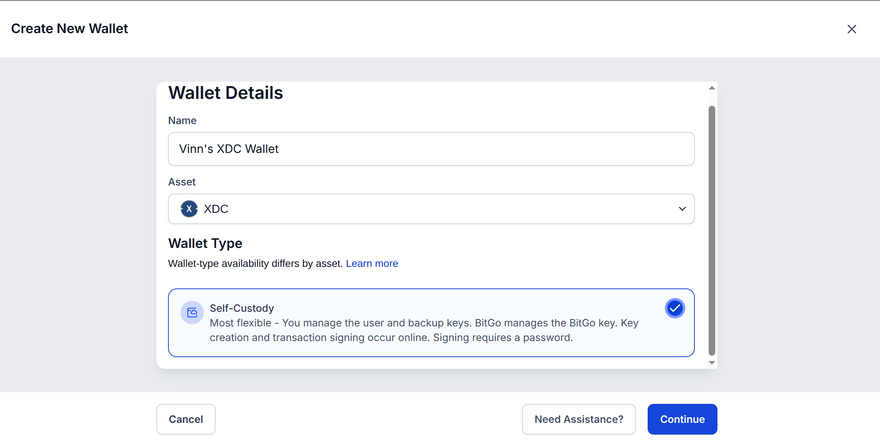
Now Select MPC wallet by entering your Password
For convenience, BitGo recommends using the same password that you use to log in to your BitGo account.

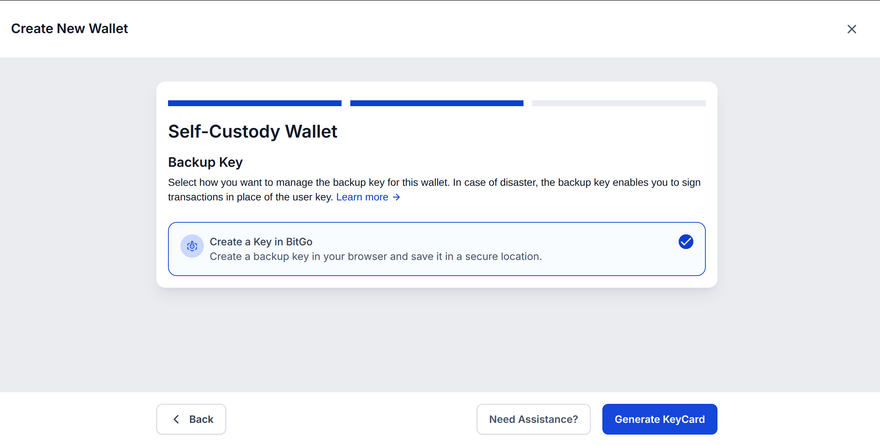
Step 7: Backup Key
Select how you want to manage the backup key for this wallet. In case of disaster, the backup key enables you to sign transactions in place of the user key.
https://developers.bitgo.com/guides/wallets/create/keys
Select “Create a Key in BitGo” and click on the “Generate KeyCard” button.
Step 8: Activate Wallet
Activate your wallet by entering the 6-digit activation code, located on the top right corner of the KeyCard pdf that you just downloaded.
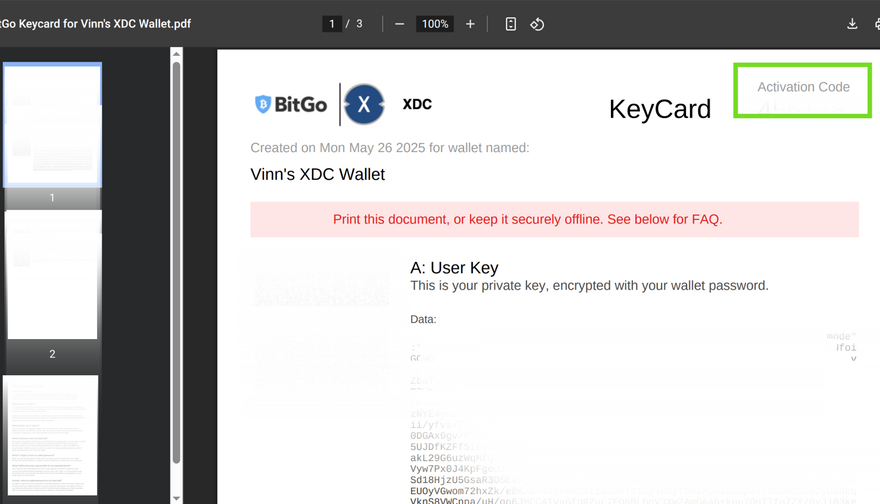
Recommended: Store KeyCard Offline
Your KeyCard is an important file that contains sensitive information. For your security, BitGo doesn’t provide this information again. Secure your KeyCard by printing and storing it in a safe location offline, then delete the downloaded file from your computer.
Note: Your KeyCard may be required to reset your wallet password or recover your wallet in the event of disaster.
Once you have done with the above procedure, your wallet will be created.
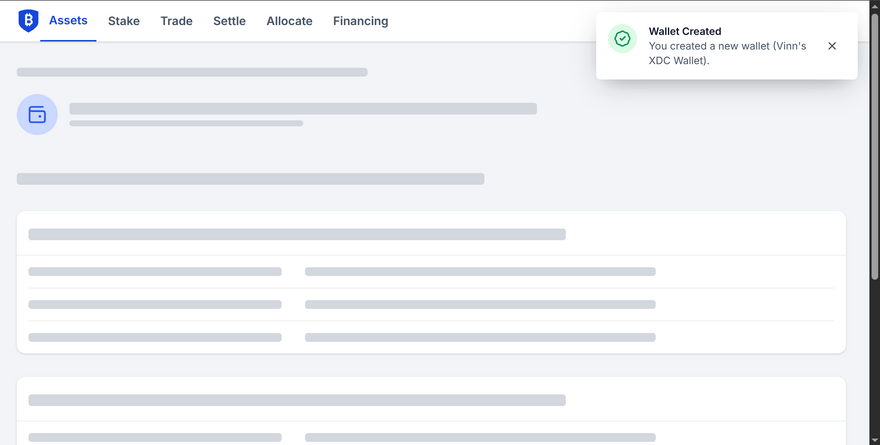
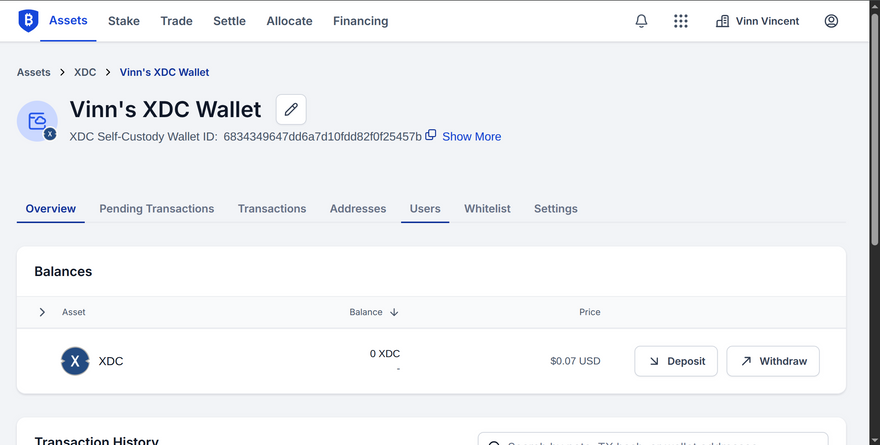
You can Deposit your $XDC by clicking on the Deposit button.
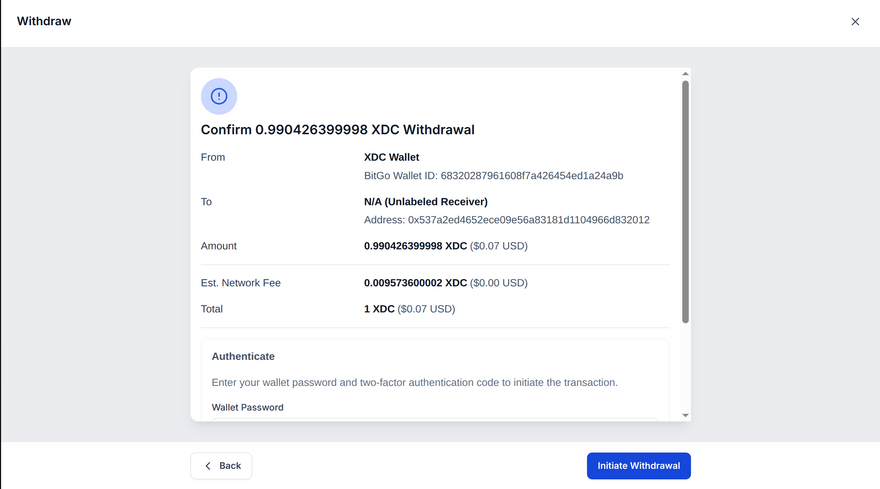
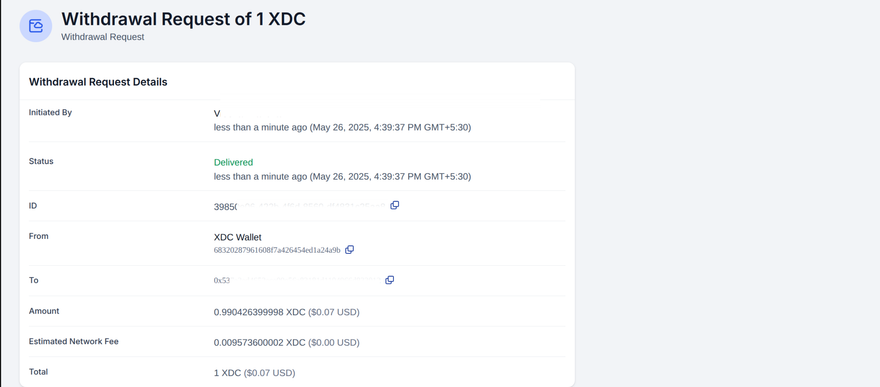
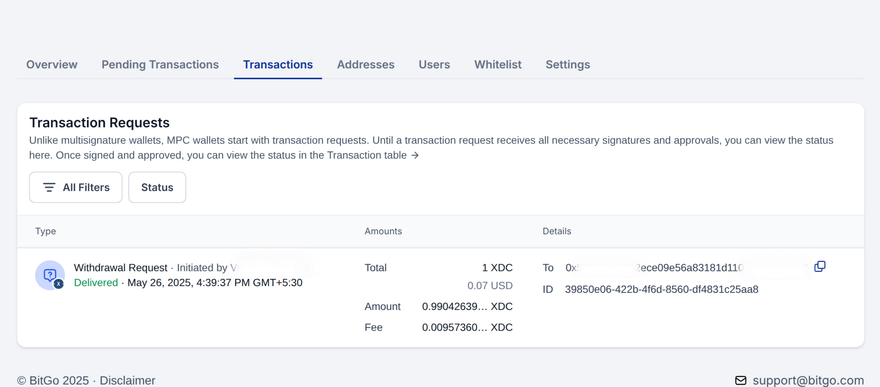
For withdrawal of XDC, Click on the Withdraw button and enter respective details. Preview your entered details and Initiate the withdrawal process by clicking on the “Initiate Withdrawal” button.
By integrating XDC support, BitGo enhances the asset's accessibility and utility, providing secure storage solutions and facilitating its integration into traditional financial systems through reliable off-ramping services.


Discussion (1)