Verifying your smart contract on a blockchain explorer like XDCScan promotes transparency and helps build trust within the community. By publishing your contract’s source code, users can understand the contract’s logic, contributing to a more secure and open ecosystem. This article offers a comprehensive guide for verifying multipart smart contracts on the XDC Network using XDCScan, powered by BlocksScan (OpenScan).
What is Multipart Verification?
Multipart contract verification is a specialized process designed for complex smart contracts that involve multiple files or dependencies, including libraries or inherited contracts. Unlike single-file verification, multipart verification compiles each individual component, allowing the blockchain explorer to validate the complete contract structure. This ensures that every segment of a multi-file contract matches the deployed bytecode, strengthening trust in the contract’s reliability and functionality.
Prerequisites for Contract Verification
Before starting the verification process, make sure you have the following prerequisites:
- Contract Source Code: Your Solidity (.sol) source code file.
- Libraries Used: A list of libraries referenced in your contract, along with their deployed addresses.
Step-by-Step Guide to Verifying Your Smart Contract on XDCScan
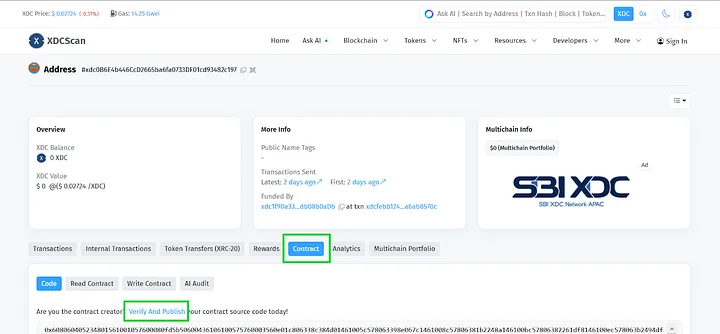
Step 1: Access XDCScan’s Contract Verification Page
- Open XDCScan, the official blockchain explorer for the XDC Network.
- Enter your deployed contract address, select the “Contract” tab, and choose “Verify And Publish”. This option redirects you to the verification page.
Step 2: Enter the Contract Details
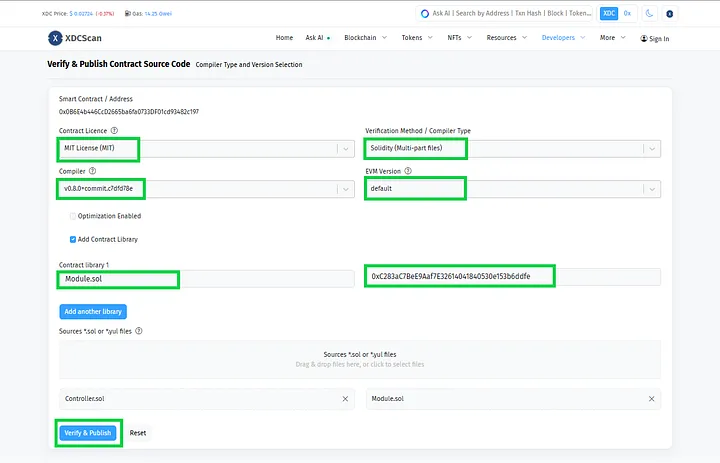
- Contract License: Choose the appropriate license for your contract from the dropdown menu.
- Verification Method: Select “Solidity (Multi-part files)” to indicate that your contract comprises multiple files.
- Compiler: Select the compiler version used for the original deployment.
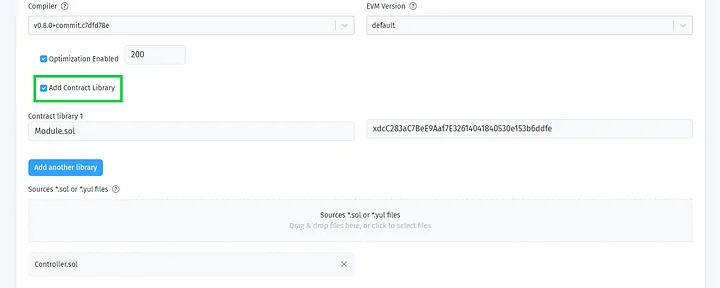
- Optimization Settings: Enable optimization if it was used in your contract’s deployment.
-
Add Contract Library: Add each library’s name (with a “.sol” extension) and its deployed address. Up to 10 libraries can be added.
What are Libraries?
Libraries in Solidity are reusable pieces of code that extend a contract’s functionality, reducing duplicate code by allowing contracts to share reusable logic.
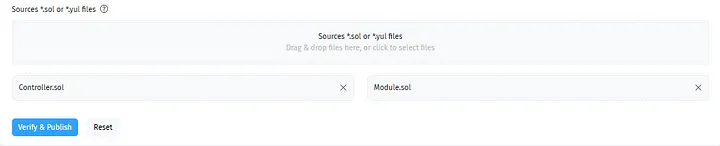
Step 3: Upload Your Solidity Contract Files
Upload all .sol files related to the contract, including main files and any dependencies. Ensure each file is organized and correctly named to avoid verification issues.
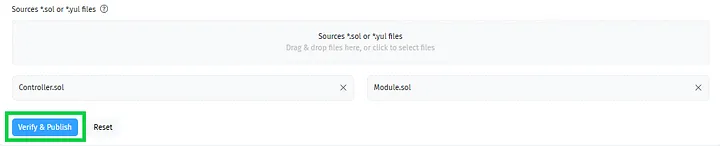
Step 4: Confirm and Verify
Review all details displayed, ensuring that the contract address, contract name, compiler settings, and library names match the information of the deployed contract. Click “Verify and Publish” to finalize the process.
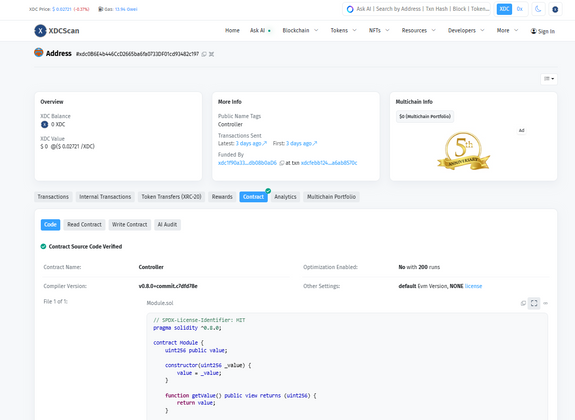
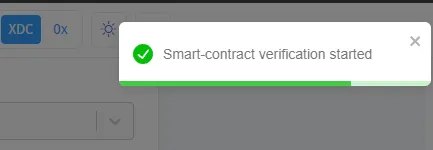
Step 5: Verification Successful
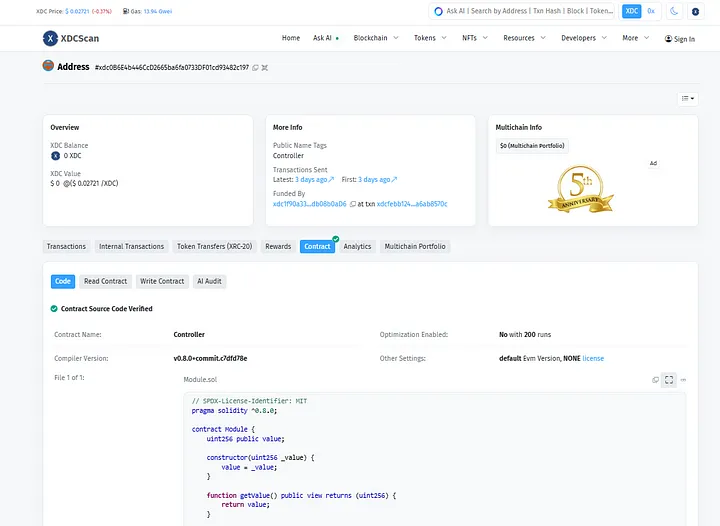
If all details are correct, XDCScan will display a success message indicating that your contract has been verified.
Users can now access your contract’s source code, ABI, and additional details directly on XDCScan.
Troubleshooting Common Verification Issues
If verification fails, here are some common issues and their solutions:
- Compiler Mismatch: Ensure the compiler version and optimization settings used during verification match those used in deployment.
- Contract Name Mismatch: Verify that the contract name entered matches the name in the source code.
- Incorrect Library Details: Double-check that the names and addresses of imported libraries are correct and match the information used in the main contract.
Stay connected for more updates on smart contract functionality and blockchain insights:


Discussion (0)