Navigating the landscape of smart contract deployment and verification on the XDC Mainnet/ Apothem Testnet/ Devnet via Hardhat empowers developers with a robust and streamlined approach to safeguard the integrity and effectiveness of their decentralized applications (DApps). This inclusive manual serves as your compass, guiding you through every step from environment configuration to the seamless deployment and verification of smart contracts.
Prerequisites:
Before diving into the deployment and verification process, ensure you have the following prerequisites in place:
Git Installed:
You need Git installed on your system to clone the repository containing necessary files.Node.js and npm:
Ensure you have Node.js and npm (Node Package Manager) installed on your machine to execute commands and manage dependencies.Hardhat Installed:
Install Hardhat globally on your system using npm to utilize its powerful features for smart contract development and deployment.
Let’s start! We will use the “XDC Apothem network” to deploy a smart contract here.
To get some test funds, visit XDC-BlocksScan Faucet, Enter your XDC wallet address and click the “Request XDC” button.
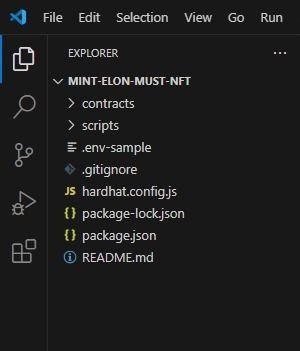
Step 1: Clone the Repository
Start by cloning the repository that holds the important files needed to deploy and check smart contracts on the Apothem testnet or Devnet.
git clone https://github.com/0xmetaschool/Mint-Elon-Must-NFT
Step 2: Create .env File
After cloning the repository, create a .env file and set the following environment variables:
PRIVATE_KEY=your_private_key
API_URL_KEY=https://apothem.xdcrpc.com
Replace PRIVATE_KEY with your private key.
Step 3: Install dependencies
To install dependencies,
npm install
After installing you will be able to see the node_modules folder.
Step 4: Add XDC Network in your hardhat.config.js file
Copy the below code and paste it in your hardhat.config.js file
  etherscan: {
    apiKey: {
      apothem: "abc",
      devnet: "abc",
      xdc: "abc",
    },
    customChains: [
      {
        network: "apothem",
        chainId: 51,
        urls: {
          apiURL: "https://abapi.blocksscan.io/api",
          browserURL: "https://apothembeta.blocksscan.io/",
        },
      },
      {
        network: "devnet",
        chainId: 551,
        urls: {
          apiURL: "https://devnetapi.blocksscan.io/api",
          browserURL: "https://devnet.blocksscan.io/",
        },
      },
      {
        network: "xdc",
        chainId: 50,
        urls: {
          apiURL: "https://bapi.blocksscan.io/api",
          browserURL: "https://beta.blocksscan.io/",
        },
      },
    ],
  },
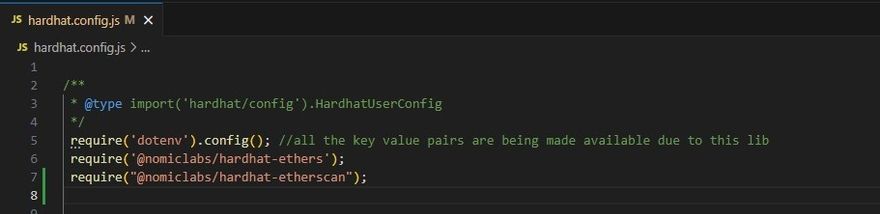
After you've added it, your file will appear like this.
/**
 * @type import('hardhat/config').HardhatUserConfig
 */
 require('dotenv').config(); //all the key value pairs are being made available due to this lib
 require('@nomiclabs/hardhat-ethers');

 const {API_URL_KEY, PRIVATE_KEY} = process.env; //environment variables are being loaded here.

 module.exports = {
   solidity: "0.8.1",
   defaultNetwork: 'apothem',
   networks: {
     hardhat: {},
     apothem: {
         url: API_URL_KEY,
         accounts: [`0x${PRIVATE_KEY}`]
     }
   },
   etherscan: {
    apiKey: {
      apothem: "abc",
      devnet: "abc",
      xdc: "abc",
    },
    customChains: [
      {
        network: "apothem",
        chainId: 51,
        urls: {
          apiURL: "https://abapi.blocksscan.io/api",
          browserURL: "https://apothembeta.blocksscan.io/",
        },
      },
      {
        network: "devnet",
        chainId: 551,
        urls: {
          apiURL: "https://devnetapi.blocksscan.io/api",
          browserURL: "https://devnet.blocksscan.io/",
        },
      },
      {
        network: "xdc",
        chainId: 50,
        urls: {
          apiURL: "https://bapi.blocksscan.io/api",
          browserURL: "https://beta.blocksscan.io/",
        },
      },
    ],
  },
 };
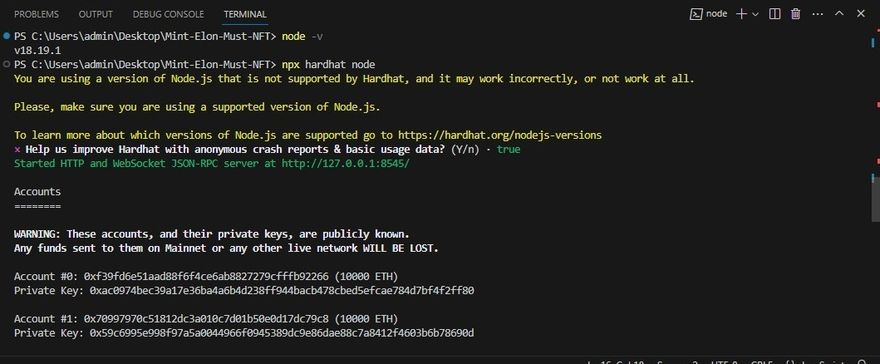
Step 5: Starting a Local Ethereum Node
To start a local Ethereum node for development and testing purposes, you can use the following command:
npx hardhat node
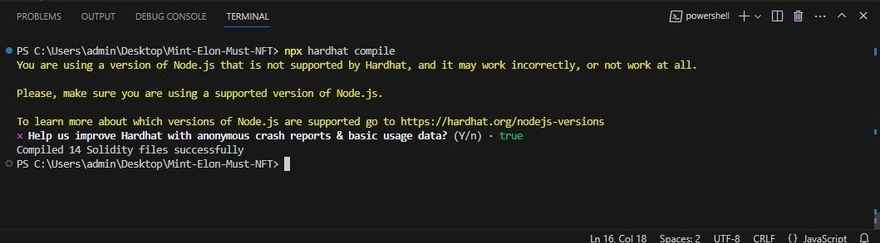
Step 6: Compile your smart contracts
To compile your smart contracts for deployment and testing, run the below command
npx hardhat compile
This command ensures that your Solidity code is translated into bytecode.Once command run successfully, you’ll see output similar to the following:
Step 7: Cleaning the Build Artifacts
If you want to clean the build artifacts generated during the compilation process, you can use the following command:
npx hardhat clean
This command removes all the build artifacts, including compiled contracts and other temporary files.
Step 8: Running Tests
Hardhat provides a testing framework that allows you to write and run tests for your smart contracts. You can run tests using the following command:
npx hardhat test
This command executes all the tests defined in the test/ directory and provides detailed output regarding the test results.
Step 9: Deploy your compiled smart contract
Once compiled successfully, run the below command for deploying
node scripts/sample-script.js
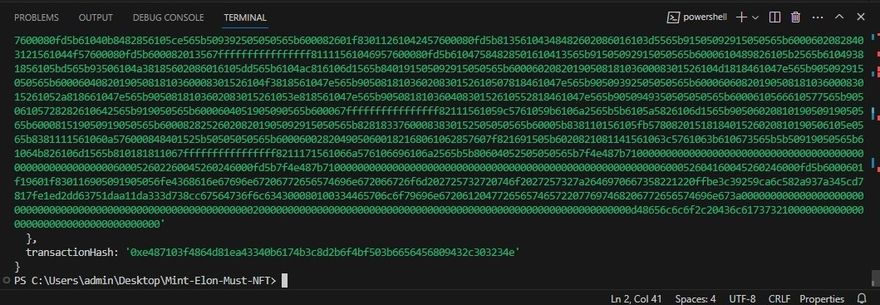
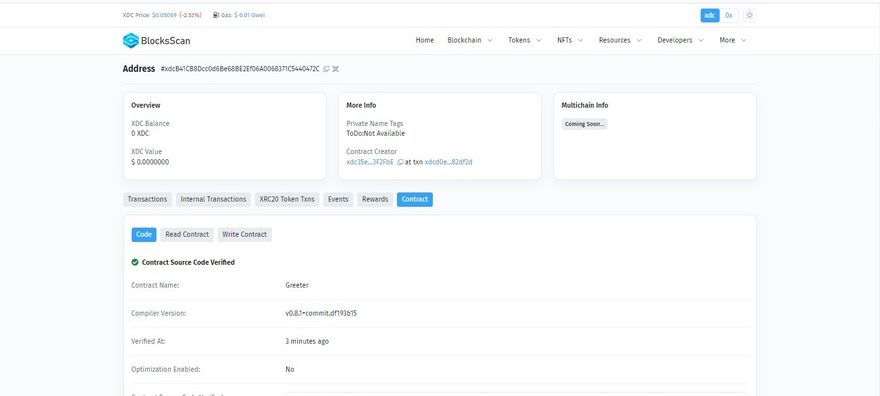
After deployment, you'll receive a transaction hash. Verify the contract deployment by checking the BlocksScan explorer using this hash.
Make sure to save that contract address for later use.
Step 10: Verify Smart Contracts
To verify your deployed smart contract, follow these steps:
- Install the package named
@nomiclabs/hardhat-etherscan.
npm install --save-dev @nomiclabs/hardhat-etherscan
- Now required that dependencies in your hardhat.config.js file
- Open and review the
sample-script.jsfile located inside the scripts folder.Locate themainfunction in the script and identify the parameter passed to the constructor of the Greeter contract during deployment
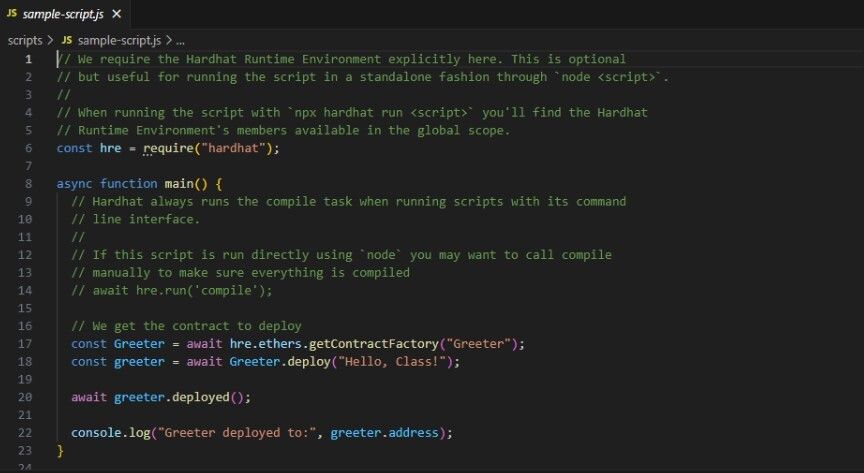
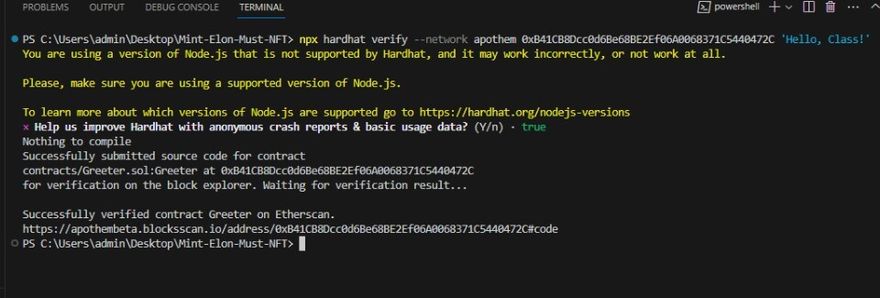
- During verification, include this parameter in the verification command.Your command should resemble the example below.
npx hardhat verify --network apothem DEPLOYED_CONTRACT_ADDRESS 'Hello, Class!
Replace DEPLOYED_CONTRACT_ADDRESS with the address you copied earlier
Congratulations! By successfully deploying your smart contracts on the XDC Network using Hardhat, you've taken a significant step forward in your blockchain development journey. This article has equipped you with the essential skills to navigate Hardhat's powerful toolset and leverage the capabilities of the XDC Network effectively. As you delve deeper into the world of decentralized applications (DApps) and smart contract development, remember to stay curious, keep learning, and explore the vast array of possibilities that this innovative technology offers. Should you have any questions or need further assistance, feel free to drop a comment below or reach out on social media, tagging XDC Network. Happy coding!
Follow us to know more updates:


Discussion (0)