How to use ChainIDE for XDC
ChainIDE for XDC Network offers a user-friendly and intuitive graphic user interface (GUI), streamlining the development process for both novice and experienced developers. Developers can seamlessly navigate through the development environment, reducing the learning curve and allowing them to focus on creating cutting-edge solutions. The following is a tutorial on how to use ChainIDE for XDC.
1. Create a new XDC Project
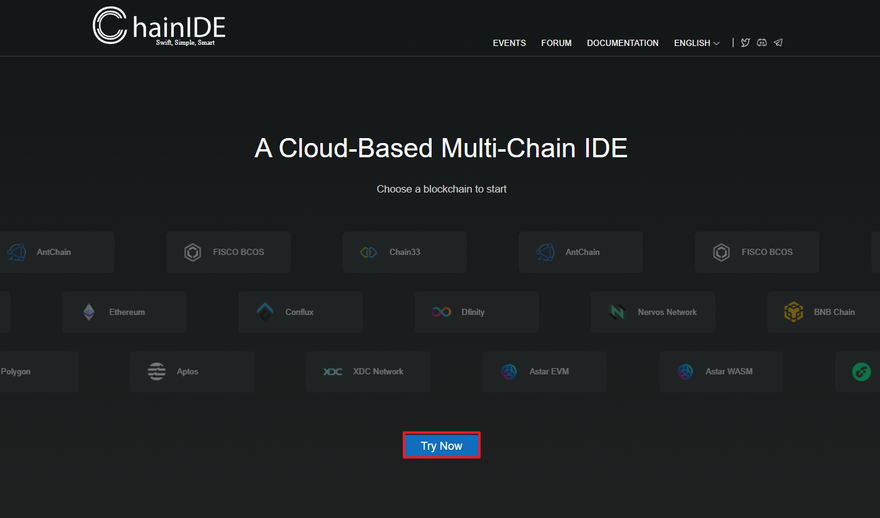
Visit ChainIDE and click the Try Now button on the front page as shown in the figure below.
Here, you can choose the login method as Github or choose Guest to continue without logging in. For this tutorial, select GitHub login, as later on, the use of the Sandbox requires users to log in with GitHub.
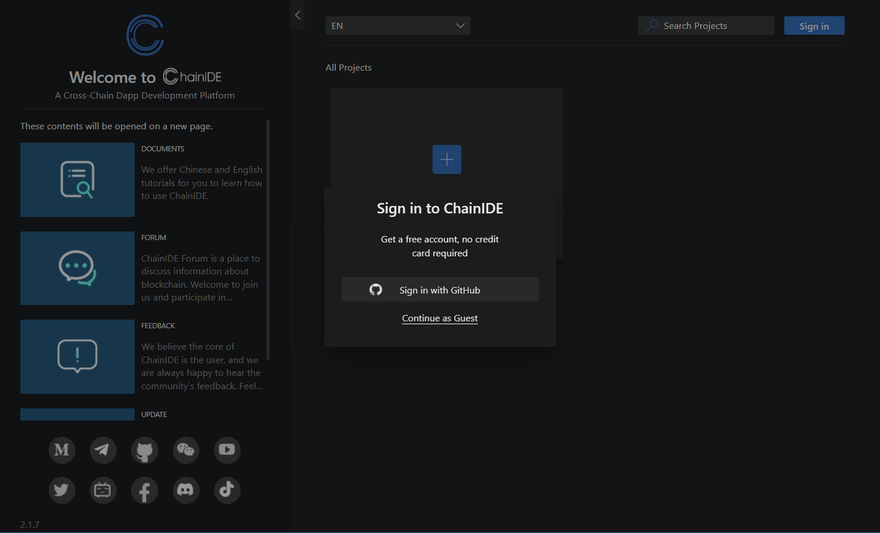
After successfully logging in, you will be able to view all the existing projects or create new projects. Select New Project to create a new XDC chain project.

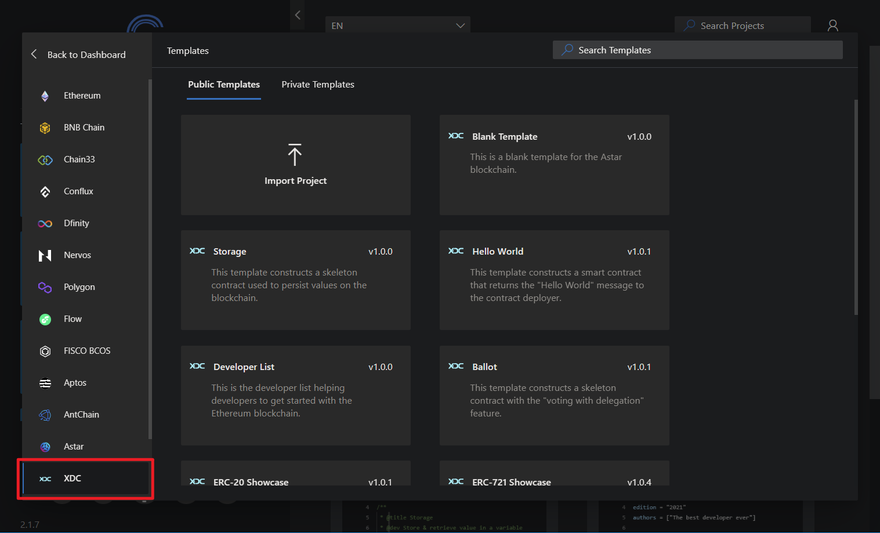
From the popup window, select "XDC". Then, select a temple to create a new project.
2. Configure Wallet
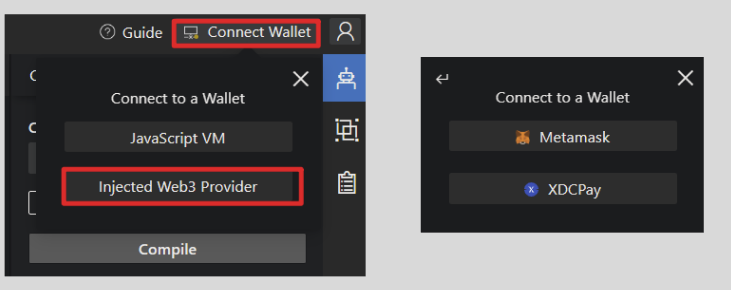
The XDC IDE provides support for two wallets: Metamask and XDCPay 2.0. However, please note that Metamask and XDCPay 2.0 are not compatible. If both wallets are present, only Metamask will be activated.
If you do not have either Metamask or XDCPay 2.0 installed, the download links for each are provided below. Please install one of the wallets before continuing.
I. Metamask
The official download website for Metamask is: https://metamask.io/
II. XDCPay 2.0
The official Chrome Web Store address for XDCPay 2.0 is: https://chrome.google.com/webstore/detail/xdcpay-20/iidmfamdbddcbjmemafekkohbnfiblhp
After installing a wallet, please refresh the page.
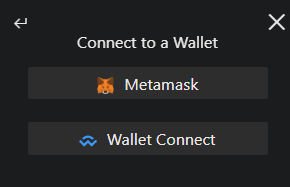
Click on the Connect Wallet button in the top right corner of the screen and select Injected Web3 Provider to choose the wallet you would like to connect.
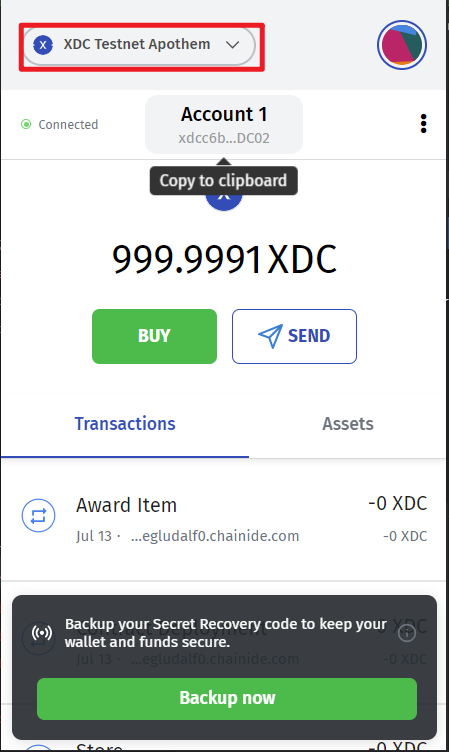
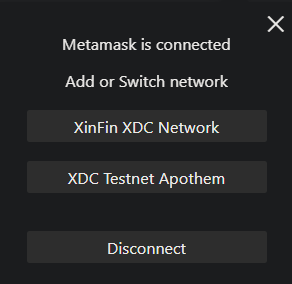
After connecting the wallet, Metamask users can follow the prompt in the bottom right corner of the screen to switch their wallet to the XDC Mainnet or Testnet networks.
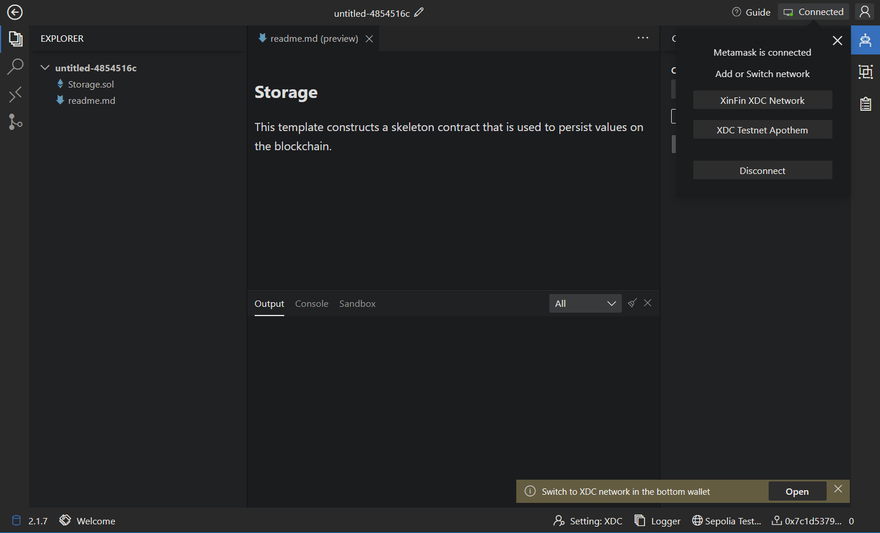
XDCPay users must switch networks within their wallet to connect to their desired network.
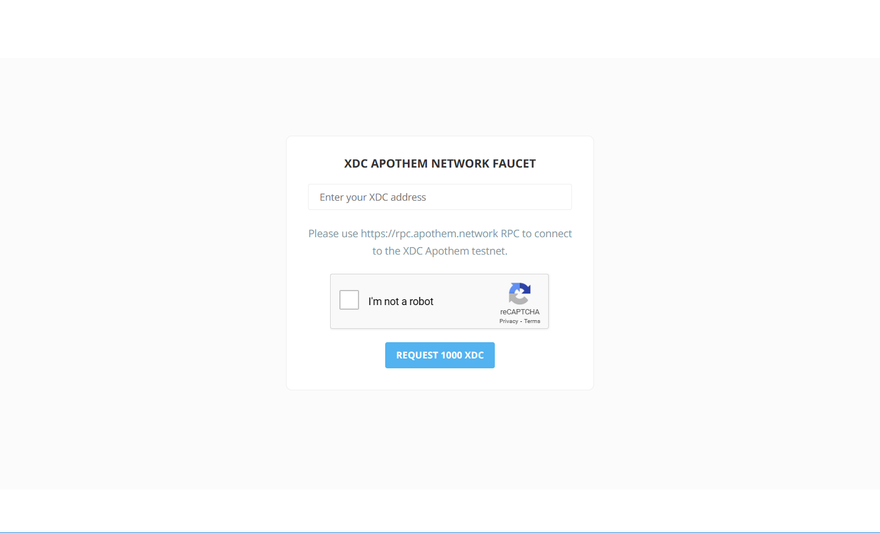
Users can visit https://faucet.apothem.network/ and enter their wallet address to claim test tokens. If you are using Metamask, you must replace the "0x" at the start of your address with "xdc". For example, if your address was 0x82825C3fa24116F6ED719dd1e820DBD952c4D237, you would enter xdc82825C3fa24116F6ED719dd1e820DBD952c4D237 in the "Enter your XDC address" field.
3. Write a contract
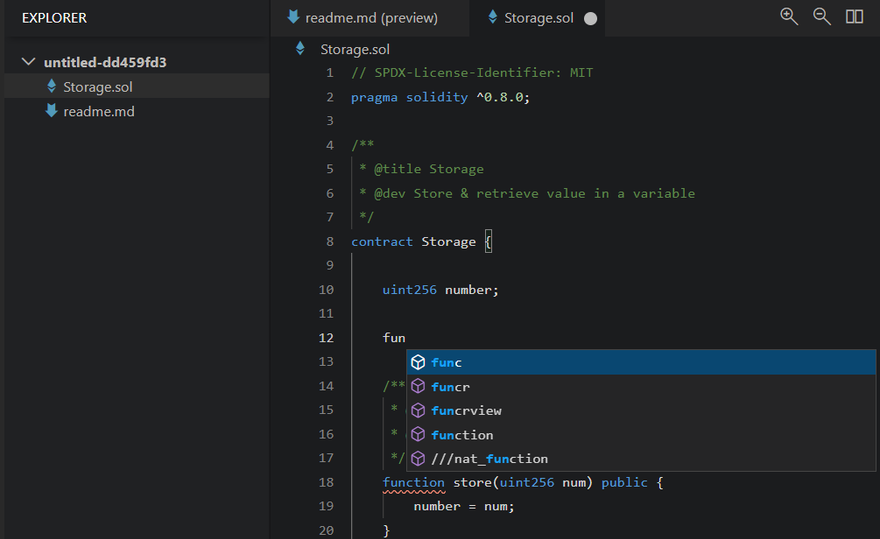
Upon entering the project, the README.md file included in the folder will be automatically previewed.
In the Explorer panel, you can create new files (or folders), refresh the directory, and download files. You can also directly click on the files that come with the template.

Click on a contract file to edit the code.
4. Compile a contract
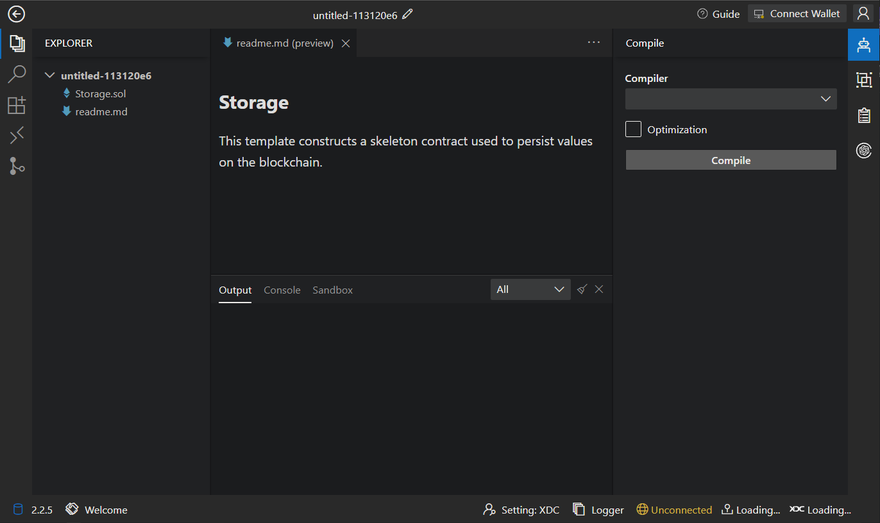
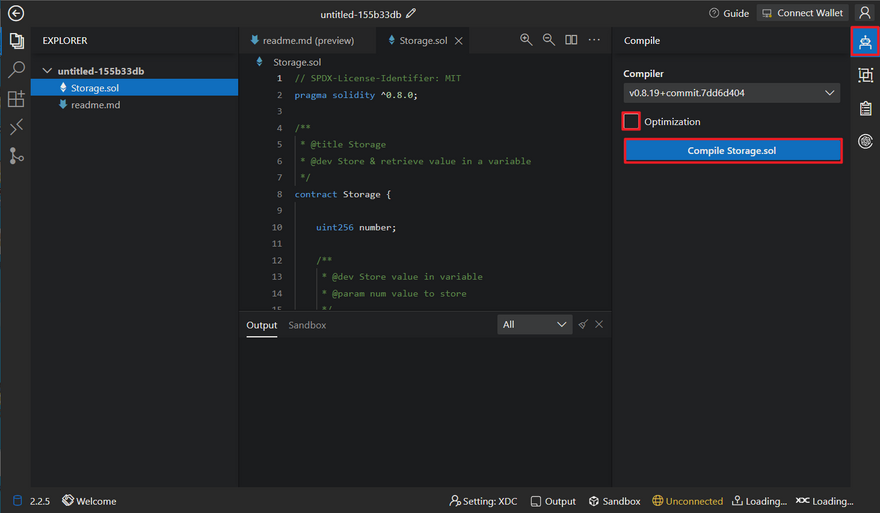
Once your contract code is written, click on the "Compiler" button in the right-side menu to open the compilation module. Choose the compiler version and decide whether to enable optimization, then click "Compile ***.sol" to initiate the compilation.
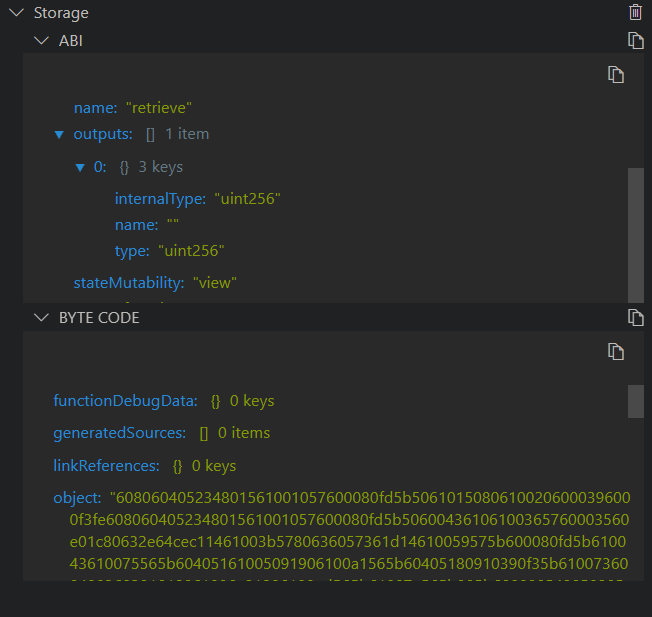
After successful compilation, the ABI and BYTE CODE will be displayed below, and you'll see a message in the console stating "Compile contract success."
5. Connect to XDC
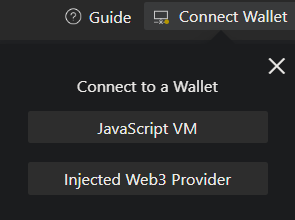
Before deploying a contract, you need to click on Connect Wallet in the upper right corner and select to connect to JavaScript VM (used for testing, implemented in JavaScript) or Metamask or XDCPay (for deployment on the XDC blockchain).
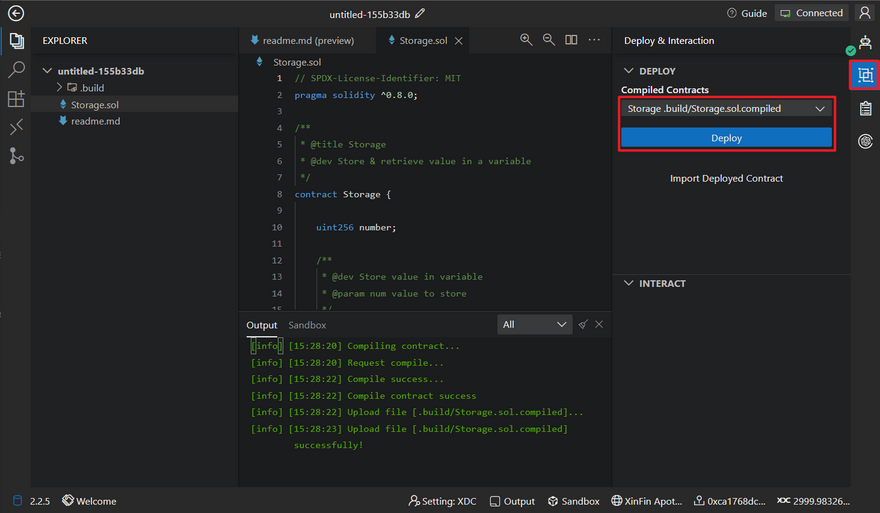
6. Deploy a contract
Click the Deploy & Interaction button on the right-hand side, which will bring up the deployment and interaction pages. Select the compiled contract and click Deploy to initiate the deployment (then confirm in Metamask or XDCPay). After successful contract deployment, the console will display the contract deployment result and relevant information.
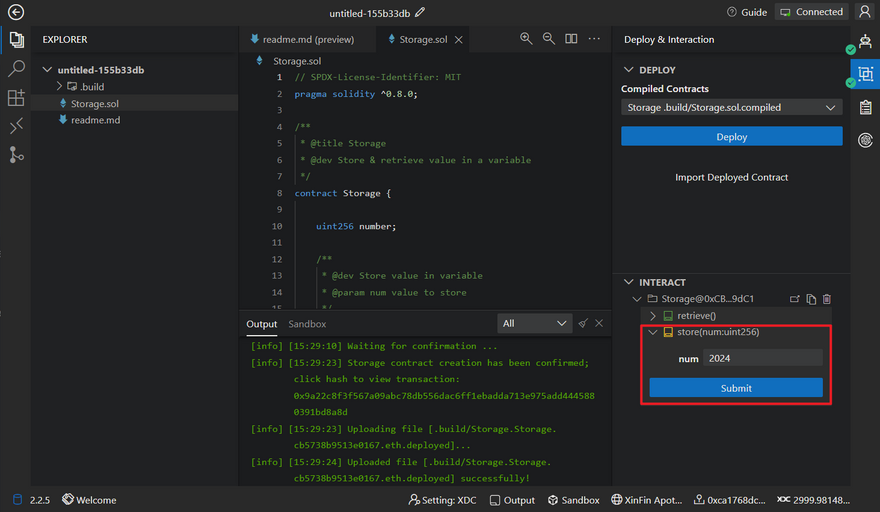
7. Contract interaction
After a successful contract deployment, you can interact with the contract. Click on the deployed contract, choose the corresponding interface, and click "Submit" or "Get" to perform interactions.
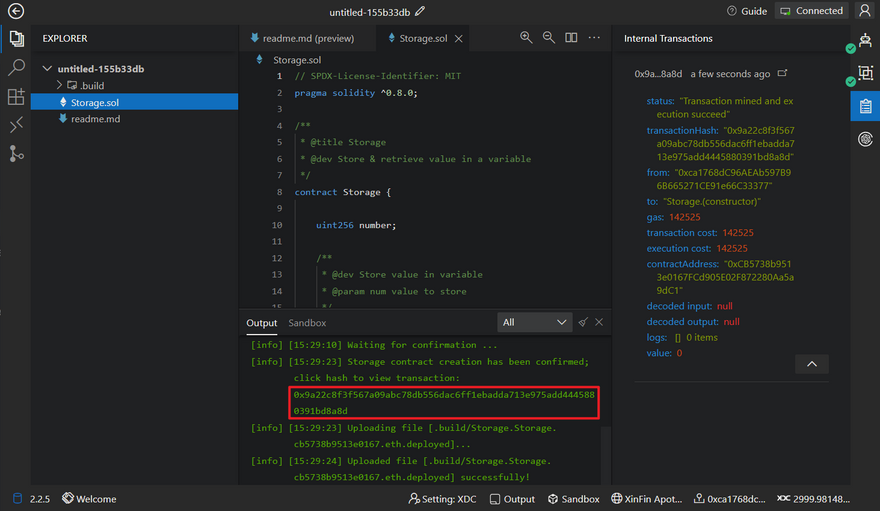
8. Transaction Query
Click on the transaction hash in the Output section to view the specific details of each transaction.
9. Verify the Contract
If the contract to be verified imports other contracts, the following are the steps to create a flattened file for your smart contract:
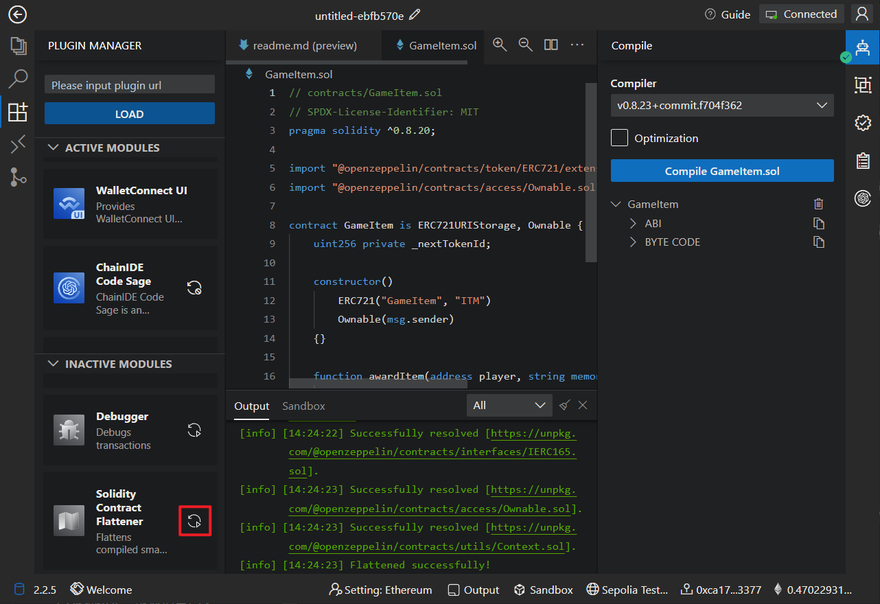
9.1 Activate the Flattener plugin
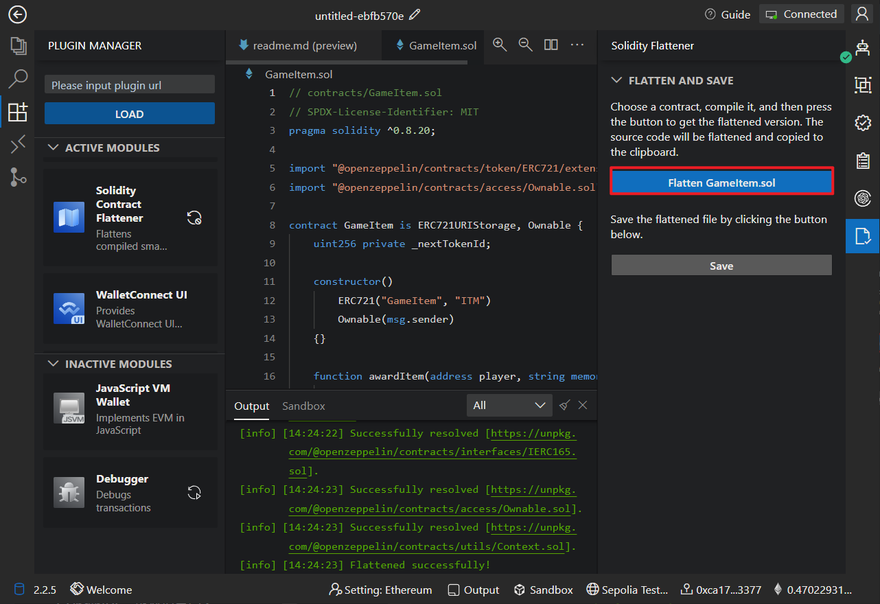
9.2 Choose a contract file you want to flatten
Before selecting the contract, you need to compile the contract.
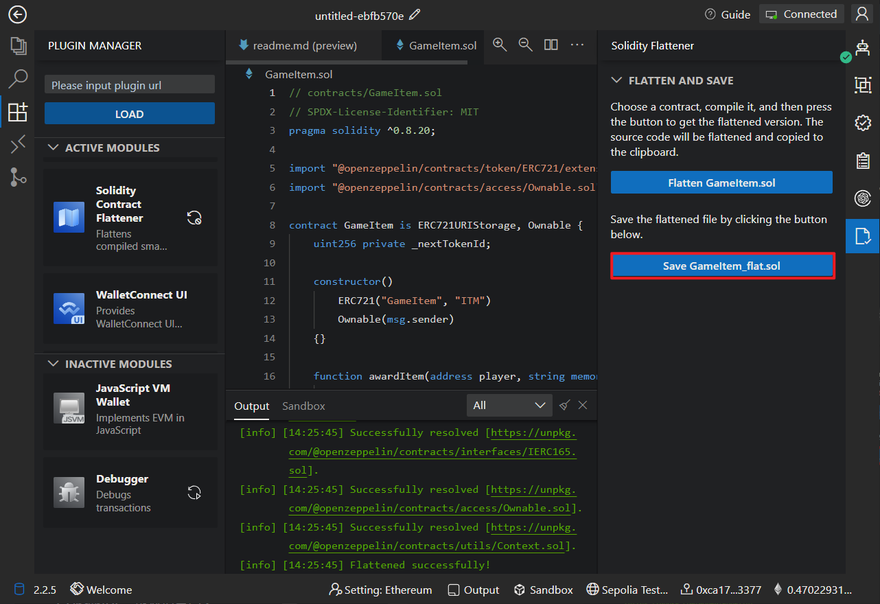
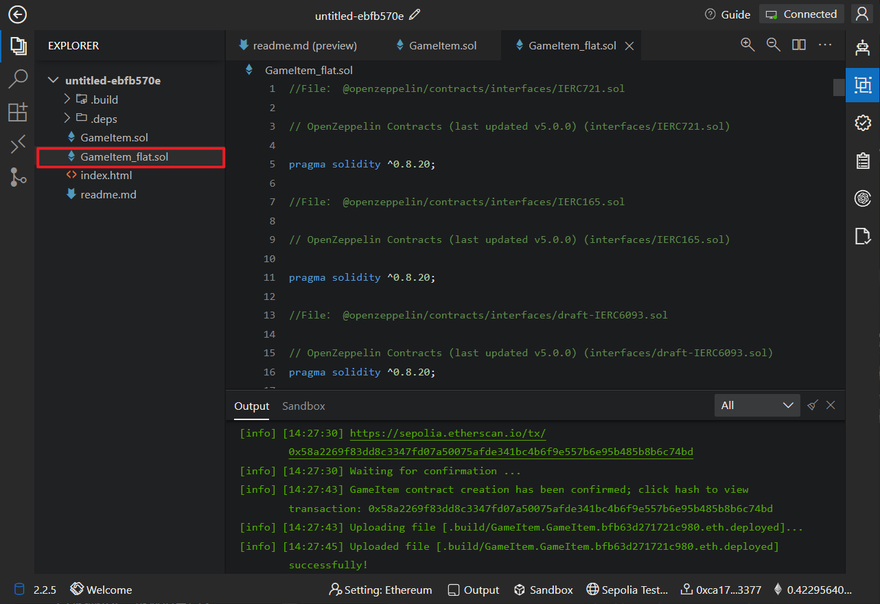
9.3 Save the flattened file to directory under Explorer panel
9.4 View the flattened file and use it for verifying a smart contract
Overall, using ChainIDE's Flattener plug-in can help streamline the development and verification process for your smart contracts, making it easier to ensure that your code is properly organized and ready for verification.
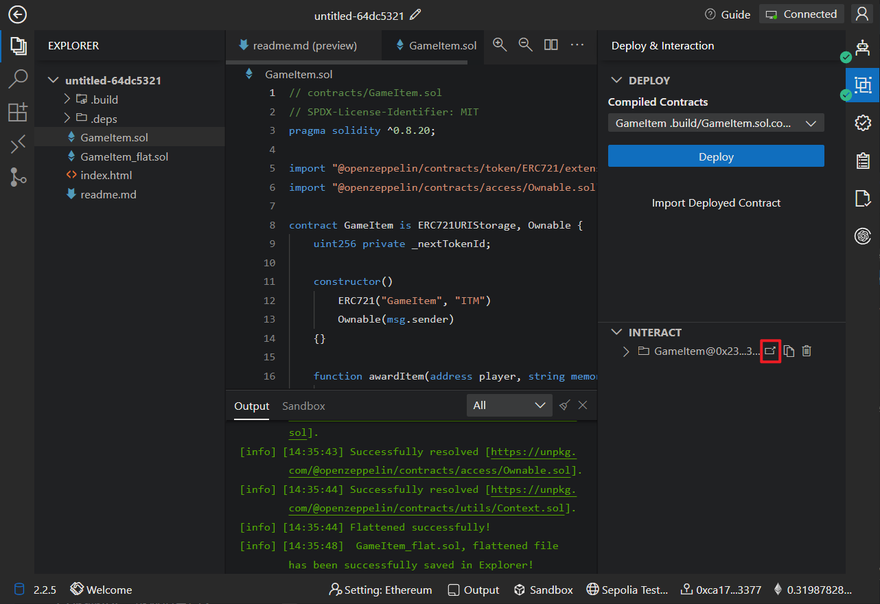
9.5 To verify a smart contract, you need to access the corresponding blockchain explorer. After deploying the contract, click the button below to automatically navigate to the browser page for the corresponding contract
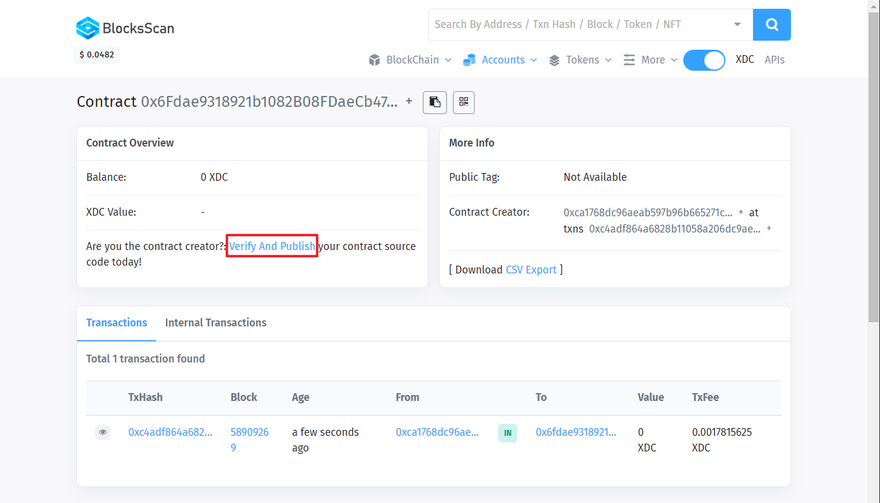
9.6 Click on the verify and publish link shown under the contract section
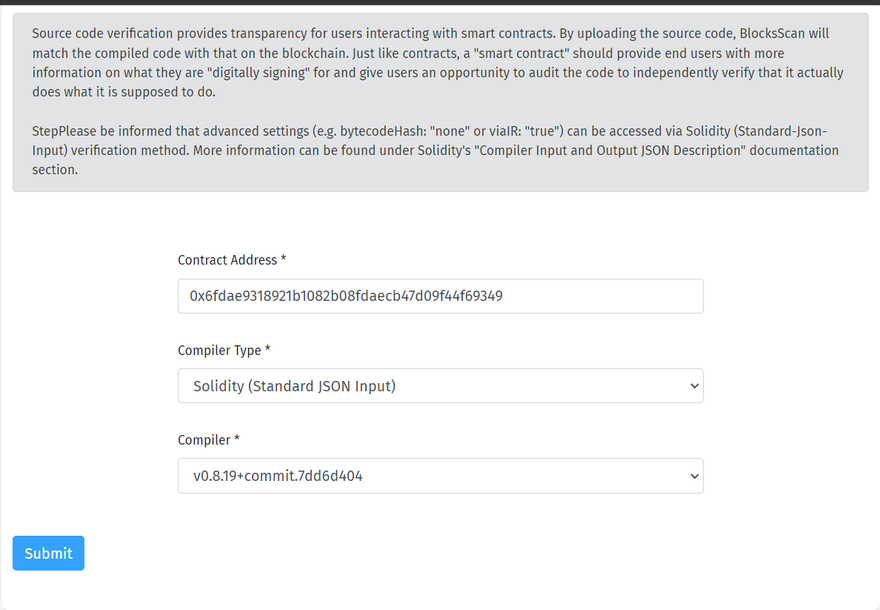
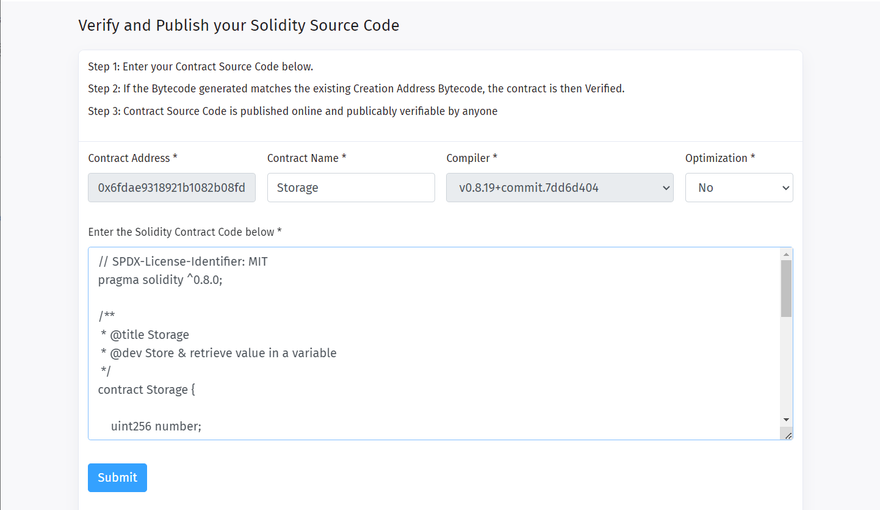
9.7 Once you click on the verify and publish link, you will be asked for the following:
- Contract Address: The address of a deployed smart contract that you want to verify
- Compiler Type: smart contract language
- Compiler Version: The compiler version that you used to compile the smart contract
9.8 After that, you need to paste the flattened file you created in step 3, enter the contract name, and ensure that the Optimization is either on or off during the compilation process. Then, click Submit, and your smart contract will be verified
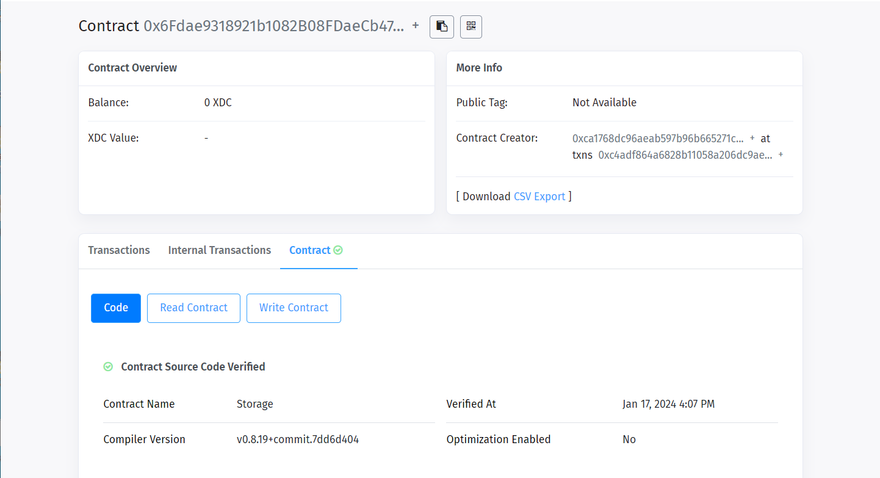
9.9 If there are no issues with your smart contract, it would be verified, and you'll be able to see an image similar to the one that is shown below
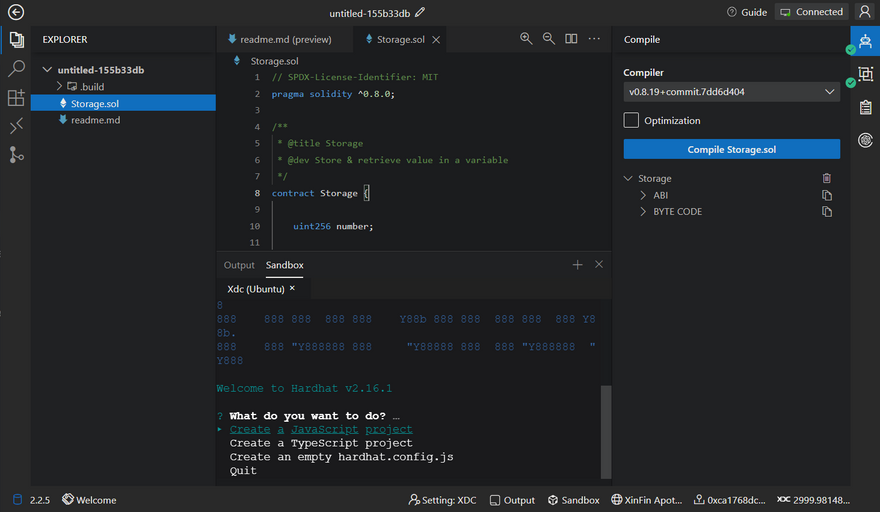
10. XDC Sandbox
If you prefer using the command line for development, you can open the XDC EVM Sandbox, which comes pre-loaded with Hardhat, Truffle, Brownie, Ganache, Git and Node.js V16.
If you've started a process on a port in the Sandbox and wish to access that port, please refer to ChainIDE - Port Forwarding.
For more information, please refer to ChainIDE for XDC.


Discussion (1)