12-Week Liquidity Mining Campaign with a total reward pool of 36,000 USD
Hummingbot, a California-based open-source DeFi market-making software platform, launched a 12-week liquidity mining campaign for XDC on prominent crypto exchanges — Gate.io and KuCoin. This XDC-based campaign started around 12.00 UTC on Tuesday. Significantly, this is a crucial move on behalf of the XDC Network to unify large communities to provide liquidity.
The Hummingbot-XDC liquidity mining campaign includes a total reward pool of 36,000 USD. As stated by Hummingbot, through this campaign, 30,941 XDC is available as a reward to users every week on a token pair. An extra bounty of 5000 Hummingbot tokens (HBOT) is rewarded as additional rewards. The two token pairs — XDC/USDT and XDC/ETH, are supported as the eligible entries of this XDC-based campaign. Users can participate in this campaign by setting up an automatic XDC trading bot with KuCoin or Gate.io trading account.
Intro To Hummingbot
Hummingbot is the leading open-source crypto trading bot with connectors to 30+ exchanges and a 16k-strong global community of developers and traders.
Hummingbot’s main value proposition is enabling users to run high-frequency trading bots on various cryptocurrency exchanges without having to build and maintain low-level API integrations. Connectors maintain persistent WebSocket or REST API connections to exchanges, allowing users to run automated trading strategies (or bots) that execute quickly, performant, and efficiently.
While Hummingbot is a general toolbox that can be used to build any trading bot, we focus on market-making and arbitrage bots because using those strategies benefits our exchange and protocol partners.
Why use Hummingbot?
- Open source and free — Hummingbot is a local software client that never exposes your keys externally. The entire codebase is publicly auditable on Github.
- CEX and DEX connectors — We support most major centralized and decentralized exchanges, allowing you to hedge and arbitrage between them seamlessly
- Advanced market-making strategies — With sophisticated strategies like Avellaneda, Hummingbot is the only trading bot designed for professional market makers and liquidity providers.
Let’s start with easy to setup HummingBot XDC Liquidity mining steps.
First, you need a Kucoin or Gate Exchange trading account to set up an Automatic market-making bot, if you don’t have an account, please create a trading Account at Kucoin or Gate.
Refer below guide article to create and access your API key.
How to Create an API on Kucoin exchange.
How to generate a read-only API key for Gate.io
Once you have created/accessed your API key, Keep it in another safe place.
Now, let’s Download and Install the HummingBot on Windows.
The Hummingbot codebase is designed and optimized for UNIX-based systems such as macOS and Linux. For Windows users, we recommend running Hummingbot in Windows Subsystem for Linux (WSL).
WSL lets developers run a Linux environment directly on Windows, unmodified, without the overhead of a traditional virtual machine or dual boot setup. With WSL, Windows 10/11 users are able to run a Linux Virtual Machine without performance loss and the need for dual boot. See here for more detail about WSL.
Install WSL
- Open Powershell as admin
Search for “Powershell” on the start menu, right-click and “run as administrator”
Run the Install WSL command “wsl — install” By default, WSL uses the Ubuntu distribution of Linux, which is compatible with Hummingbot.
Start WSL
After the installation, type wsl on the Powershell or the Command prompt.
Note that the first time WSL is executed, you will be asked to create a new default username/password.
- Install Ubuntu from Windows Store
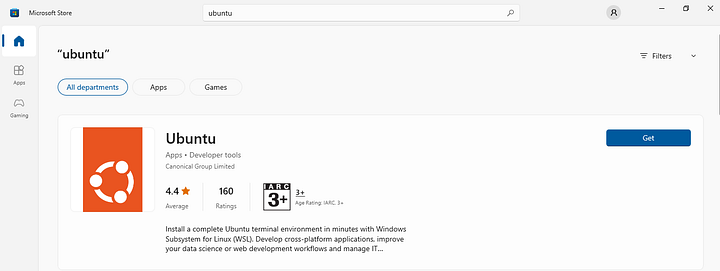
Alternatively, after WSL is installed, search for Ubuntu in the Windows Store and install it as an app in the Start menu. That way, you don’t have to run Powershell every time you use Hummingbot.
While installing, it will restart your system, so don’t worry about it. Once installed successfully, it will ask to set the username and password.
Once set the username and password, the screen will look like this.
Now, Install Docker in WSL
- Install Docker
With WSL, you now have a Linux Virtual Machine under Windows.
Linux on Windows
Follow the instructions below to complete the Docker installation process.
Remove older / currently installed versions of Docker first.
sudo apt-get remove docker docker-engine docker.io containerd runc
- Update the package index
sudo apt-get update && sudo apt-get upgrade -y
- Install necessary packages
sudo apt-get install apt-transport-https ca-certificates curl software-properties-common gnupg lsb-release
- Add Docker’s official GPG key
curl -fsSL https://download.docker.com/linux/ubuntu/gpg | sudo apt-key add -
- Setup the repository
sudo add-apt-repository “deb [arch=amd64] https://download.docker.com/linux/ubuntu $(lsb_release -cs) stable”
- Install Docker
sudo apt update && sudo apt-get install docker-ce
- Start the Docker service.
sudo service docker start
- Allow docker commands without requiring sudo prefix. If you are running as root, replace $USER with your username
sudo usermod -aG docker $demo
- Restart the terminal first before running the create.sh script (Important!)
exit
Warning: Please restart the terminal — close and restart your terminal window to enable the correct permissions for the docker command before proceeding to the next step.
Install Hummingbot
Download Hummingbot, install, start, and update the script.
wget https://raw.githubusercontent.com/hummingbot/hummingbot/master/installation/docker-commands/create.sh

wget https://raw.githubusercontent.com/hummingbot/hummingbot/master/installation/docker-commands/start.sh

wget https://raw.githubusercontent.com/hummingbot/hummingbot/master/installation/docker-commands/update.sh
- Enable script permissions
chmod a+x *.sh
- Create a HummingBot instance
./create.sh
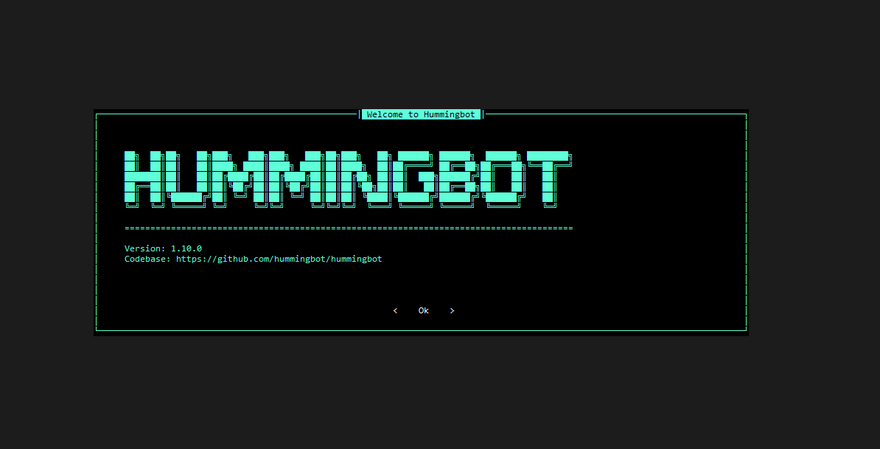
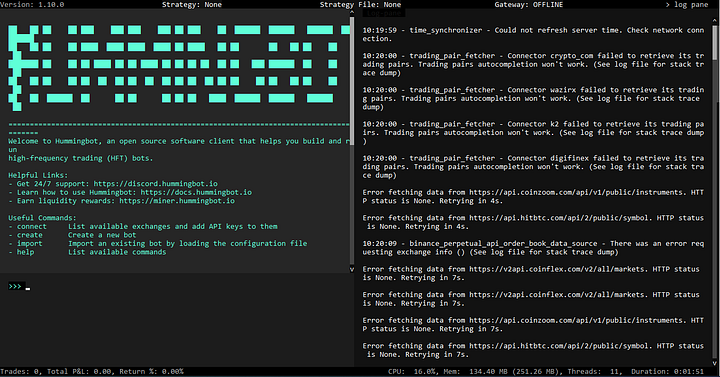
Once successfully connected to the Hummingbot, you will be redirected to the “Welcome to Hummingbot” screen.
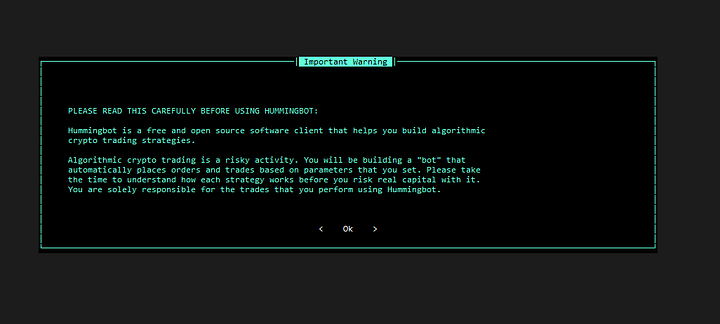
You will be prompted to the “Important Warning” screen; Please read it carefully before using HummingBot.
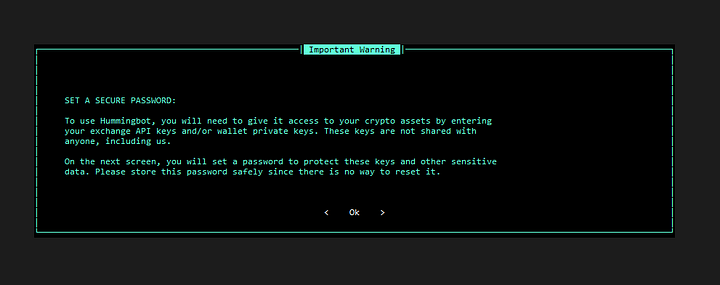
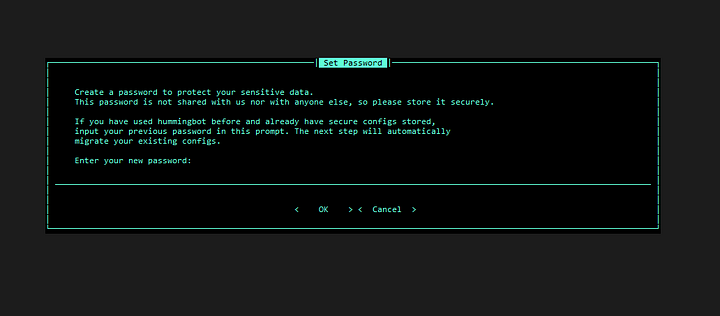
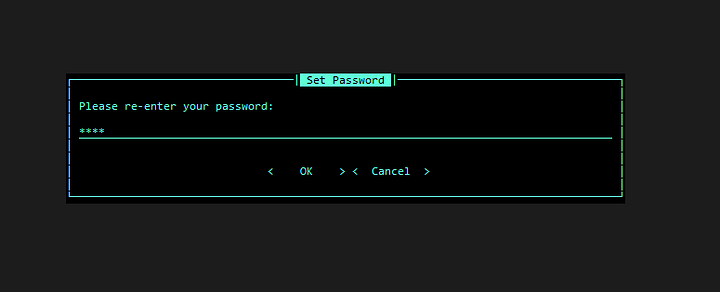
Now, you need to set the password for the “HummingBot”.
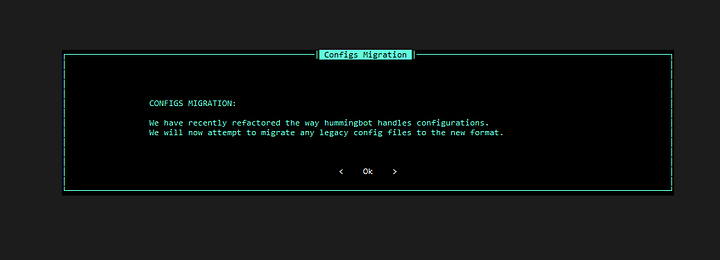
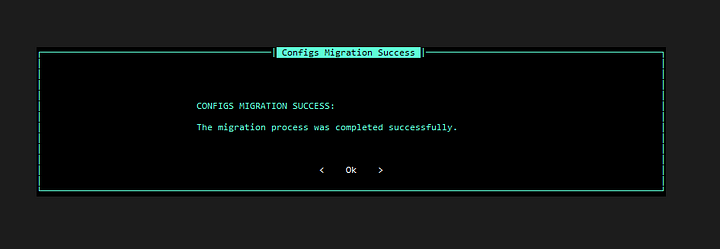
Once you have set the password, you need to do “Config Migration”.
Now, you can see that you have partially done the process to connect the Exchange (KuCoin / Gate exchange)
Let’s Start Pure Market Making a bot.
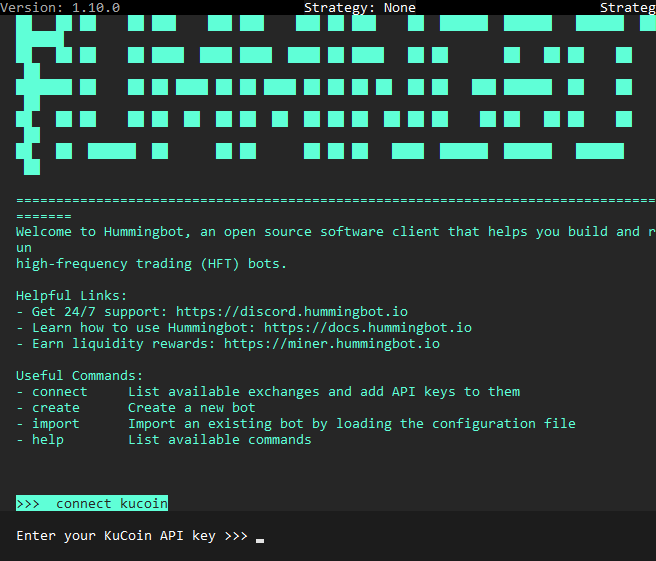
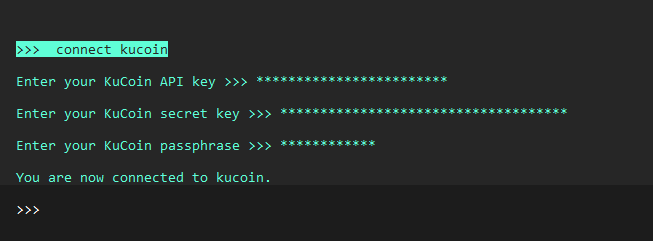
Now, Enter your API Key, Secret Key, and Passphrase of KuCoin or Gate Exchange
Enter the API key and Secret Key you generated from the AUTHENTICATION process. As you type your API key, it will display in this format: ***
Refer below guide article to create and access your API key.
How to Create an API on Kucoin exchange.
How to generate a read-only API key for Gate.io
Once you have entered the details correctly, you will be connected to the Exchange.
- Now, create a Bot and start with the strategy.
Enter the create command, after entering the create a command, you will be asked for a market strategy.
Enter pure_market_strategy
Enter your market spot connector, i.e., exchange name. Enter kucoin or Gate.
Now, you need to add a trading pair. Enter XDC-USDT
Enter the mid-price do you want to place the first bid order (0.2)
Enter the mid-price do you want to place the first ask order (0.2)
*Small percentage means more trade, but make sure you are in profit after deducting Trading fees.
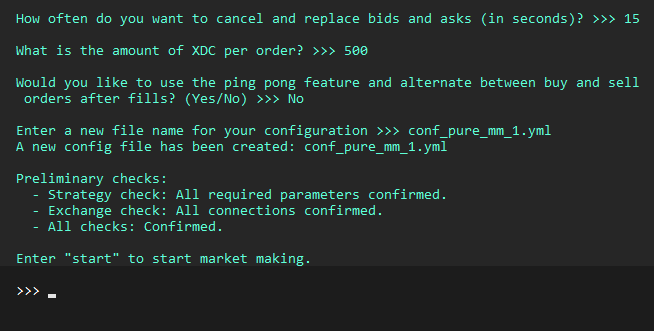
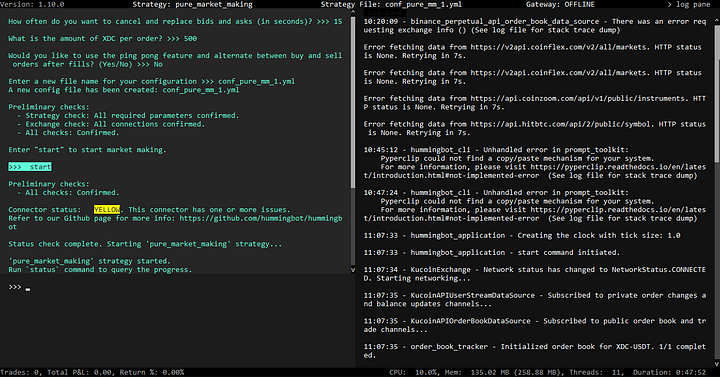
Enter the Time interval in seconds. Ideally, you can set up between 0 to 60 Seconds.
Enter the amount of XDC per order. (Here, I have entered 500)
After entering the amount, It will ask for a ping-pong feature. Select No
Enter a new file name for your configuration(Auto suggested — conf_pure_mm_1.yml).
Lastly, Enter the start command to start market making.
Once you set up the Bot, you have to watch the order book a regular intervals. You can try different strategies and optimize profit.
This is how I have run the HummingBot with a KuCoin exchange. Please do share your experience or feedback on running HummingBot at XDCDev.







Discussion (0)