If you are looking for a secure and private space to store your data online and have selected StorX as the cloud storage of your choice then you have taken one step in helping us build a decentralized internet that is for the community by the community. In this article, we take a look at the step-by-step guide on how to use StorX. You can also watch the video demo on how to use StorX on Youtube.
What is StorX?
StorX is a decentralized cloud storage network, Which empowers users to store their data securely on the cloud. Each file uploaded on StorX is split and encrypted into multiple fragments to autonomous storage nodes operated by individual operators across the world. Designed as the collection of autonomous storage networks, no individual operator has complete access to the data. StorX is not only faster compared to legacy centralized storage providers but also enables users to save substantial amounts on costs. StorX also enables users with spare storage capacity to lease space and earn fabulous returns. Register now at https://storx.tech and contribute to building a secure internet.
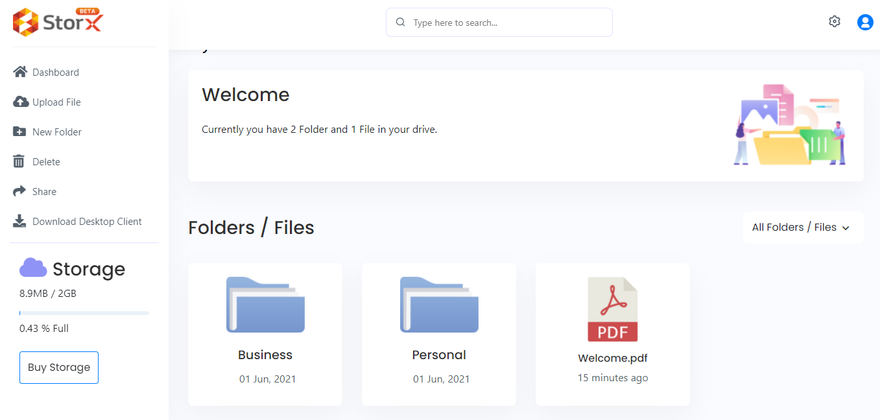
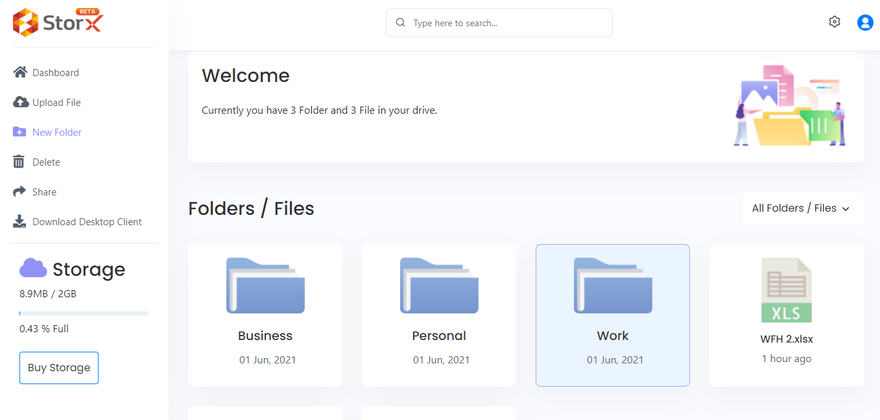
StorX Homepage Overview
Search Bar: When you log in with your StorX account, you will first see the screenshot below. The first option icon you will see on the page is the search icon. In a cloud storage service such as StorX that allows you to store a large number of files, keeping a record of each file and scrolling through to find it becomes impossible. You can use the search bar to find any file or folder by its name quickly.
Dashboard: This button is a shortcut to access the dashboard.
Upload File: When you click on the upload icon, you will be able to upload any files, folders, and documents from your device.
New Folder: You can create a new folder by clicking on the “New Folder” icon and entering a name for the folder.
Delete: Delete any file, folder, or document by selecting it to highlight it and clicking on delete.
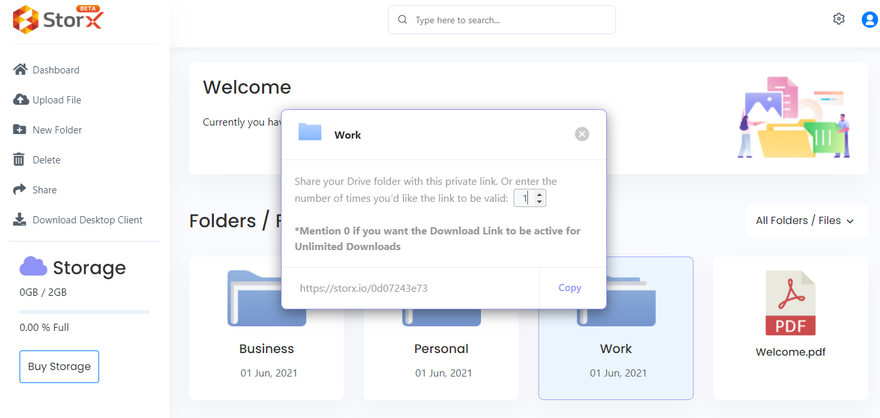
Share: Highlighting a file and clicking on the share icon will generate a link so that it can be shared with others.
Download Desktop Client: Clicking on this tab will download the StorX desktop application on your device.
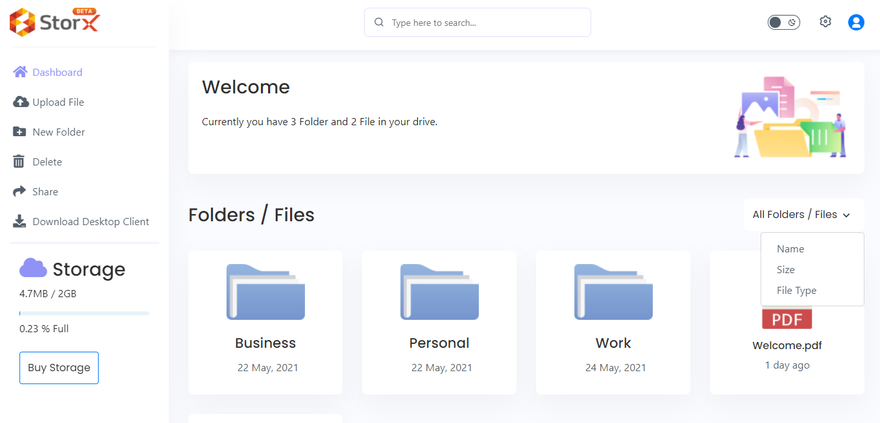
Sort: By clicking on “All Files” you can rearrange the files and folders on your cloud by the date it was added on, size, name, and file type.
Settings: You can find any information regarding your account and settings in this pane.
Download Desktop Client: The download option allows you to download the desktop application of StorX on your computer. Watch the tutorial on how to download and use the StorX desktop client here.
Storage: You can find the information related to your data usage and upgrade your plan by clicking on the “Buy Storage” button.
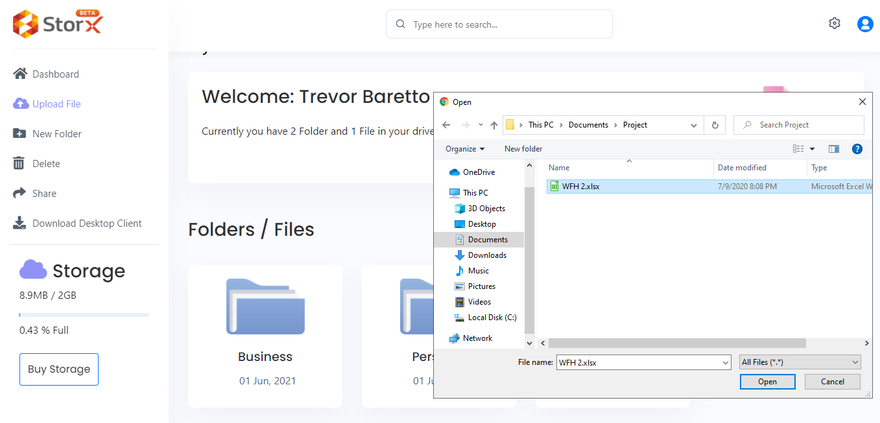
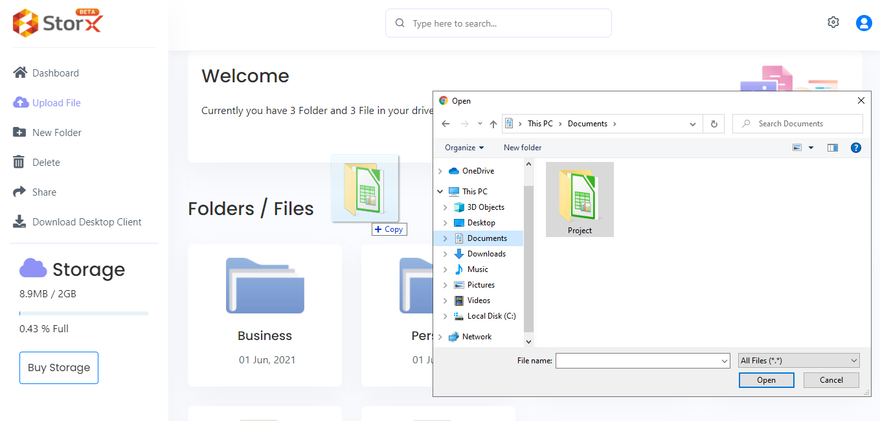
Uploading Files and Folders on StorX
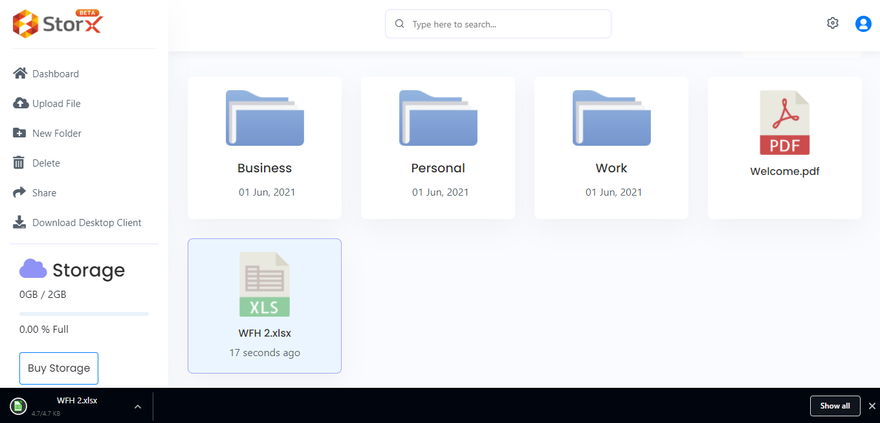
StorX allows you to browse various files and folders inside it. You can upload your file by clicking on the upload icon and navigating your device via the selection wizard to select a file or folder of choice to be uploaded. You can also upload multiple files at once on StorX. Watch the tutorial on how to upload files and folders on StorX here.
You can upload folders as well as files by dragging and dropping them onto the StorX dashboard.
Alternatively, you can create a new folder and save the files inside it by clicking on the folder icon and entering the folder name to add it to your cloud storage.
StorX also offers you the option to customize your folders with a wide range of colors and cover icons to differentiate all your folders from others.
Downloading/Retrieving Files on StorX
To retrieve a file from StorX on your device, double click on it twice to download it. Watch the tutorial on how to download files on StorX here.
Deleting Files and Folders on StorX
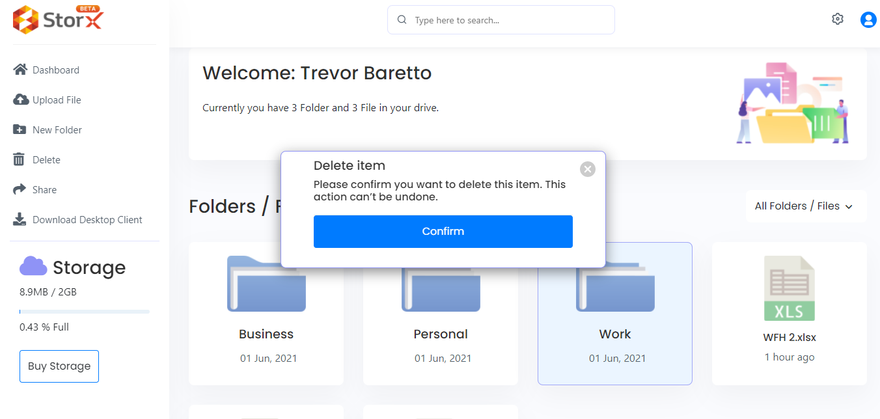
To delete a file or folder, just click on the file of choice to highlight it and click on the delete icon and confirm to permanently erase it from your cloud. Watch the tutorial on how to delete files on folders on StorX here.
Searching Files and Folders on StorX
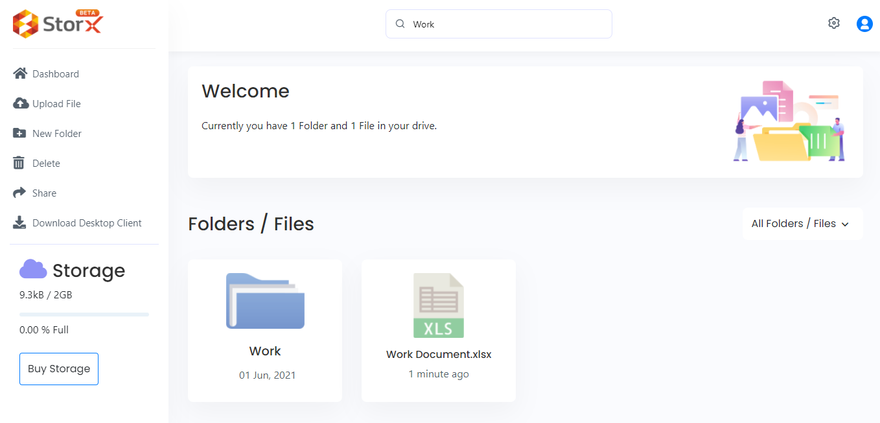
If you want to search for a file or folder that has been uploaded to the cloud you can click on the search icon and type the name to find matching files and folders that are on your cloud. The example below is when you search for files that match “Work”. Watch the tutorial on how to search files and folders on StorX here.
Sharing Files and Folders on StorX
To share a document with others, select the file or folder to be shared on click on the share icon. This will generate a private link that can be shared with others so that they can access the file. You can also manage the number of times a link can be used before it becomes invalid and restrict access to unauthorized users. Watch the tutorial on how to share files and folders on StorX here.
Sorting Files and Folders on StorX
To rearrange files and sort them, hover your cursor over the “All Folders/Files” tab and click on it. This will present you with a dropdown list to rearrange all your documents in three different ways — name, size, and file type.
StorX Menu Guide
StorX also offers a host of ancillary functions in its menu to ensure that you have a positive experience while using the platform.
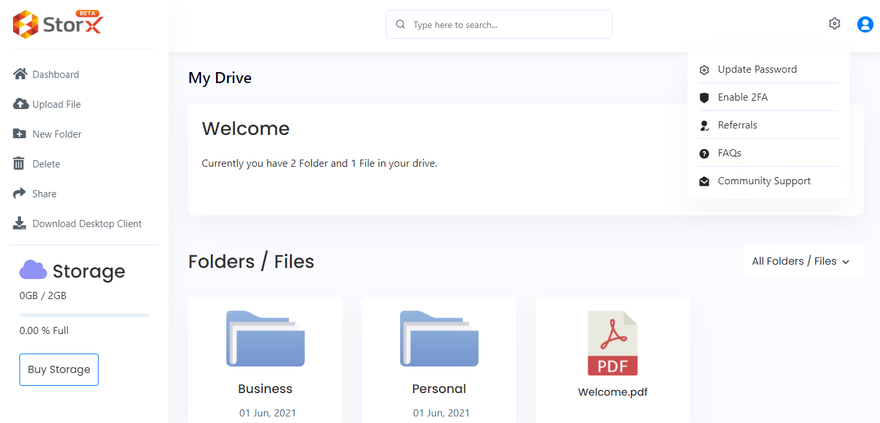
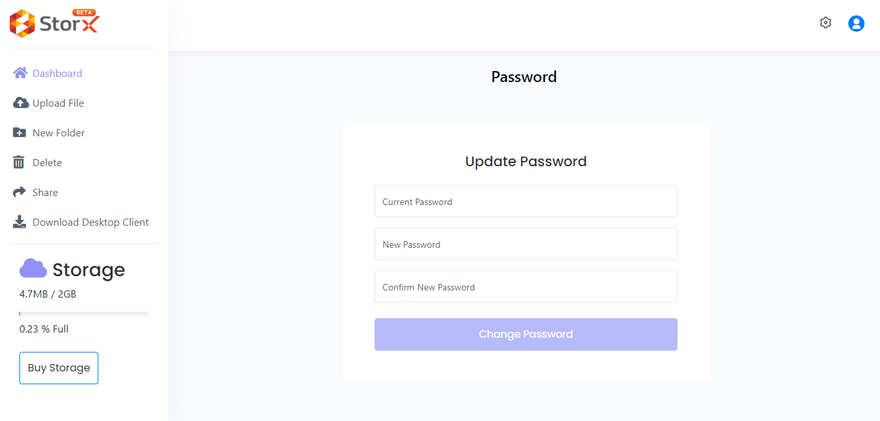
Update Password: You can update your password in this section. StorX does not have a “forgot password” option but you can change your existing password to a new one if you remember it.
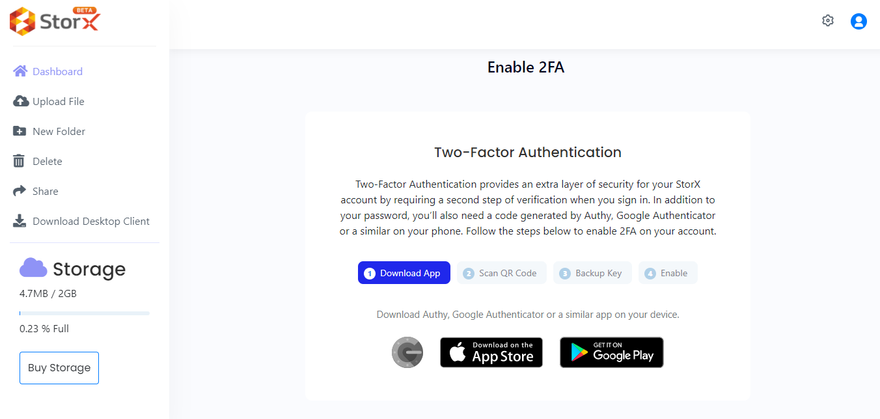
Enable 2FA: In this tab, you can set up Two-Factor Authentication to add an extra layer of security and secure your account by requiring an additional step of verification in the login process. There are four options to set up 2FA for your account:
Download an App: You can download an app such as Authy, Google Authenticator, or any other equivalent to generate a code to complete the two-factor authentication process.
Scan QR Code: A QR code will be automatically generated on the website. Use one of the apps mentioned above to scan the code or enter it.
Backup Key: Use the automatically generated backup key to log in. It is suggested that you save it offline to keep it secure.
Enable: To enable Two-Factor Authentication, enter your backup key and 2FA code.
You can watch the tutorial video on how to enable two-factor authentication on StorX here.
FAQs: This tab will redirect you to the StorX Frequently Asked Questions (FAQ) page.
Community Support: Clicking on the community support option will redirect you to the StorX community support mediums.
Sign Out: Clicking on your profile and the sign-out button will log you out of your StorX account.
Conclusion
In this article, we have covered all the necessary aspects of StorX that you need to know to use it effectively. If you have any other queries regarding StorX you can reach out to us via our community support.


Discussion (0)