1. About thirdweb
Thirdweb is a complete web3 development framework that provides everything you need to connect your apps and games to decentralized networks. It provides workflows to speed up your development, including:
2. Prebuilt contracts
Deploying smart contracts is the first step of building any web3 application. You can deploy one of prebuilt contracts for more common use cases (NFTs, tokens, marketplaces), or you can build your own smart contract with Solidity SDK and ship it with Deploy. The prebuilt contracts are:
- Fully open-source on GitHub
- Consistently audited by trusted firms
- 10x cheaper to deploy than ordinary smart contracts
- Completely owned by you
3. Deploy steps
3.1 Connect wallet
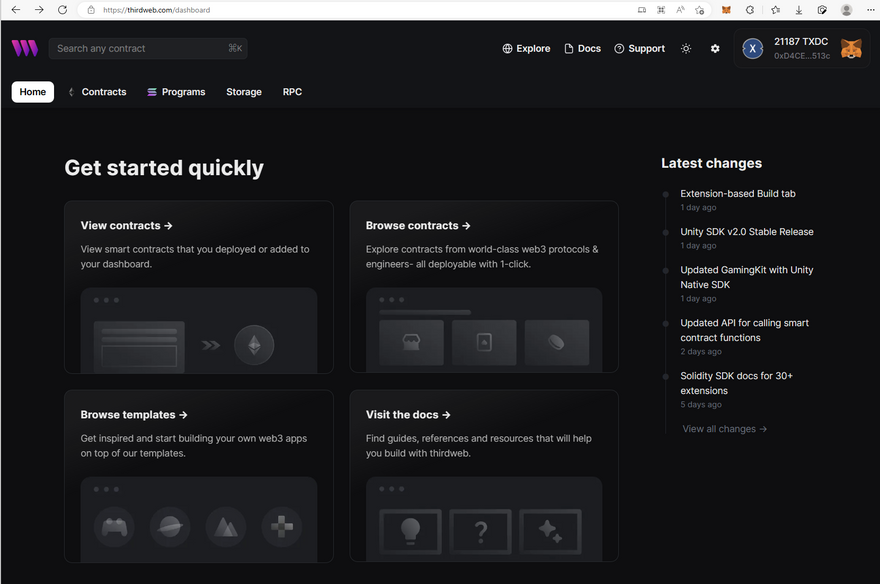
Open dashboard in web browser:

Click Connect Wallet button:
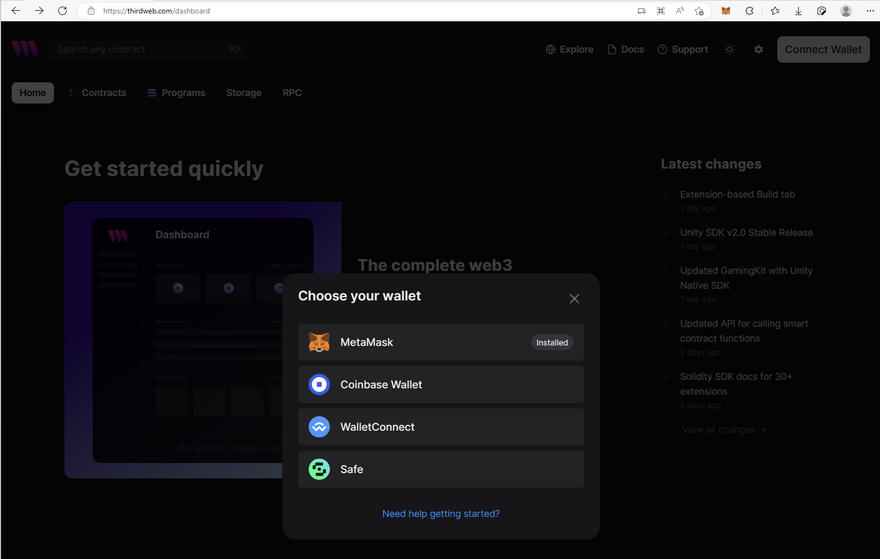
Choose your wallet according to actual situation, here I choose MetaMask:
3.2 Configure networks
If you have not configured networks, or want to modify the network configuration, then you must perform this operation.

Click Configrue Networks icon in top navigation bar:
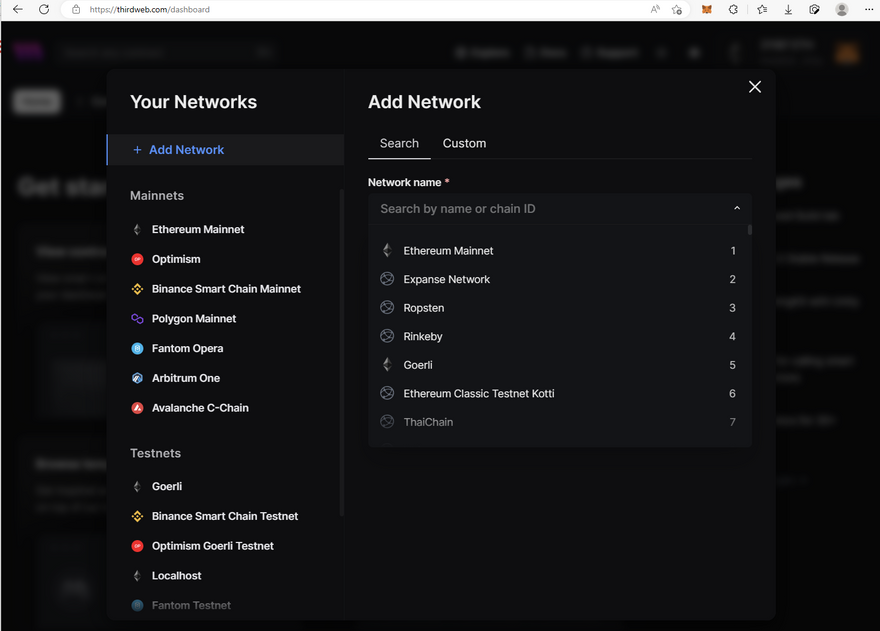
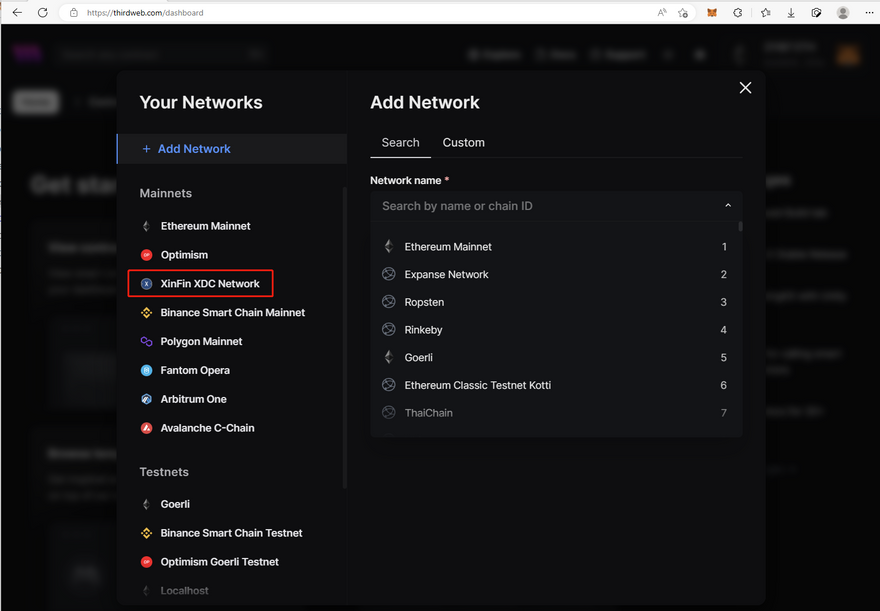
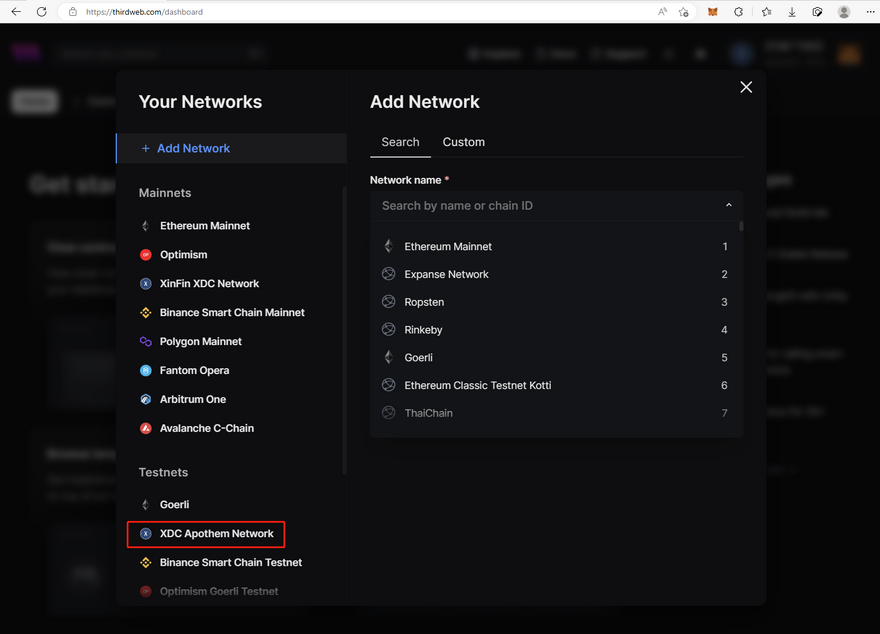
Type xdc in Network name input box to search by name:
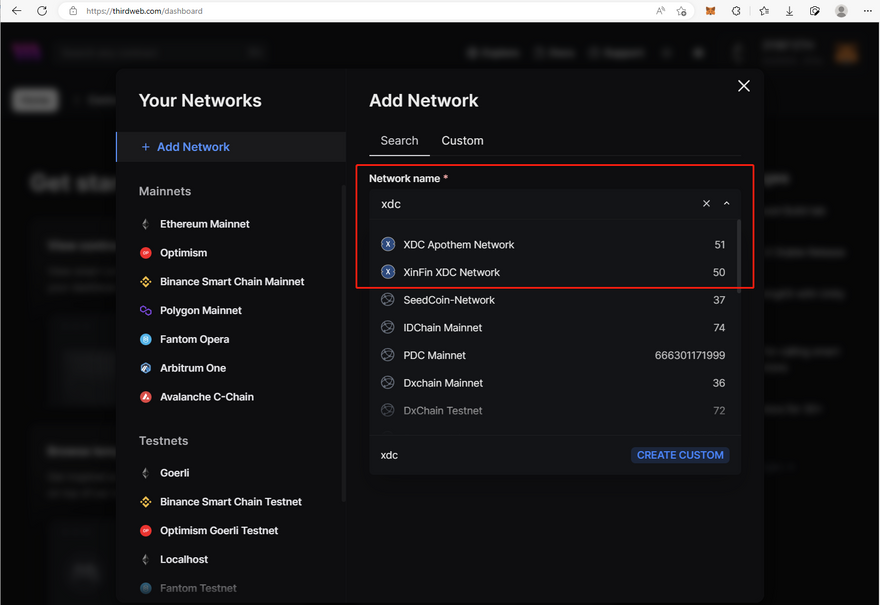
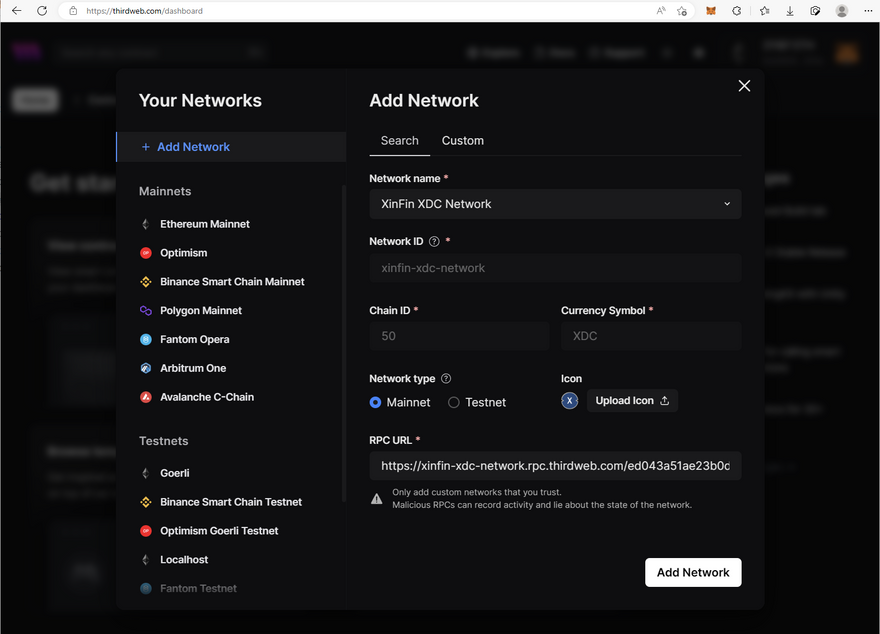
3.2.1 Add XinFin mainnet
Choose XinFin XDC Network:
Then change RPC URL to https://erpc.xinfin.network:
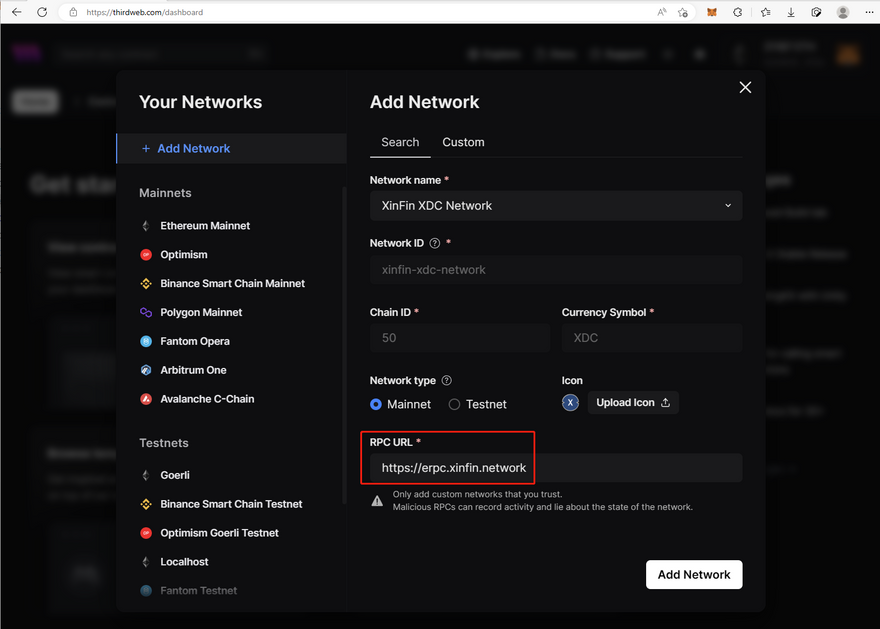
At last click Add Network button:
3.2.2 Add Apothem testnet
Type xdc in Network name input box again, and choose XDC Apothem Network:
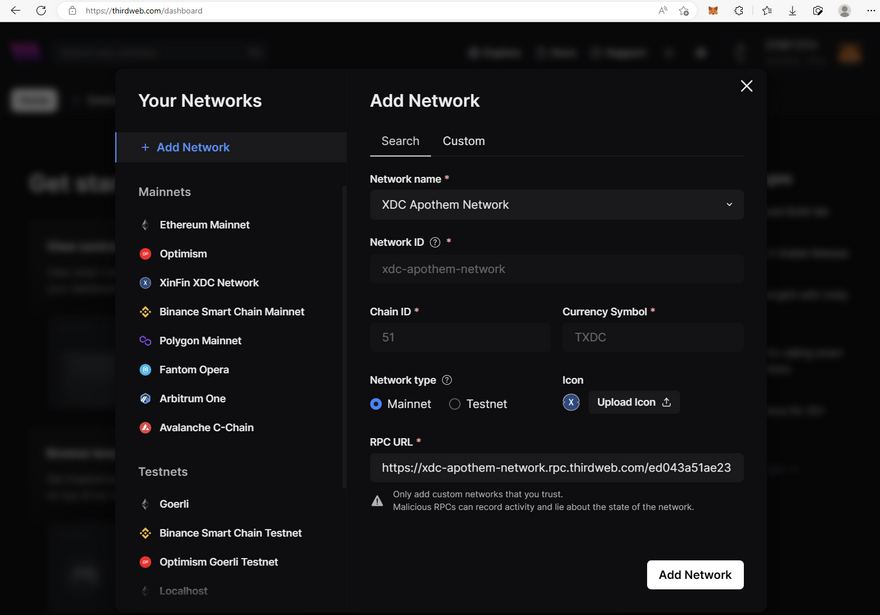
Then change Network type to Testnet, and RPC URL to https://erpc.apothem.network/:
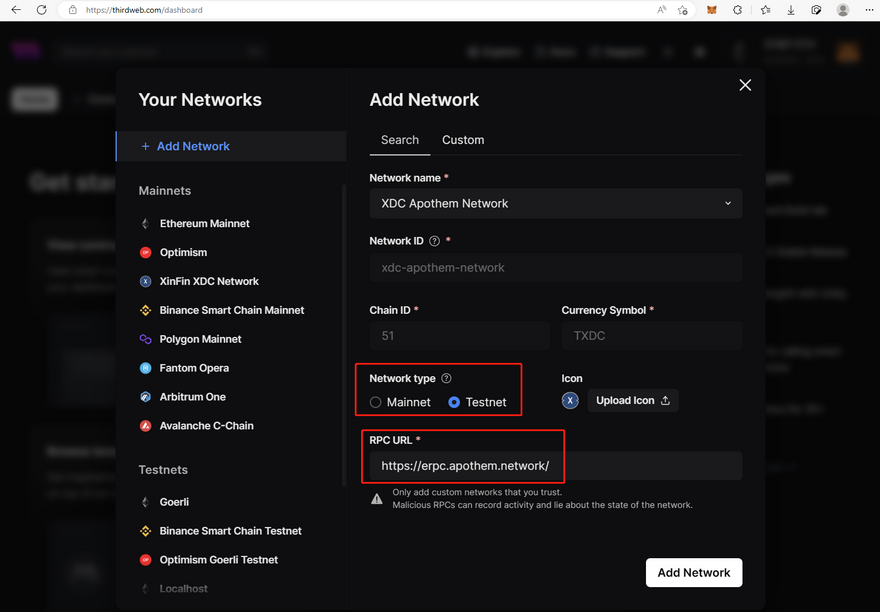
At last click Add Network button:
3.3 Choose contract
Chick Browse contracts card under Get started quickly subject, or click explorer link to visit explorer page:
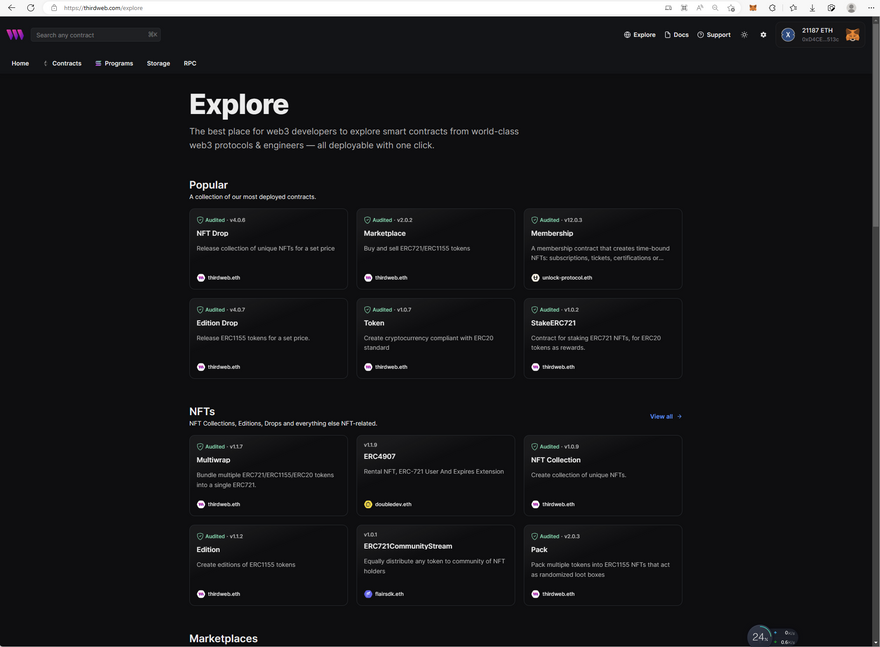
Here I click Token card to choose ERC20:

3.4 Deploy contract
Click Deploy now button:
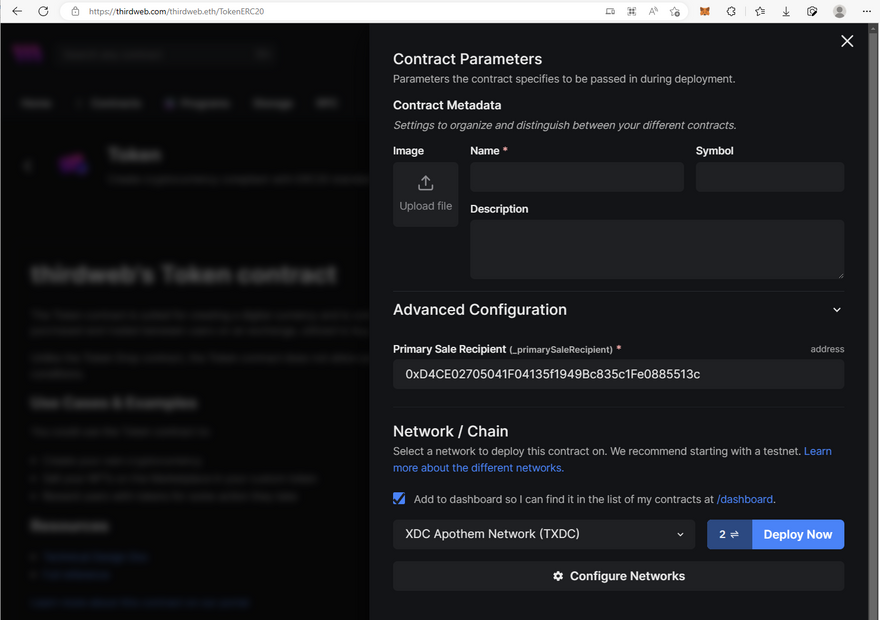
Then input:
- Name:
My Demo Token - Symbol:
MDT - Description:
A demo ERC20 token
And choose network, here I choose XDC Apothem Network(TXDC):
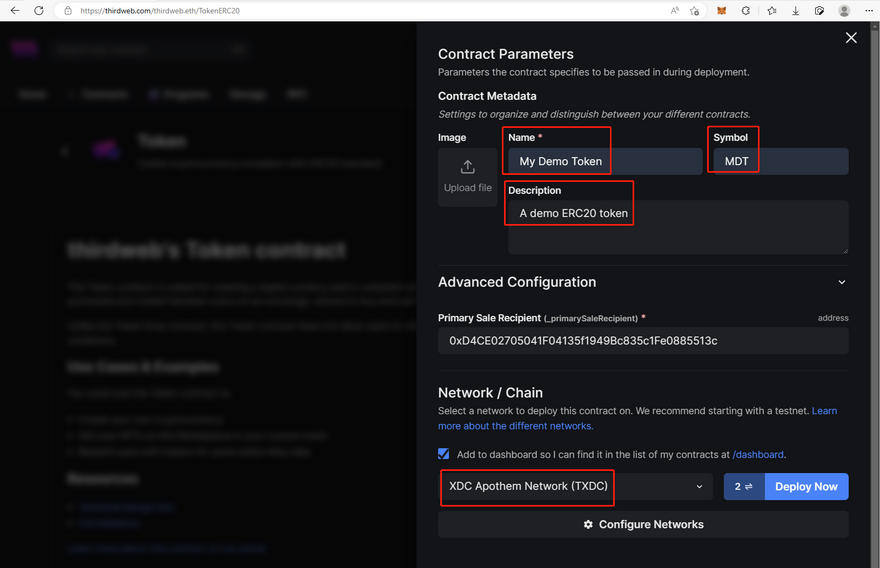
Next click Deploy Now button:
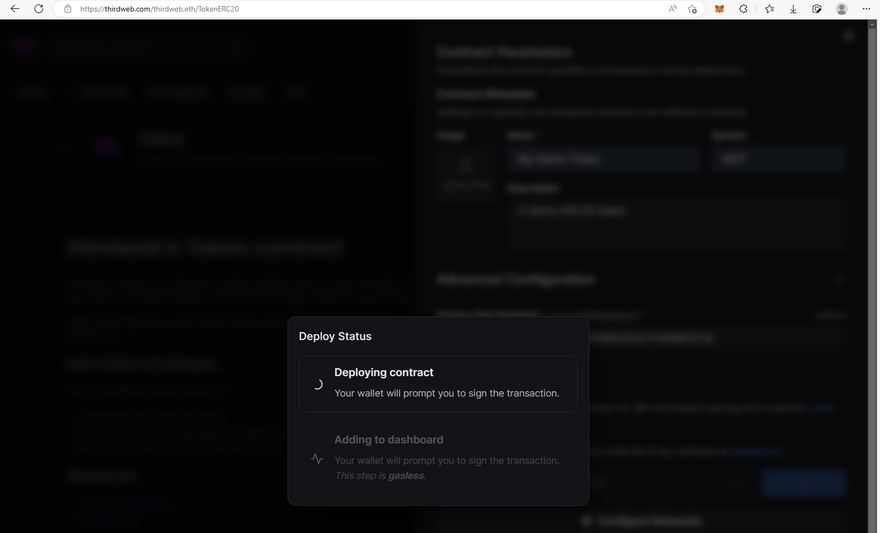
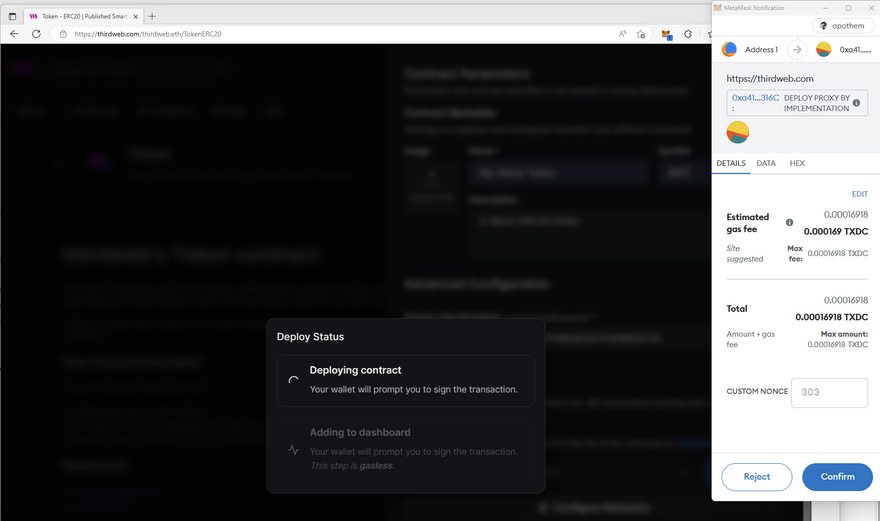
Confirm transaction one or more times:
And sign the message to add contract to dashboard:
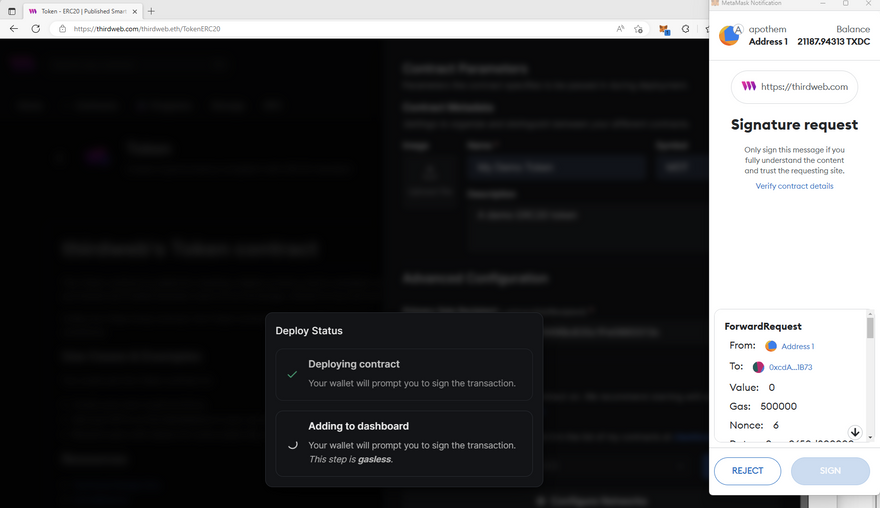
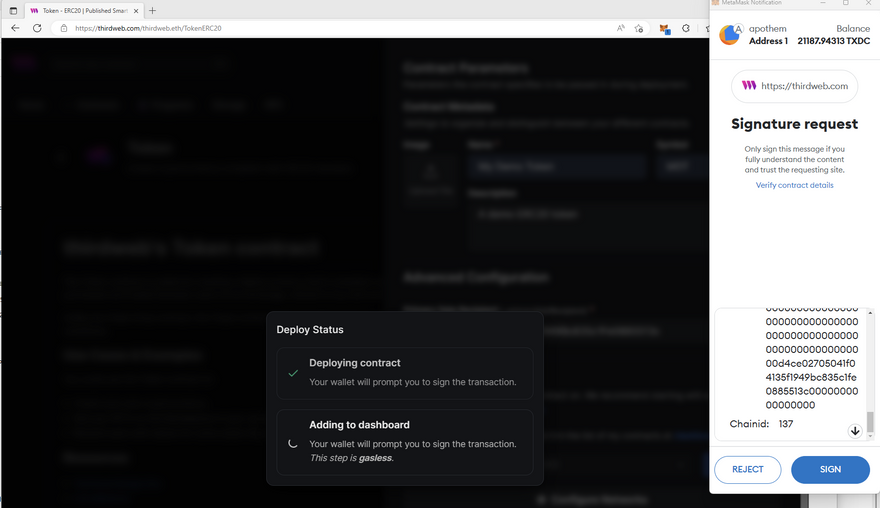
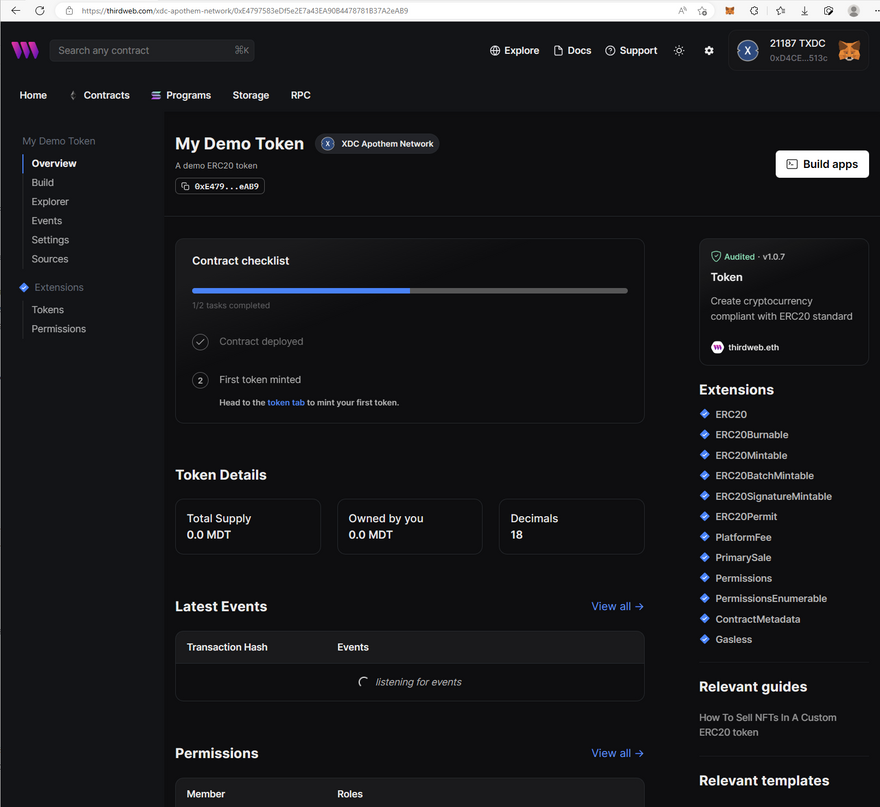
At last it appears in dashboard:
4. Interact with contract
4.1 Mint tokens
Let's mint some tokens to self:
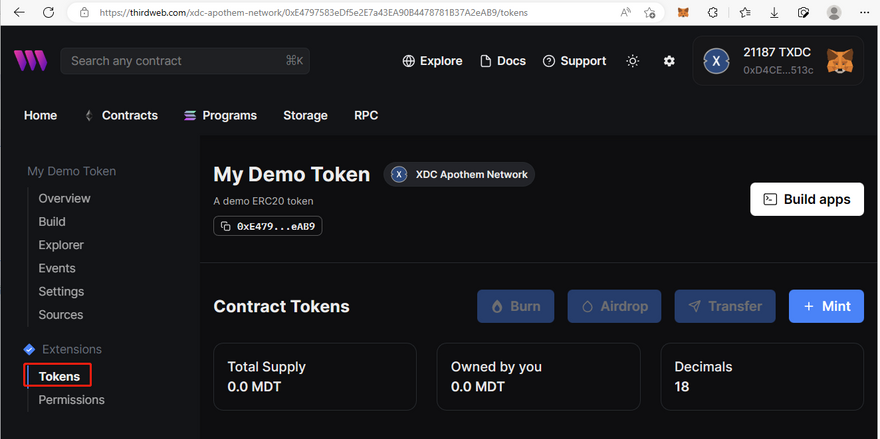
Click Tokens tab under Extensions in left menu bar:
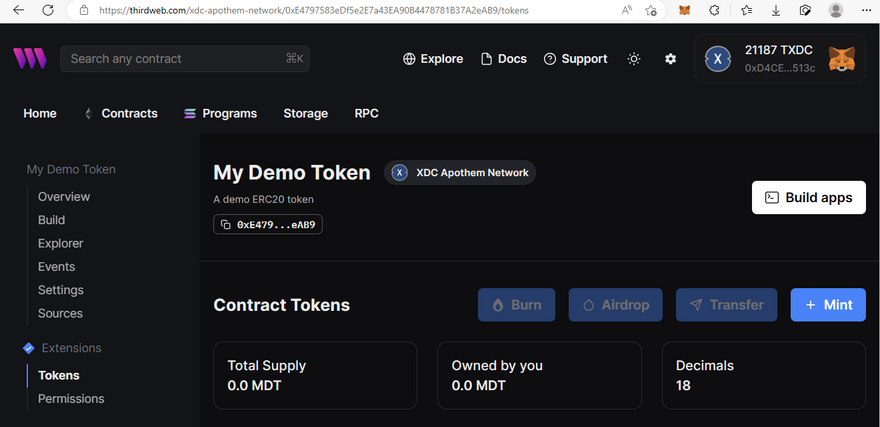
Then click Mint button:

And type 1000000000000000000000 as amount in Additional Supply input box:
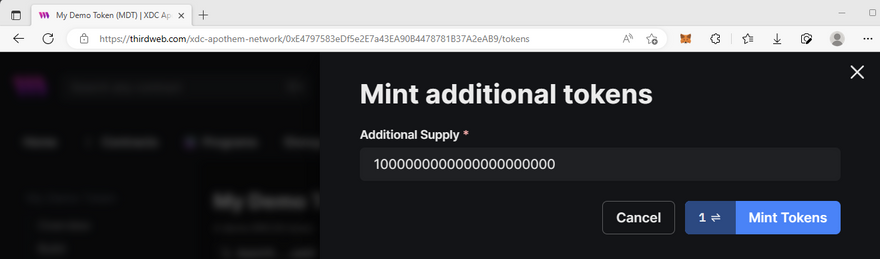
At last click Mint Tokens button:
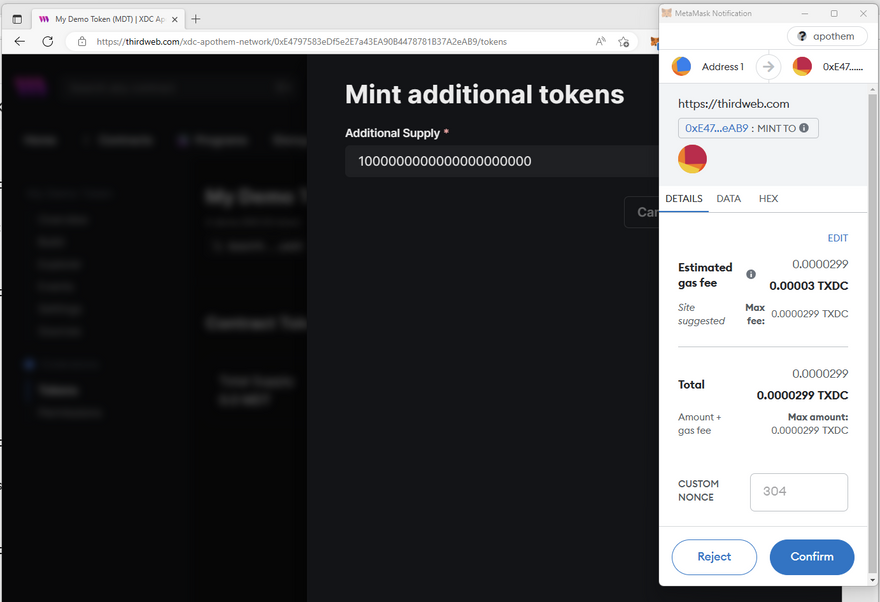
And comfirm this transaction in MetaMask:
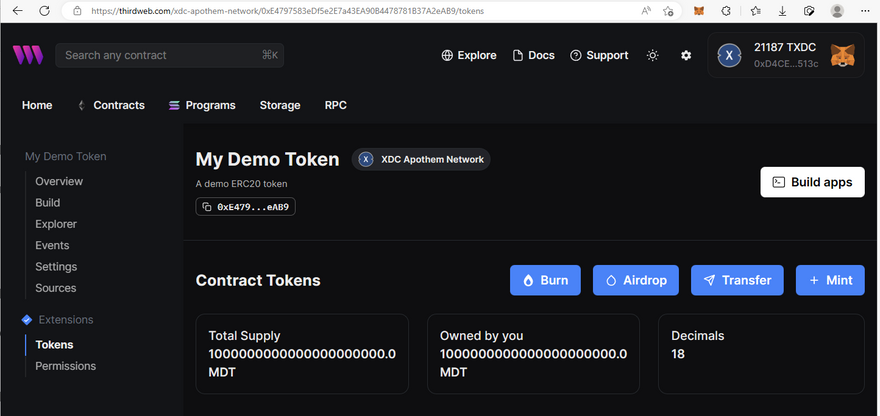
We can see 1000000000000000000000 MDT are mint to my address.
4.2 Use explorer of thirdweb
Click Explorer tab under My Demo Token in left menu bar:
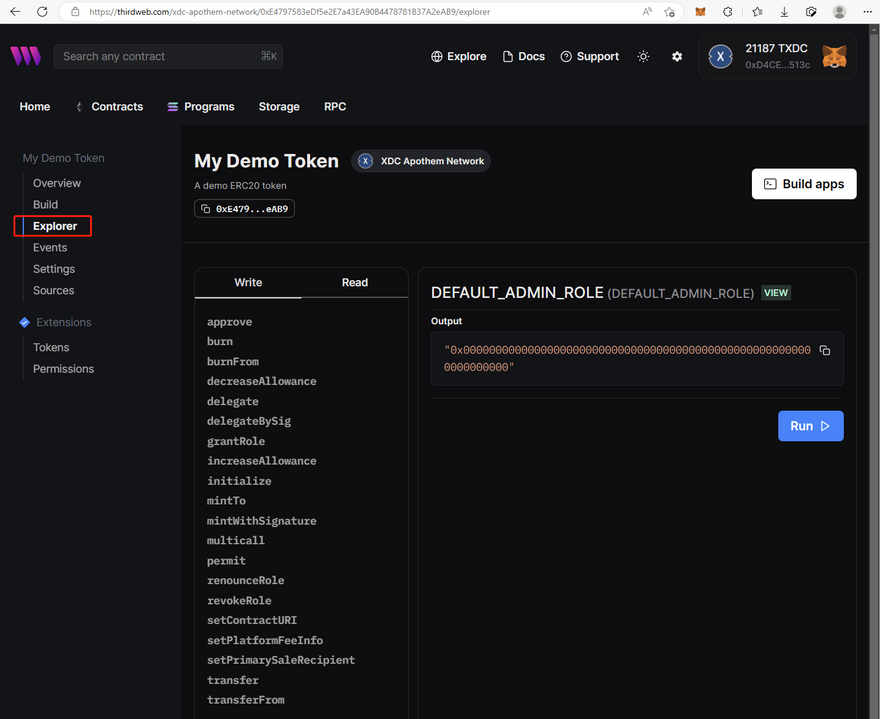
4.2.1 Call write function
Let's choose Transfer function as example:
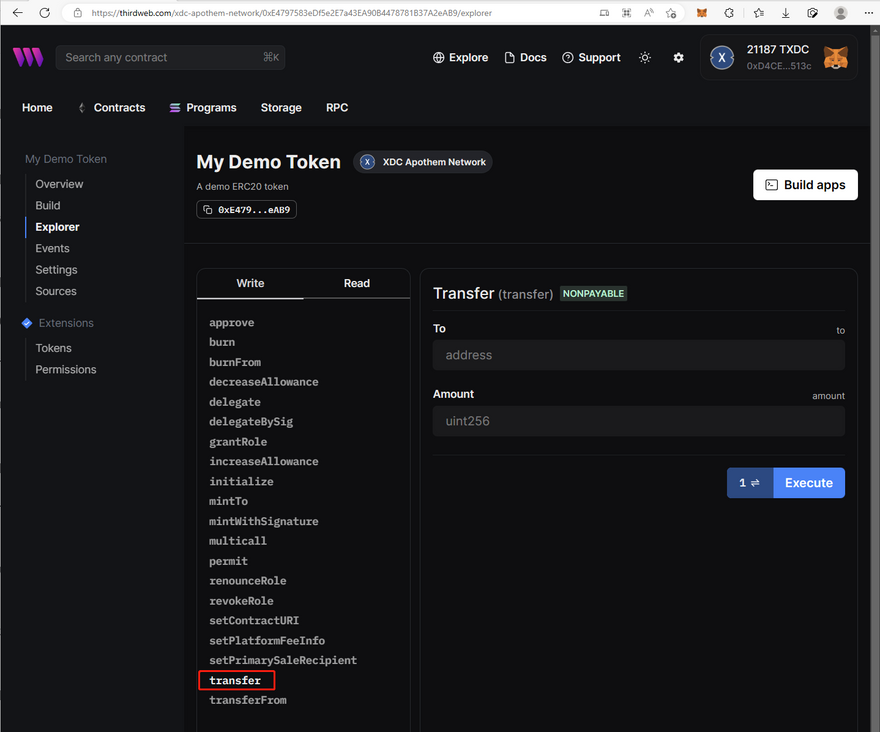
Input the value of parameters, such as To and Amount:
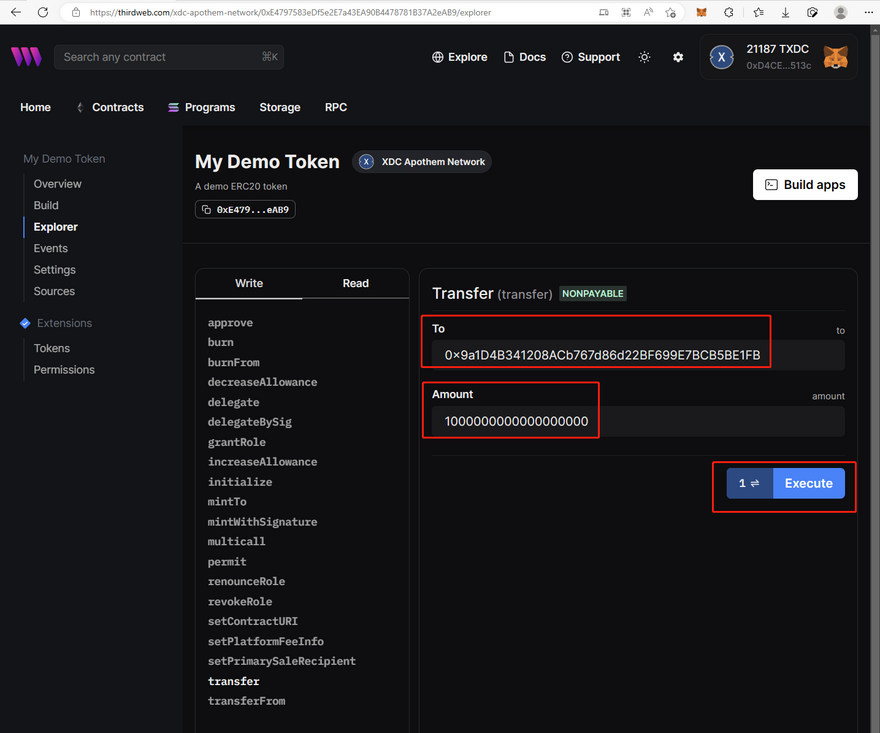
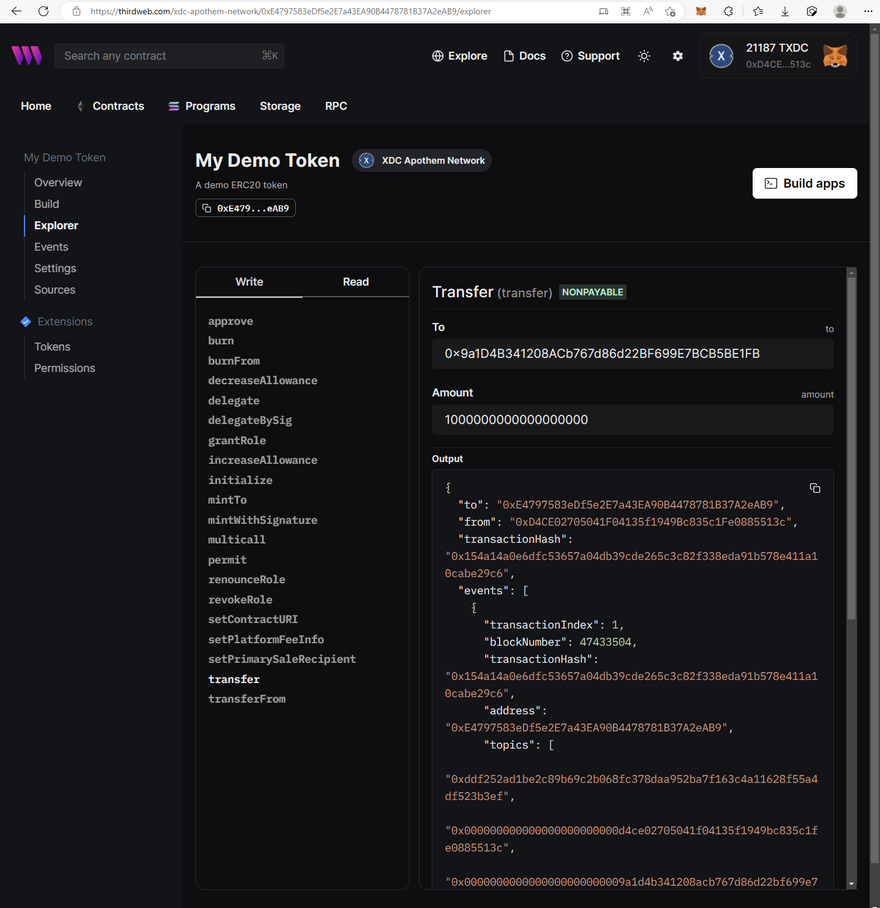
Click Execute button:

Afer confirm this transaction in MetaMask:
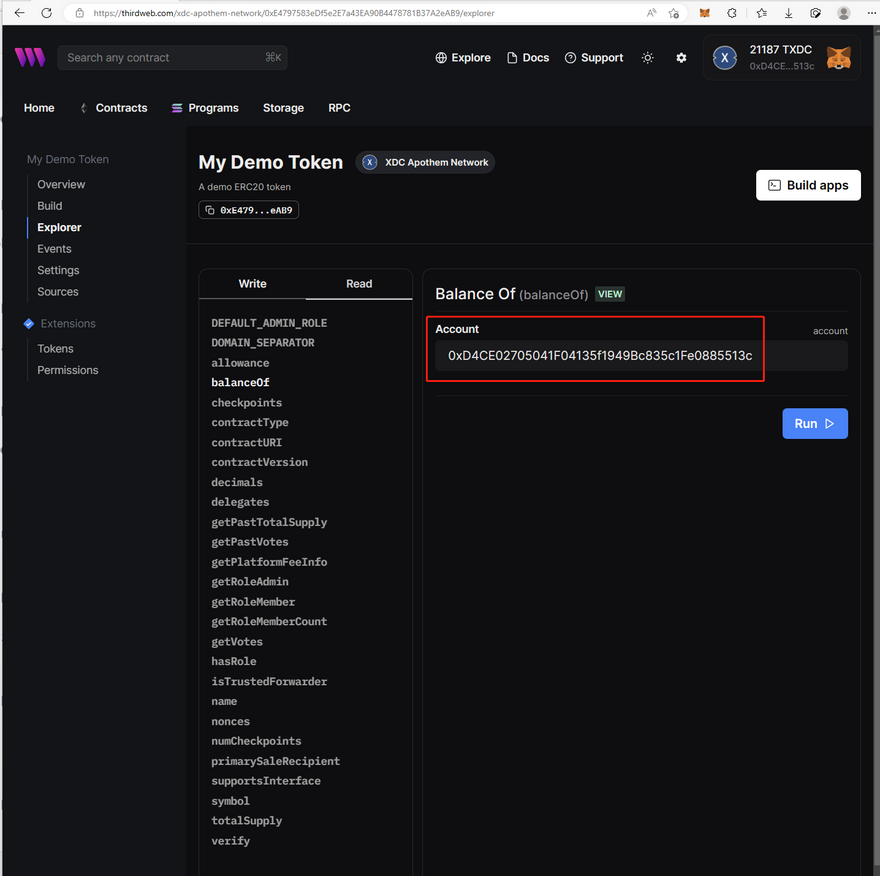
4.2.2 Call read function
Click Read tab in right, and choose a function such as balanceOf:
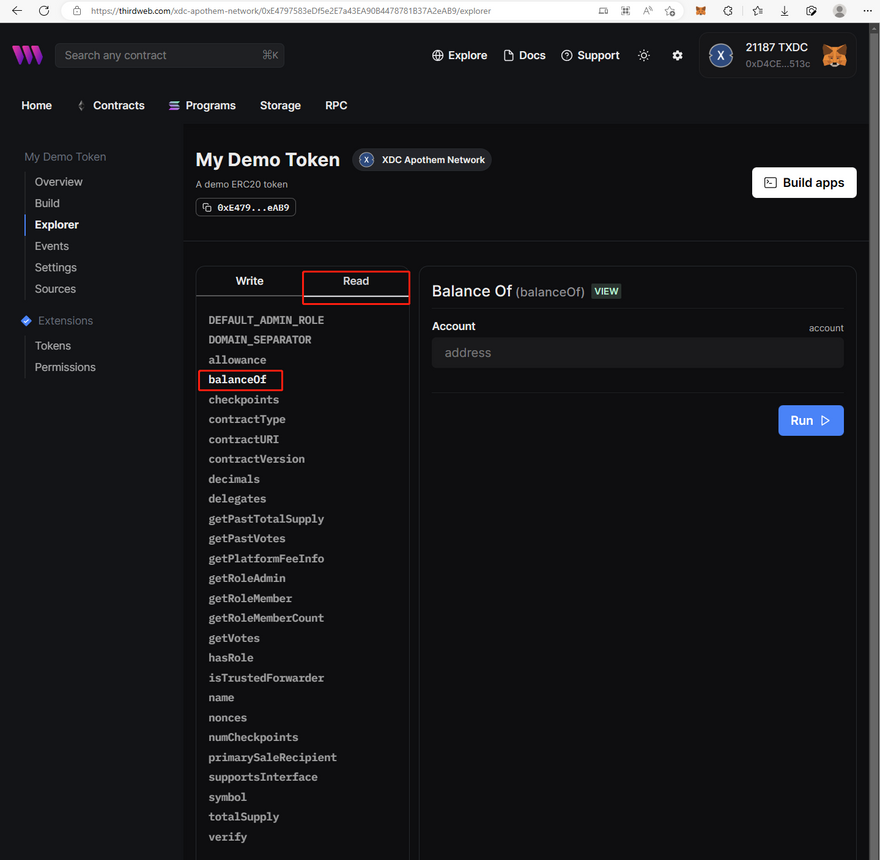
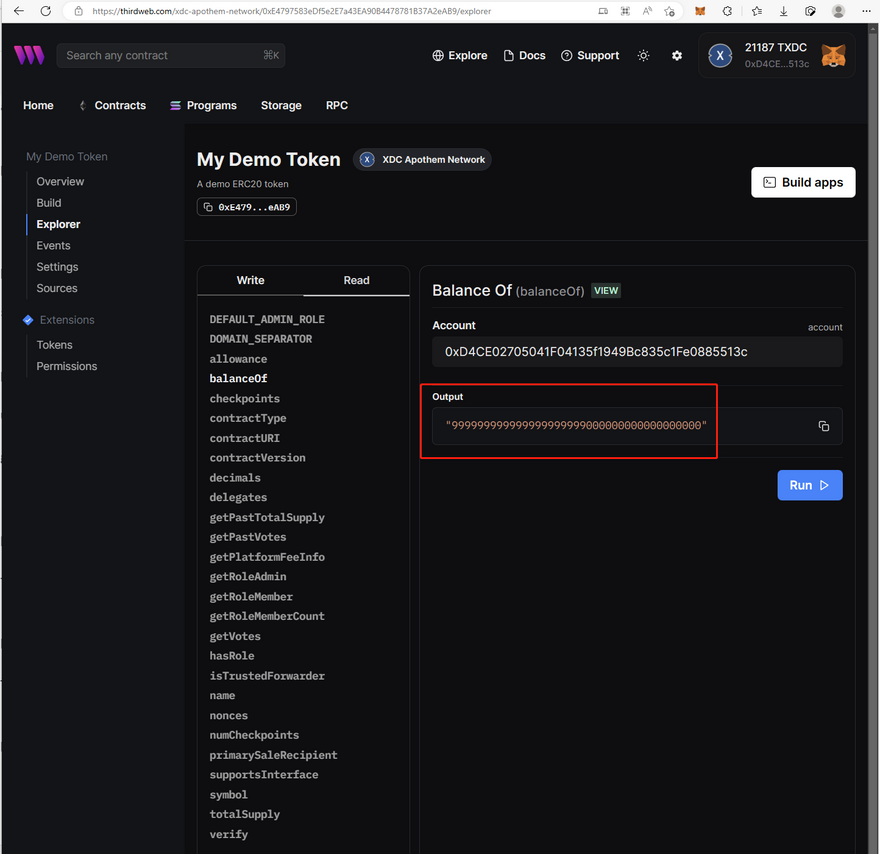
Then input the value of parameter account:
At last click Run button, get the result:


Discussion (0)